The Enchanting Jack-in-the-Pulpit: A Woodland Garden Gem
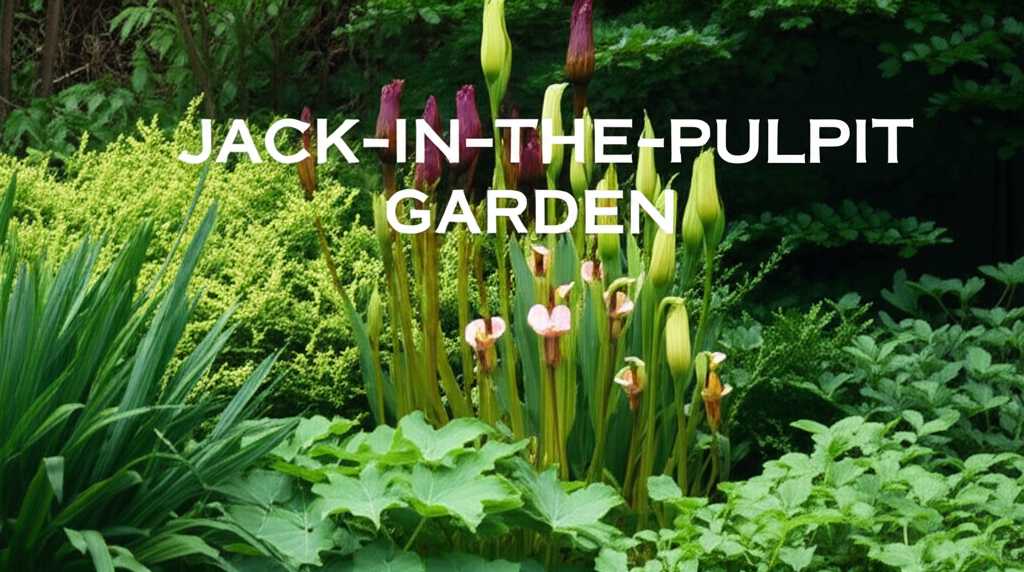
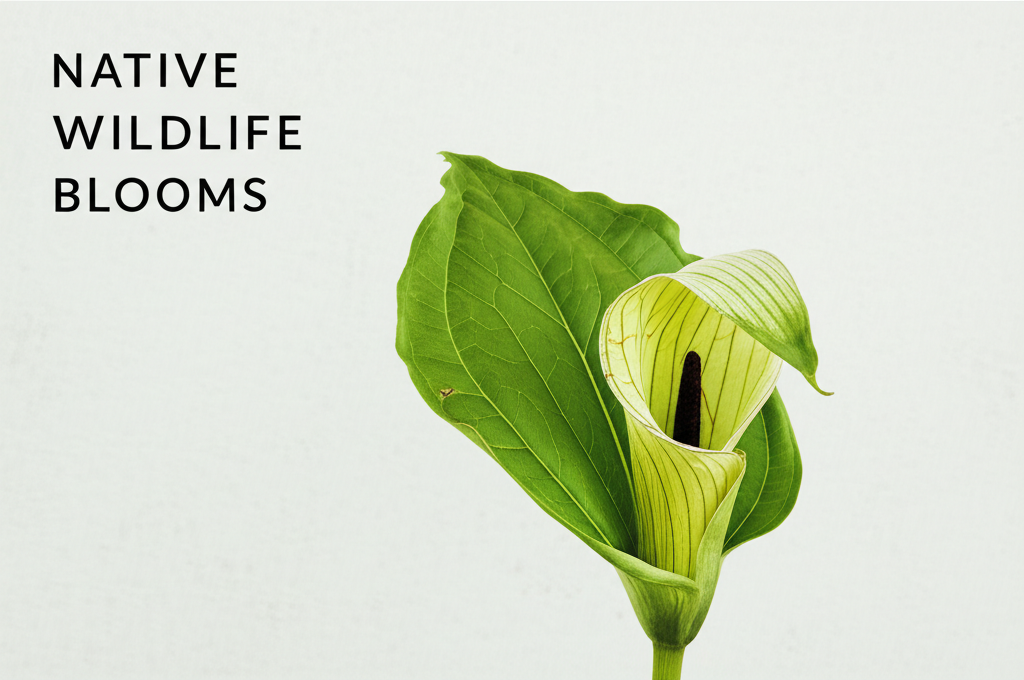
The Jack-in-the-Pulpit (Arisaema triphyllum) is a captivating native wildflower, instantly recognizable by its unique spathe and spadix, resembling a preacher standing in a pulpit. Thriving in the dappled shade of woodland environments, this perennial plant adds a touch of mystery and botanical intrigue to any garden. While its distinctive appearance is a major draw, its successful cultivation hinges on understanding and meticulously preparing the right soil conditions. This comprehensive guide will delve into the nuances of soil preparation for Jack-in-the-Pulpit, ensuring your woodland garden flourishes with these fascinating plants.
Understanding the Jack-in-the-Pulpit’s Native Habitat

To effectively prepare soil for Jack-in-the-Pulpit, we must first understand its natural environment. In the wild, Arisaema triphyllum typically grows in moist, humus-rich woodlands, often found in areas with deciduous trees that provide a consistent canopy. These locations usually feature:
- Rich Organic Matter: Decaying leaves, fallen branches, and other organic debris accumulate over time, creating a deep, fertile topsoil.
- Consistent Moisture: The shade from the tree canopy helps retain soil moisture, preventing it from drying out completely.
- Well-Drained Yet Retentive Soil: While the soil is moist, it also drains sufficiently to prevent waterlogging, which can be detrimental to the plant’s corms.
- Slightly Acidic to Neutral pH: The breakdown of organic matter often leads to a pH range that is favorable for many woodland natives, including Jack-in-the-Pulpit.
- Shelter and Shade: The understory of a woodland provides protection from harsh winds and direct, intense sunlight.
Mimicking these conditions in a garden setting is key to replicating the success of wild populations.
Key Soil Components for Jack-in-the-Pulpit Success
Successful Jack-in-the-Pulpit cultivation requires a soil mix that balances moisture retention with adequate drainage and provides essential nutrients. The primary components to focus on are:
1. Organic Matter: The Foundation of Fertility
Organic matter is the single most important amendment for Jack-in-the-Pulpit. It acts as a natural fertilizer, improves soil structure, enhances water retention, and supports beneficial microbial activity.
- Compost: Well-rotted compost, whether homemade or purchased, is an excellent all-around soil amendment. It provides a slow release of nutrients and improves both soil texture and water-holding capacity.
- Leaf Mold: This is decomposed leaf litter, often collected from deciduous trees. It’s particularly beneficial for woodland plants as it closely mimics their natural environment, offering excellent aeration and moisture retention.
- Aged Manure: While beneficial, aged manure should be used with caution and in moderation, as fresh manure can burn plant roots. Ensure it is thoroughly composted.
- Peat Moss (with caveats): Historically, peat moss was a popular amendment for its acidity and water retention. However, due to environmental concerns regarding peat bog extraction, many gardeners are seeking alternatives. If used, it should be from sustainable sources.
2. Drainage and Aeration: Preventing Root Rot
While Jack-in-the-Pulpit prefers moist conditions, stagnant water is its enemy. Proper drainage ensures that excess water can escape, preventing the corms from rotting.
- Coarse Sand or Grit: Adding horticultural sand or coarse grit can improve drainage in heavier soils. Avoid fine sand, which can compact the soil.
- Perlite or Vermiculite: These inert amendments improve aeration and drainage without significantly altering the soil’s pH. Perlite offers excellent drainage, while vermiculite helps retain moisture and nutrients.
- Pine Bark Fines: Small, shredded pine bark pieces can add to both organic matter and improve drainage and aeration, especially in clay-heavy soils.
3. Soil Structure: Creating a Loamy Base
A loamy soil texture is ideal for Jack-in-the-Pulpit. Loam is a balanced mixture of sand, silt, and clay, providing good drainage, aeration, and moisture retention.
- Existing Garden Soil: If your garden soil is already a good loam, you may need fewer amendments.
- Clay Soils: These soils tend to be heavy and retain too much moisture. Incorporating generous amounts of organic matter and gritty materials is crucial.
- Sandy Soils: These soils drain too quickly and lack nutrient-holding capacity. Amending with substantial amounts of compost and leaf mold will improve their structure and fertility.
Assessing Your Existing Soil
Before embarking on soil preparation, it’s essential to assess your current garden soil. This will help you determine the necessary amendments.
1. The Feel Test
This simple test can give you a quick indication of your soil type:
- Sandy Soil: Feels gritty and falls apart easily.
- Clay Soil: Feels sticky when wet and forms hard clods when dry.
- Loamy Soil: Feels crumbly and holds its shape when squeezed but breaks apart easily.
2. Drainage Test
Dig a hole approximately 1 foot deep and 1 foot wide. Fill it with water. Let it drain completely. Then, fill it again and time how long it takes to drain.
- Good Drainage: Water drains within a few hours.
- Poor Drainage: Water remains pooled for 12 hours or longer.
3. pH Testing
Jack-in-the-Pulpit generally prefers a soil pH between 5.5 and 7.0 (slightly acidic to neutral). You can purchase simple pH testing kits from garden centers or use a professional soil testing service for a more comprehensive analysis.
The Soil Preparation Process: Step-by-Step
Once you’ve assessed your soil and identified your needs, you can begin the preparation process.
Step 1: Site Selection and Clearing
- Choose a location that receives dappled shade, ideally from deciduous trees.
- Clear the chosen area of weeds, grass, and debris. For persistent weeds, consider solarization or sheet mulching if time permits.
Step 2: Loosening the Soil
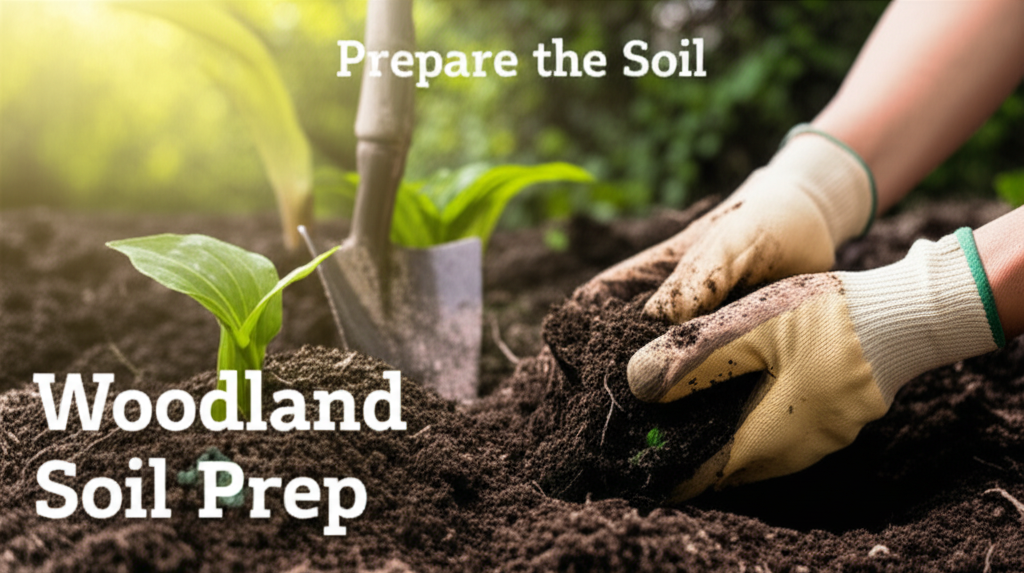
- Using a spade or garden fork, loosen the soil to a depth of at least 8-12 inches. This improves aeration and makes it easier for amendments to integrate. Avoid tilling heavily, which can disrupt soil structure and beneficial organisms.
Step 3: Incorporating Amendments
- For Clay Soil: Spread a generous layer (3-4 inches) of compost, leaf mold, and coarse sand or grit over the loosened soil.
- For Sandy Soil: Apply a thick layer (4-6 inches) of compost and leaf mold to improve moisture retention and fertility.
- For Loamy Soil: Incorporate 2-3 inches of compost and a smaller amount of leaf mold or pine bark fines to enhance the existing structure.
Step 4: Mixing Thoroughly
- Work the amendments into the loosened soil, ensuring they are evenly distributed throughout the top 8-12 inches. A broadfork or a garden fork is ideal for this task, as it minimizes soil compaction.
Step 5: Testing and Adjusting
- After mixing, perform the drainage test again to ensure your amendments have improved the soil’s water infiltration.
- If your pH is too low (acidic), you can add a small amount of lime. If it’s too high (alkaline), you can add elemental sulfur or acidic organic matter like pine needles. Make adjustments incrementally and re-test after a few weeks.
Step 6: Letting the Soil Rest (Optional but Recommended)
- If time allows, letting the prepared soil rest for a few weeks or even a season before planting can allow the amendments to break down further and beneficial soil organisms to colonize the area.
Table 1: Key Soil Component Comparison for Jack-in-the-Pulpit
| Component | Primary Benefit | Ideal Use Cases | Cautionary Notes |
| :—————— | :———————————————— | :————————————————– | :————————————————- |
| Compost | Nutrient supply, soil structure, moisture retention | All soil types | Ensure it’s well-rotted |
| Leaf Mold | Enhanced aeration, moisture retention, humus | Mimics woodland environment, ideal for sandy/loam | Can be acidic, beneficial for Jack-in-the-Pulpit |
| Coarse Sand/Grit| Improved drainage and aeration | Heavy clay soils | Avoid fine sand, can cause compaction |
| Pine Bark Fines | Improved drainage, aeration, organic matter | Clay soils, blends well with woodland aesthetics | Can be slightly acidic |
| Perlite | Excellent drainage and aeration | Heavy soils, potted plants | Inert, adds no nutrients |
| Vermiculite | Moisture and nutrient retention, aeration | Sandy soils, helps retain water | Inert, adds no nutrients |
| Aged Manure | Nutrient boost | All soil types (use sparingly) | Must be well-composted to avoid burning roots |
Planting Jack-in-the-Pulpit Corms
Once your soil is prepared, you’re ready to plant. Jack-in-the-Pulpit corms are typically planted in the fall, giving them time to establish before spring growth.
- Planting Depth: Plant corms about 3-4 inches deep, with the pointed end (if visible) facing upwards.
- Spacing: Space corms 6-10 inches apart, allowing them ample room to grow and spread.
- Watering: Water thoroughly after planting to settle the soil around the corms.
Table 2: Pros and Cons of Soil Amendments for Jack-in-the-Pulpit
| Amendment | Pros | Cons |
| :—————— | :——————————————————————— | :———————————————————————- |
| Compost | Enriches soil, improves structure, boosts microbial activity | Can vary in quality, may introduce weed seeds if not properly composted |
| Leaf Mold | Excellent for woodland plants, improves drainage and aeration | Can be time-consuming to produce, may carry fungal spores |
| Coarse Sand/Grit| Effectively improves drainage in heavy soils | Can be labor-intensive to incorporate, may not add nutrients |
| Pine Bark Fines | Enhances drainage and aeration, adds organic matter, natural appearance | May increase soil acidity slightly |
| Perlite | Lightweight, excellent for drainage | Non-biodegradable, does not add nutrients, can be dusty |
| Vermiculite | Improves water and nutrient retention | Non-biodegradable, does not add nutrients, can be dusty |
| Aged Manure | Provides essential nutrients, improves soil structure | Risk of burning roots if not aged/composted, can introduce pathogens |
Ongoing Soil Care for a Thriving Woodland Garden
Maintaining the soil health of your Jack-in-the-Pulpit patch is crucial for long-term success.
Mulching: The Woodland Gardener’s Best Friend
- Benefits: A layer of organic mulch (such as shredded bark, wood chips, or leaf litter) is highly beneficial. It helps retain soil moisture, suppress weeds, regulate soil temperature, and slowly breaks down to add nutrients.
- Application: Apply a 2-3 inch layer of mulch around the base of the plants, keeping it a few inches away from the immediate stem to prevent rot.
Watering Wisely
- While Jack-in-the-Pulpit enjoys moist soil, avoid overwatering. Water deeply when the top inch or two of soil feels dry.
- Water at the base of the plants to minimize the risk of fungal diseases on the foliage.
Fertilizing (Minimal Requirement)
- If you’ve prepared your soil with sufficient organic matter, additional fertilization is often unnecessary.
- A light top-dressing of compost in the spring can provide a gentle nutrient boost if plants appear to be struggling. Avoid high-nitrogen fertilizers, which can lead to weak, leggy growth.
Seasonal Care
- Spring: As new growth emerges, gently remove any winter debris. Replenish mulch if needed.
- Summer: Continue to monitor moisture levels, especially during dry spells.
- Fall: Allow the foliage to die back naturally. This is when the plant is storing energy in its corm for the following year. Do not cut back the dead foliage until spring.
Common Soil-Related Issues and Solutions
Understanding potential problems can help you proactively maintain your Jack-in-the-Pulpit.
- Yellowing Leaves: Often indicates overwatering or poor drainage. Ensure the soil is not waterlogged.
- Wilting: Can be a sign of underwatering or extreme heat. Check soil moisture.
- Rotting Corms: The most common issue, directly linked to waterlogged soil. Ensure excellent drainage.
- Lack of Flowering/Growth: May be due to insufficient organic matter, poor light conditions, or planting too shallowly.
Conclusion: Cultivating Success with Thoughtful Soil Preparation
The Jack-in-the-Pulpit is a rewarding plant to grow, offering a unique botanical spectacle in any woodland garden. By understanding its native habitat and meticulously preparing the soil with a focus on rich organic matter, balanced moisture, and good aeration, you can create the perfect environment for these captivating wildflowers to thrive. From assessing your existing soil to selecting the right amendments and implementing a consistent care routine, the journey to a flourishing Jack-in-the-Pulpit patch is rooted in thoughtful soil preparation. Embrace the process, and you’ll be rewarded with the enchanting presence of this woodland gem for years to come.
html
<h2>Jack-in-the-Pulpit Soil Preparation: Key Facts/Comparison</h2>
<table>
<thead>
<tr>
<th>Characteristic</th>
<th>Ideal Soil for Jack-in-the-Pulpit</th>
<th>Less Ideal Soil</th>
<th>Reasoning</th>
</tr>
</thead>
<tbody>
<tr>
<td>Texture</td>
<td>Rich, loamy, well-draining</td>
<td>Heavy clay, sandy, compacted</td>
<td>Prevents root rot, allows for good aeration and moisture retention.</td>
</tr>
<tr>
<td>pH</td>
<td>Slightly acidic to neutral (pH 6.0-7.0)</td>
<td>Highly alkaline</td>
<td>Jack-in-the-Pulpit prefers a slightly acidic to neutral environment for optimal nutrient uptake.</td>
</tr>
<tr>
<td>Organic Matter</td>
<td>High content (compost, leaf mold)</td>
<td>Low content, sterile</td>
<td>Provides essential nutrients, improves soil structure and moisture retention. Mimics woodland floor conditions.</td>
</tr>
<tr>
<td>Moisture Retention</td>
<td>Consistently moist, but not waterlogged</td>
<td>Dries out quickly or remains waterlogged</td>
<td>Requires a steady supply of moisture, especially during the growing season, but good drainage is crucial.</td>
</tr>
<tr>
<td>Drainage</td>
<td>Excellent</td>
<td>Poor</td>
<td>Crucial to prevent corm rot, especially in wetter woodland environments.</td>
</tr>
</tbody>
</table>
<h2>Jack-in-the-Pulpit Soil Preparation: Steps/Pros-Cons</h2>
<table>
<thead>
<tr>
<th>Step</th>
<th>Description</th>
<th>Pros</th>
<th>Cons</th>
</tr>
</thead>
<tbody>
<tr>
<td>1. Assess Existing Soil</td>
<td>Dig a small hole to examine texture, drainage, and compaction.</td>
<td>Identifies specific needs for amendment.</td>
<td>Requires some physical effort and observation.</td>
</tr>
<tr>
<td>2. Amend with Organic Matter</td>
<td>Incorporate generous amounts of compost, leaf mold, or aged bark into the top 6-8 inches.</td>
<td>Enriches soil with nutrients, improves texture and moisture retention, mimics natural woodland conditions.</td>
<td>Can be labor-intensive, requires sourcing quality organic materials.</td>
</tr>
<tr>
<td>3. Improve Drainage (if necessary)</td>
<td>For heavy clay, mix in coarse sand, perlite, or grit. Consider raised beds if drainage is severely poor.</td>
<td>Prevents waterlogging and corm rot.</td>
<td>Adding sand to clay can sometimes create a concrete-like substance if not done correctly; perlite/grit can be costly.</td>
</tr>
<tr>
<td>4. Adjust pH (if necessary)</td>
<td>If soil is too alkaline, incorporate elemental sulfur or peat moss (use sustainably). For acidic soil, add lime sparingly.</td>
<td>Ensures optimal nutrient availability for the plant.</td>
<td>Requires testing and careful application; over-liming can be detrimental.</td>
</tr>
<tr>
<td>5. Mulch</td>
<td>Apply a layer of shredded leaves, pine needles, or wood chips around the plant once established.</td>
<td>Helps retain moisture, suppresses weeds, keeps roots cool, and decomposes to further enrich soil.</td>
<td>Can sometimes harbor slugs or snails if too dense.</td>
</tr>
</tbody>
</table>


