Introduction to Jack-in-the-Pulpit (Arisaema triphyllum)
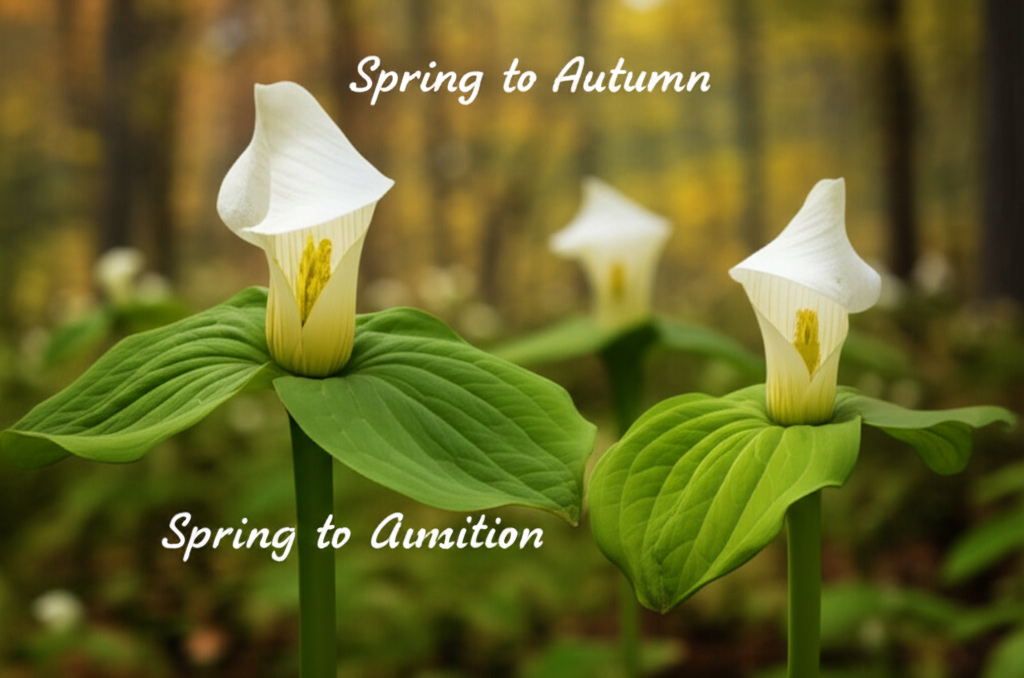
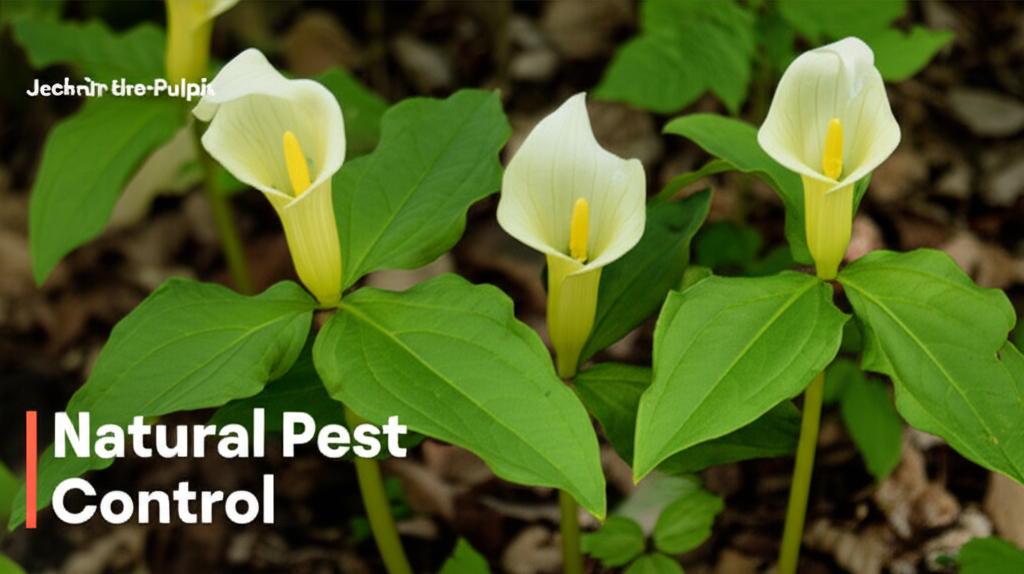
Jack-in-the-Pulpit, scientifically known as Arisaema triphyllum, is a captivating native wildflower that graces woodland floors across eastern North America. Its distinctive spathe and spadix, resembling a preacher in a pulpit, make it a unique and sought-after addition to shady, moist gardens. While often appreciated for its striking appearance during spring and summer, the plant also offers a fascinating reproductive cycle culminating in a cluster of vibrant red berries in late summer and fall. For gardeners interested in propagating this remarkable plant, understanding the nuances of seed collection is paramount to achieving successful germination and a thriving new generation. This comprehensive guide will walk you through the entire process, from identifying ripe berries to sowing your precious seeds.
Understanding the Jack-in-the-Pulpit Life Cycle and Seed Formation
To effectively collect Jack-in-the-Pulpit seeds, it’s crucial to understand its annual cycle. In early spring, a single, tightly furled spathe emerges from the soil, unfurling to reveal the spadix within. This structure is responsible for pollination. What appears as a single plant is often a corm that, depending on its age and vigor, can produce either one or two leaves. The flowers are typically unisexual, with plants being either male or female in any given year. However, they can change sex throughout their lives, a phenomenon known as sequential hermaphroditism.
After successful pollination, the spathe and spadix wither, and the plant redirects its energy towards developing the fruiting structure. By late summer and into the fall, the familiar hooded spathe will have collapsed, revealing a dense, upright stalk topped with a cluster of glossy, vibrant red berries. These berries are the plant’s seed-bearing structures and are the target for our collection efforts. The plant typically dies back to its corm as temperatures cool, preparing for dormancy.
When to Collect Jack-in-the-Pulpit Seeds: Timing is Everything
The success of your seed collection hinges on accurate timing. Collecting seeds too early will result in immature, non-viable seeds, while waiting too long can lead to the berries being dispersed by birds or other wildlife.
Signs of Ripe Berries
The most unmistakable sign of ripe Jack-in-the-Pulpit berries is their color. Immature berries are green, gradually turning yellow or greenish-orange as they mature. The true indicator of readiness is when the entire cluster of berries has transformed into a deep, glossy, vibrant red.
Optimal Collection Window
Generally, the best time to collect Jack-in-the-Pulpit seeds is from late August through October, depending on your geographic location and the specific growing conditions of the plants.
- Observe your local plants: Begin monitoring your Jack-in-the-Pulpit patches in mid-August.
- Look for the red: As soon as you see the first signs of deep red coloration developing on the berry clusters, you know the collection window is opening.
- Don’t wait too long: Birds find these berries highly attractive. If you wait until all the berries are uniformly bright red and plump, they may have already been eaten. It’s better to collect slightly before the absolute peak if you can’t monitor daily.
- Consider weather conditions: Avoid collecting during or immediately after heavy rain, as this can lead to premature decomposition of the berries and seeds.
How to Collect Jack-in-the-Pulpit Seeds: A Step-by-Step Guide
Collecting Jack-in-the-Pulpit seeds is a straightforward process, but it requires careful handling to ensure the viability of the seeds and the health of the parent plant.
Step 1: Locate Ripe Berry Clusters
The first step is to identify plants that have successfully developed mature, red berry clusters. Look for the characteristic bright red spheres clustered on a central stalk.
Step 2: Gently Harvest the Berry Stalk
- Wear gloves: The berries can stain hands, and some individuals may experience mild skin irritation from contact with the plant’s sap.
- Use clean tools: A sharp knife or pruning shears will make a clean cut and minimize damage to the parent plant.
- Cut the entire stalk: Carefully cut the stalk just above the uppermost leaves, ensuring you harvest the entire cluster of berries. Avoid pulling or tearing, as this can damage the corm.
- Handle with care: The berry stalks can be somewhat delicate.
Step 3: Extract the Seeds from the Berries
This is the most crucial part of the process. Jack-in-the-Pulpit seeds are encased within a fleshy, often mucilaginous berry.
- Method 1: Maceration (for larger quantities)
Place the harvested berry clusters in a bowl.
Gently crush the berries with the back of a spoon or your gloved fingers.
Add a small amount of water to help loosen the pulp.
Rub the crushed berries between your fingers to separate the seeds from the pulp. The pulp will become gelatinous and can be rinsed away.
- Method 2: Manual Extraction (for smaller quantities)
Carefully squeeze each individual berry to pop out the seed.
Discard the fleshy pulp.
This method is more time-consuming but offers precise control.
Step 4: Thoroughly Wash the Seeds
Once you have extracted the seeds, it is essential to remove all residual pulp. This is vital because the pulp can promote fungal growth and inhibit germination.
- Rinsing: Place the seeds in a fine-mesh sieve.
- Running water: Rinse the seeds under cool running water for several minutes, gently swirling them to ensure all pulp is washed away. You may need to repeat this process several times until the water runs clear and the seeds feel smooth and free of any sticky residue.
Step 5: Dry the Seeds Properly
Proper drying is critical to prevent mold and rot during storage.
- Air dry: Spread the washed seeds in a single layer on a clean paper towel or a shallow tray.
- Location: Place the tray in a warm, dry, well-ventilated area, away from direct sunlight.
- Duration: Allow the seeds to dry for 1-2 weeks. They should feel hard and brittle when fully dried. You can test this by trying to cut a seed with a sharp blade; it should offer firm resistance.
Key Facts and Comparison of Seed Collection Methods
Here’s a quick reference table for the key aspects of Jack-in-the-Pulpit seed collection:
| Feature | Jack-in-the-Pulpit (Arisaema triphyllum) Seeds |
| :—————– | :————————————————————————– |
| Scientific Name|
| Family | Araceae (Arum family) |
| Seed Type | True seeds, each enclosed in a fleshy berry. |
| Berry Color | Ripens from green to yellow/orange, then to a vibrant glossy red. |
| Optimal Harvest| Late August to October (dependent on local climate). |
| Collection Goal| Harvest ripe, fully red berry clusters. |
| Seed Extraction| Maceration (crushing and rinsing) or manual squeezing of berries. |
| Pulp Removal | Crucial to prevent fungal growth and ensure germination. Requires thorough washing. |
| Drying Method | Air drying in a single layer in a warm, dry, well-ventilated location. |
| Drying Time | 1-2 weeks, until seeds are hard and brittle. |
| Storage | Cool, dry conditions, in labeled envelopes or airtight containers. |
Storage of Jack-in-the-Pulpit Seeds
Once your seeds are thoroughly dried, proper storage is essential to maintain their viability until you are ready to sow them.
- Containers: Use small, labeled paper envelopes or airtight glass jars.
- Labeling: Clearly label each container with the plant name (
Stratification: The Essential Step for Germination
Jack-in-the-Pulpit seeds have a fascinating dormancy requirement that mimics their natural environment. They require a period of cold, moist stratification to break this dormancy and prepare for germination. This process simulates the winter conditions the seeds would experience in the wild.
Types of Stratification
There are two primary methods for stratifying Jack-in-the-Pulpit seeds:
- Natural Stratification (Sowing Outdoors): This is the simplest and often most effective method for gardeners.
Sow your seeds directly outdoors in the fall, as soon as they have been harvested and dried.
Plant them in a prepared seedbed or in pots filled with a well-draining potting mix.
The seeds will experience the natural freeze-thaw cycles of winter, which fulfills their stratification requirement.
Germination typically occurs in the spring.
- Artificial Stratification (In-Dormitory Stratification): This method allows for more control and is useful if you want to sow indoors or are collecting seeds late in the season.
Prepare the medium: Use a sterile, moist medium such as peat moss, vermiculite, or a mix of both. Ensure the medium is damp but not waterlogged – it should feel like a wrung-out sponge.
Mix seeds and medium: Gently mix the dried seeds with the moist stratification medium in a resealable plastic bag or a small container.
Refrigeration: Place the bag or container in the refrigerator (between 35-41°F or 1-5°C).
Duration: Stratify for at least 3-4 months. Some sources recommend up to 6 months for optimal results.
Check moisture: Periodically check the moisture level of the medium and add a little water if it starts to dry out.
* Watch for mold: If you notice any mold growth, remove the affected seeds and medium and replace it with fresh, sterile material.
Sowing Jack-in-the-Pulpit Seeds: Bringing Them to Life
After stratification (or if you’ve sown directly outdoors in the fall), the next step is sowing.
Natural Stratification (Fall Sowing)
- Timing: Sow in late fall, after the first frosts but before the ground freezes solid.
- Location: Choose a shady, woodland-type location with moist, well-draining soil rich in organic matter.
- Preparation: Loosen the soil and mix in some compost or leaf mold.
- Depth: Sow seeds about 1/2 inch deep.
- Spacing: Space seeds about 1-2 inches apart.
- Mulching: Lightly mulch the area with fallen leaves or straw to protect the seeds and retain moisture.
- Patience: Germination will likely occur the following spring.
Artificial Stratification (Spring Sowing)
- Timing: Sow in early spring, after the last frost date.
- Location: You can sow directly outdoors in a prepared bed as described above, or sow in pots.
- Pots: Use pots filled with a well-draining seed-starting mix.
- Depth and Spacing: Sow seeds about 1/2 inch deep, spacing them 1-2 inches apart in pots.
- Watering: Water gently but thoroughly.
- Location for pots: Place pots in a shaded area and keep them consistently moist.
What to Expect After Sowing
It’s important to manage expectations when growing Jack-in-the-Pulpit from seed.
- Slow Germination: Jack-in-the-Pulpit seeds are notoriously slow to germinate. It is common for seedlings to not emerge until the second spring after sowing, especially if they weren’t stratified for a sufficient period.
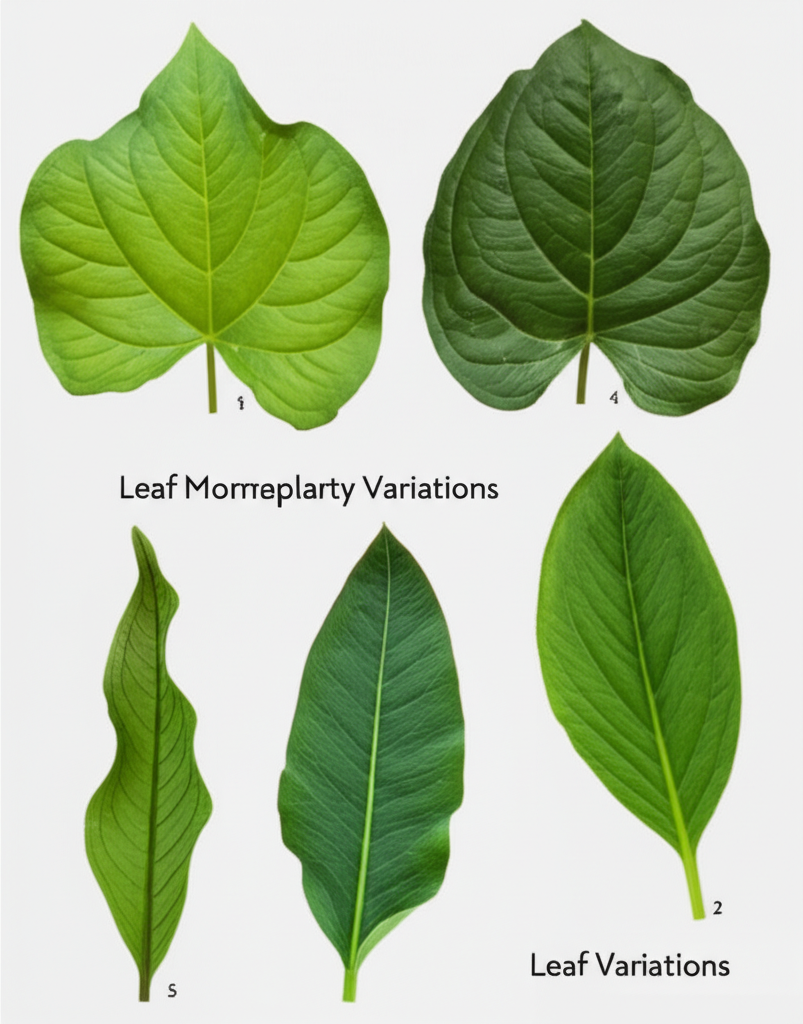
- First Year: The first year, you will likely see only a small, single leaf emerge, called a cotyledon. This leaf is often a simple, undivided leaf, unlike the typical trifoliate leaves of mature plants. The plant is establishing its corm and storing energy.
- Second Year and Beyond: Subsequent years will see more robust growth, with the plant eventually developing its characteristic three-part leaves and, eventually, the “Jack” structure in mature plants. It can take several years (3-7 years or more) for a seedling to reach reproductive maturity.
Pros and Cons of Collecting and Growing Jack-in-the-Pulpit from Seed
Collecting your own seeds offers distinct advantages, but also comes with its challenges.
Steps, Pros, and Cons Table
| Aspect | Description | Pros | Cons |
| :—————— | :————————————————————————————————————————————————————————————————————– | :————————————————————————————————————————————————————————————————————————— | :——————————————————————————————————————————————————————————————————————————- |
| Seed Collection | Gathering ripe berries and extracting seeds. | Cost-effective way to propagate plants; allows you to increase your stock for free; supports local ecosystems by not disturbing wild populations excessively. | Requires precise timing to ensure seed viability; berries can be difficult to extract from pulp; potential for skin irritation from plant sap; risk of damaging parent plants if not handled carefully. |
| Seed Processing | Washing, drying, and storing seeds. | Ensures seed longevity and prevents spoilage; proper labeling helps in future identification and planting. | Time-consuming; risk of mold if not dried properly; requires careful handling to avoid seed damage. |
| Stratification | Exposing seeds to cold, moist conditions to break dormancy. | Mimics natural conditions for optimal germination; essential for successful propagation; artificial stratification allows for controlled germination timing. | Can be lengthy (3-6 months); requires consistent moisture and temperature control; risk of mold if not managed properly. |
| Sowing | Planting stratified or fall-sown seeds. | Relatively simple process; fall sowing utilizes natural stratification; can be done in situ or in pots. | Extremely slow germination (often takes 1-2 years for first signs of life); initial seedlings are small and easily overlooked; requires patience and consistent care. |
| Growth | Development of seedlings into mature plants. | Creates plants perfectly adapted to your local conditions; satisfying to watch a plant grow from seed; results in a more robust and resilient plant over time. | Can take 3-7+ years to reach flowering maturity; initial years require diligent watering and weed control; may need protection from pests and harsh weather in early stages. |
Tips for Success and Common Pitfalls to Avoid
- Be Patient: This cannot be stressed enough. Jack-in-the-Pulpit from seed is a long-term project. Don’t get discouraged if you don’t see results immediately.
- Don’t Overwater: While seeds need moisture for stratification and germination, waterlogged conditions will lead to rot. Ensure good drainage.
- Avoid Direct Sunlight: Both seedlings and mature plants prefer shady, woodland conditions. Protect young seedlings from harsh sun.
- Collect Responsibly: Only take what you need. If you are collecting from wild populations, ensure the plants are abundant and you are not negatively impacting their numbers. Leave plenty of plants undisturbed.
- Source Locally: If possible, collect seeds from plants in your immediate area. This ensures the seeds are adapted to your specific climate and soil conditions.
- Consider Other Propagation Methods: While seed propagation is rewarding, Jack-in-the-Pulpit can also be propagated by dividing its corms. This is a faster method for obtaining mature plants, though it requires purchasing or obtaining divisions from existing plants.
Conclusion: The Rewards of Growing Jack-in-the-Pulpit from Seed
Collecting and sowing Jack-in-the-Pulpit seeds is a journey that requires patience, attention to detail, and a deep appreciation for the natural world. While the process is not immediate, the rewards are immense. You will gain a deeper understanding of this remarkable plant’s life cycle and contribute to its propagation. Watching a tiny seed transform over several years into the iconic woodland wonder is a truly fulfilling experience for any gardener. By following these guidelines, you can successfully collect, process, and sow Jack-in-the-Pulpit seeds, ensuring the continued presence of this captivating native wildflower in your garden and beyond. Happy gardening!
html
<h2>Jack-in-the-Pulpit Seed Collection: Key Facts/Comparison</h2>
<table>
<thead>
<tr>
<th>Feature</th>
<th>Jack-in-the-Pulpit (Arisaema triphyllum)</th>
<th>Other Native Wildflowers</th>
</tr>
</thead>
<tbody>
<tr>
<td>Seed Maturity Indicator</td>
<td>Bright red berries (sometimes speckled yellow/green when immature)</td>
<td>Varies greatly; often dry pods, small seeds, or fleshy fruits</td>
</tr>
<tr>
<td>Best Collection Time</td>
<td>Late summer to early autumn (once berries are fully red and slightly soft)</td>
<td>Varies; typically late summer to fall, after flowering</td>
</tr>
<tr>
<td>Seed Removal Method</td>
<td>Crush berries to release seeds, then rinse away pulp</td>
<td>Varies; shaking pods, rubbing seeds from husks, or collecting entire seed heads</td>
</tr>
<tr>
<td>Stratification Needs</td>
<td>Requires both cold and warm stratification (complex)</td>
<td>Varies; many require cold stratification, some warm, some none</td>
</tr>
<tr>
<td>Germination Time</td>
<td>Can be slow and erratic, often taking 1-2 years</td>
<td>Varies; some germinate quickly, others can take several years</td>
</tr>
<tr>
<td>Propagation Success</td>
<td>Moderate to challenging due to stratification needs</td>
<td>Varies; generally easier for common species</td>
</tr>
</tbody>
</table>
<h2>Jack-in-the-Pulpit Seed Collection: Steps/Pros-Cons</h2>
<table>
<thead>
<tr>
<th>Stage</th>
<th>Steps</th>
<th>Pros</th>
<th>Cons</th>
</tr>
</thead>
<tbody>
<tr>
<td rowspan="3"><strong>Collection</strong></td>
<td>1. Identify mature plants with bright red berries in late summer/early autumn.</td>
<td>Visual confirmation of seed readiness.</td>
<td>Can be difficult to distinguish from unripe berries.</td>
</tr>
<tr>
<td>2. Gently harvest the berry clusters, avoiding damage to the parent plant.</td>
<td>Ensures you collect viable seeds.</td>
<td>Berries can be delicate; may attract wildlife.</td>
</tr>
<tr>
<td>3. Store collected berries in a breathable container (paper bag, mesh bag) in a cool, dry place for a few days to soften.</td>
<td>Aids in seed separation.</td>
<td>Risk of mold if too damp.</td>
</tr>
<tr>
<td rowspan="3"><strong>Processing</strong></td>
<td>4. Crush the softened berries and immerse in water.</td>
<td>Helps separate seeds from pulp.</td>
<td>Can be messy.</td>
</tr>
<tr>
<td>5. Rinse seeds thoroughly through a fine sieve to remove all berry pulp.</td>
<td>Crucial for preventing mold and ensuring good germination.</td>
<td>Pulp can be sticky and time-consuming to remove.</td>
</tr>
<tr>
<td>6. Allow seeds to air dry for 1-2 days on a paper towel or screen.</td>
<td>Prepares seeds for stratification.</td>
<td>Ensure good air circulation to prevent mold.</td>
</tr>
<tr>
<td rowspan="2"><strong>Stratification & Sowing</strong></td>
<td>7. Prepare for complex stratification: warm stratification (e.g., damp peat moss in a warm location for 90-120 days) followed by cold stratification (e.g., damp peat moss in a refrigerator for 90-120 days).</td>
<td>Mimics natural conditions required for germination.</td>
<td>Time-consuming and requires careful monitoring of moisture and temperature. Incorrect stratification leads to failure.</td>
</tr>
<tr>
<td>8. Sow stratified seeds in a well-draining seed-starting mix and maintain consistent moisture.</td>
<td>Initiates the germination process.</td>
<td>Germination can take 1-2 years. Requires patience and consistent care.</td>
</tr>
</tbody>
</table>


