Introduction: The Allure of the Jack-in-the-Pulpit
The Jack-in-the-Pulpit (Arisaema triphyllum) is a truly captivating native wildflower, a botanical marvel that graces the shaded understories of woodlands and moist meadows across eastern North America. Its distinctive appearance, resembling a preacher in his pulpit, has long sparked curiosity and inspired artists, including landscape photographers. For those who venture into the dappled light of the forest floor, the Jack-in-the-Pulpit offers a unique subject, demanding patience, keen observation, and a thoughtful approach to capture its delicate beauty and ecological significance. This guide aims to equip landscape photographers with the knowledge and techniques to successfully photograph this fascinating plant, transforming fleeting encounters into enduring visual stories.
Why Photograph Jack-in-the-Pulpit?
The appeal of photographing the Jack-in-the-Pulpit extends beyond its unusual form. It’s a plant deeply intertwined with its environment, its presence often indicating healthy, undisturbed ecosystems. Capturing it allows photographers to:
- Document seasonal changes: From its emergence in spring to the development of its striking red berries in late summer and fall, the Jack-in-the-Pulpit offers a dynamic subject throughout its life cycle.
- Highlight intricate details: The spathe (the hooded leaf) and spadix (the spike) are a masterclass in natural architecture, with subtle color variations and textures begging to be explored.
- Tell a story of habitat: The plant’s preference for damp, shaded areas makes it an indicator of specific ecological conditions, allowing photographers to showcase the wider woodland environment.
- Embrace the challenge of low-light photography: Its native habitat often presents challenging lighting conditions, pushing photographers to refine their skills in managing contrast and achieving proper exposure.
Understanding Your Subject: The Jack-in-the-Pulpit Anatomy and Habitat

Before you even think about setting up your tripod, a deeper understanding of the Jack-in-the-Pulpit will profoundly inform your photographic approach.
Key Anatomical Features for Photographers:
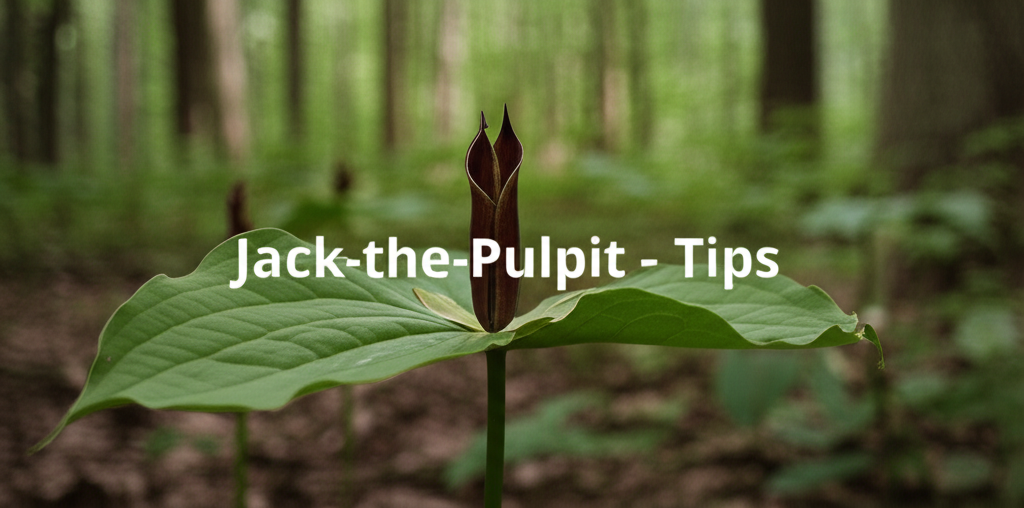
- The Spathe: This is the most recognizable part, a modified leaf that enfolds the spadix. Its color can range from a uniform green to mottled purple or brown, often with striking stripes. The hood’s angle and curve are crucial compositional elements.
- The Spadix: The central spike, often referred to as the “jack,” it bears the tiny flowers. Its color can also vary, typically greenish-yellow to purplish-brown.
- The Leaves: Typically, two trifoliate leaves emerge from the base of the plant, held on long stalks. These provide context and framing opportunities within the larger landscape.
- The Berries: In late summer and fall, the spathe and spadix wither, revealing clusters of bright red, fleshy berries. These are highly photogenic and signal a different phase of the plant’s life.
Ideal Habitats and Their Photographic Implications:
Jack-in-the-Pulpit thrives in specific environments, each offering distinct photographic opportunities and challenges.
- Damp Woodlands: This is their most common home. Think dappled sunlight filtering through a canopy of mature trees, creating pools of light and shadow. This environment calls for careful exposure management to avoid blown-out highlights and lost details in the shadows. The rich greens of mosses and ferns often provide a beautiful complementary backdrop.
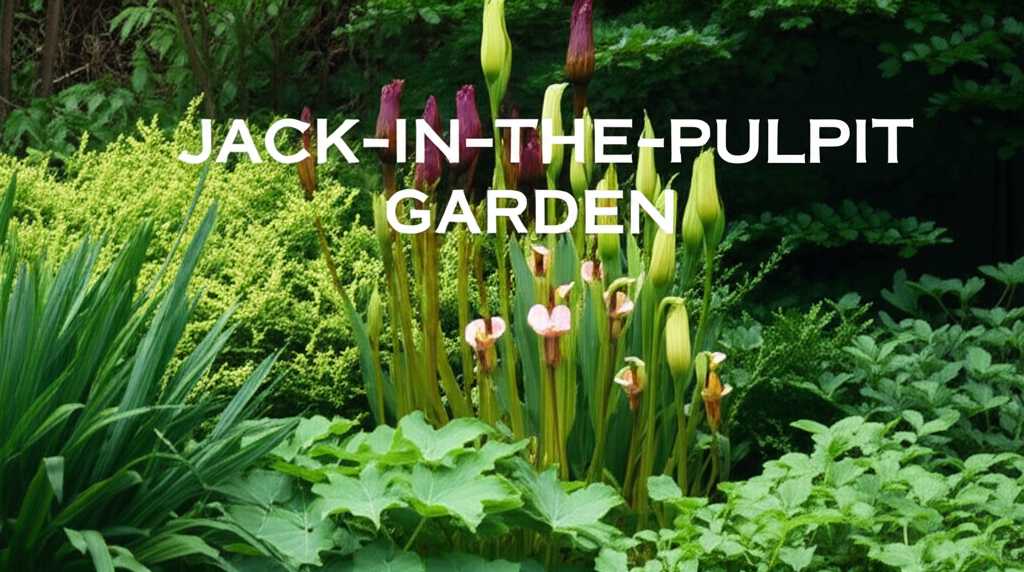
- Moist Meadows and Swamps: In these more open settings, you might find larger colonies. The lighting can be more direct, requiring you to be mindful of harsh midday sun. These locations can also offer wider landscape perspectives with the Jack-in-the-Pulpit as a focal point.
- Woodland Edges: Where forests meet open fields, you might find plants receiving more light, potentially leading to more vibrant spathe coloration.
Essential Gear for Jack-in-the-Pulpit Photography
While a basic camera can capture the subject, certain gear can elevate your Jack-in-the-Pulpit images from snapshots to compelling photographs.
Camera and Lenses:
- DSLR or Mirrorless Camera: Offers greater control over settings like aperture, shutter speed, and ISO, which are crucial for low-light and creative depth-of-field work.
- Macro Lens: Essential for capturing the intricate details of the spathe, spadix, and any insect visitors. A focal length of 90mm to 105mm is ideal, providing a good working distance.
- Prime Lens (e.g., 50mm or 85mm): Excellent for isolating individual plants or small clusters while creating beautiful bokeh (background blur).
- Wide-Angle Lens (e.g., 24mm or 35mm): Useful for including the Jack-in-the-Pulpit within its broader habitat, showcasing the woodland environment.
Support and Lighting:
- Tripod: Absolutely vital for sharp images, especially in low light conditions. It allows for longer shutter speeds and precise composition.
- Remote Shutter Release or Timer: Minimizes camera shake when pressing the shutter button, ensuring maximum sharpness.
- Reflector: A small, collapsible reflector (white or silver) can be invaluable for bouncing available light back onto the subject, filling in shadows and revealing detail.
- Diffuser: If shooting in bright, direct light, a diffuser can soften the harshness, creating a more pleasing, natural illumination.
Mastering Composition: Telling the Story of the Jack-in-the-Pulpit
Composition is king in any genre of photography, and photographing the Jack-in-the-Pulpit is no exception. Beyond simply placing the plant in the frame, consider how you can use visual elements to convey its essence.
Framing and Isolation:
- Using Natural Frames: Employ overhanging branches, leaves, or even other ferns to frame your Jack-in-the-Pulpit, drawing the viewer’s eye to the subject.
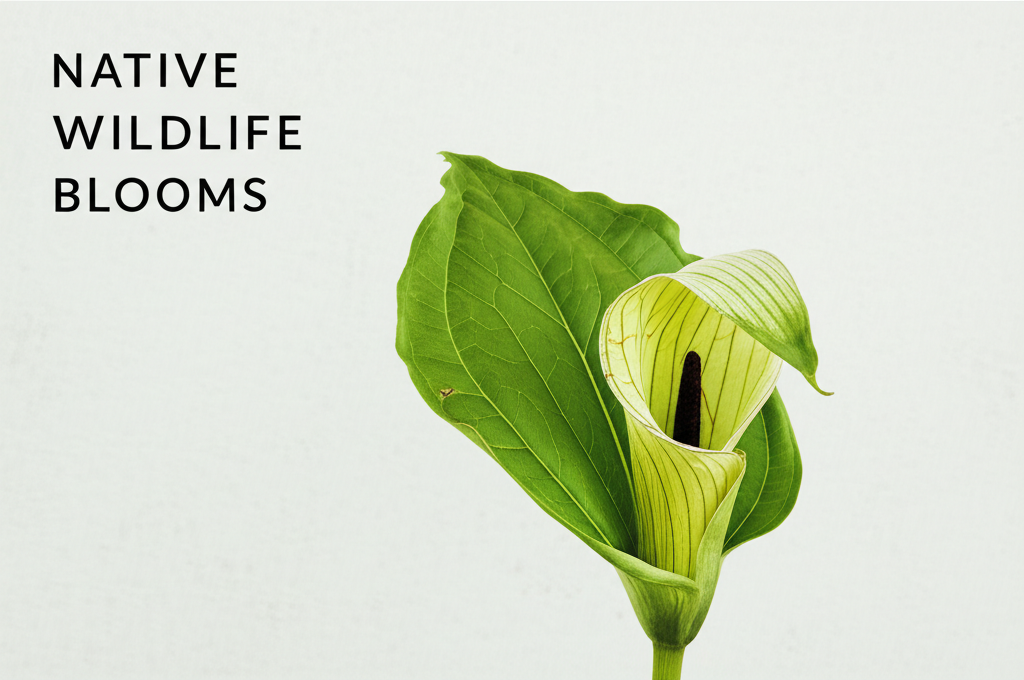
- Creating Negative Space: Don’t be afraid to leave empty space around your subject. This can emphasize its isolation and delicate nature, especially in a busy woodland.
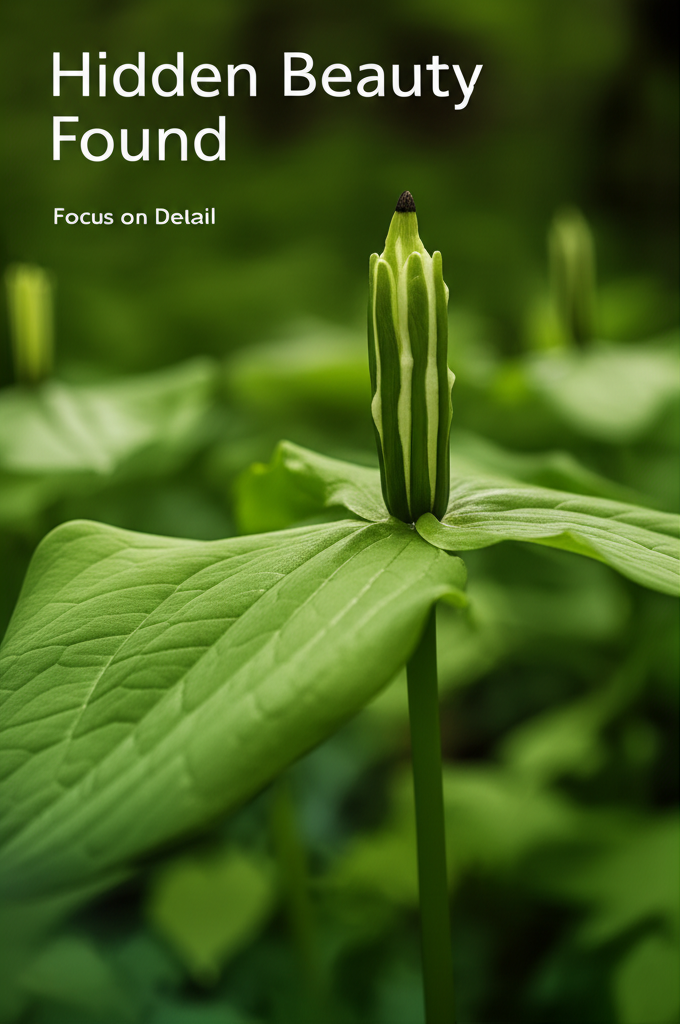
- Focusing on Detail: Get close (with a macro lens) to highlight the textures, patterns, and subtle color variations of the spathe and spadix.
Depth of Field:
- Shallow Depth of Field (Wide Aperture): Use a wide aperture (low f-number like f/2.8 or f/4) to blur the background and foreground, making your Jack-in-the-Pulpit stand out. This is particularly effective for showcasing individual specimens.
- Deeper Depth of Field (Narrow Aperture): If you want to include the surrounding woodland environment and show the plant in its habitat, use a narrower aperture (higher f-number like f/8 or f/11). Ensure your subject remains sharp.
Color and Light:
- Playing with Light and Shadow: Dappled sunlight creates dramatic contrasts. Experiment with backlighting to reveal the translucency of the spathe or side lighting to emphasize texture.
- Complementary Colors: The greens of the surrounding foliage and the earthy tones of the forest floor provide a natural palette. Look for opportunities where the color of the spathe (especially if it’s purple or striped) pops against its surroundings.
- The Red Berries: In autumn, the vibrant red berries offer a fantastic splash of color. Consider photographing them against a soft, blurred background of decaying leaves.
Technical Considerations for Jack-in-the-Pulpit Photography
Beyond composition, understanding and applying specific camera settings will ensure your images are technically sound and visually impactful.
Focusing:
- Accurate Focusing: With a shallow depth of field, precise focus is paramount. Use your camera’s autofocus points to lock onto the most critical part of the spathe or spadix. For macro shots, manual focus can offer greater control.
- Focus Stacking (Advanced): For extreme close-ups where you want everything from the tip of the spadix to the base of the spathe in sharp focus, consider focus stacking. This involves taking multiple shots at different focus points and merging them in post-processing.
Exposure:
- Metering Modes: Spot metering can be useful for isolating a single Jack-in-the-Pulpit in a complex scene, allowing you to expose for the plant itself. Evaluative or Matrix metering is generally good for balanced scenes.
- Exposure Compensation: In shaded woodland environments, your camera might underexpose. Use positive exposure compensation (e.g., +0.3 to +1.0 EV) to brighten the image. Conversely, in bright, open areas, you might need to use negative compensation.
- Histograms: Always check your histogram to ensure you’re not clipping highlights (losing detail in bright areas) or crushing shadows (losing detail in dark areas).
White Balance:
- Setting White Balance: Woodland light can be cool and blue. Using the “Cloudy” or “Shade” white balance presets can help neutralize this. Shooting in RAW format gives you the most flexibility to adjust white balance in post-processing.
- Experimentation: Sometimes, a slightly cooler or warmer white balance can add to the mood and atmosphere of your image.
ISO:
- Keeping ISO Low: Aim to keep your ISO as low as possible (e.g., 100-400) to minimize digital noise, especially important for detailed shots.
- Increasing ISO When Necessary: If you need a faster shutter speed to prevent blur and cannot open your aperture further or use a tripod, you may need to increase your ISO. Modern cameras handle higher ISOs well, but always be mindful of the trade-off with image quality.
| Aspect | Description | Photographic Implication | Ideal Gear/Technique |
|---|---|---|---|
| Habitat | Dappled shade of woodlands, moist meadows | Challenging low light, high contrast, presence of complementary greens | Tripod, reflector/diffuser, careful exposure, low ISO |
| Spathe Color Variation | Green, mottled purple, striped | Opportunities for strong color contrast, emphasizes detail | Macro lens, careful framing to highlight color |
| Life Cycle Stages | Emergence, flowering, berry production | Seasonal visual interest, evolving compositions | Revisit locations, adapt approach to stage |
| Leaf Structure | Two trifoliate leaves | Can provide natural framing or context | Wide-angle or standard lens for habitat shots |
| Berries | Bright red, late summer/fall | Strong focal point, vibrant color pop | Macro or standard lens, focus on detail and background blur |
Advanced Techniques and Creative Approaches
Once you’ve mastered the basics, consider these advanced techniques to push your Jack-in-the-Pulpit photography to the next level.
Creative Lighting Techniques:
- Using a Small LED Panel: For ultimate control in very dark conditions, a small, portable LED panel can provide subtle fill light. Be careful not to make the light look artificial; aim for a natural diffusion.
- Silhouettes: If you can position yourself between the plant and a bright background (perhaps at dawn or dusk), you can create striking silhouettes of the Jack-in-the-Pulpit’s distinctive shape.
Compositing and Composites:
- Focus Stacking: As mentioned, for maximum sharpness throughout intricate details, focus stacking is invaluable.
- Exposure Blending: In high-contrast scenes, you might shoot a bracketed series of exposures and blend them in post-processing to retain detail in both the highlights and shadows of the woodland.
Time-Lapse Photography:
While challenging due to the plant’s slow growth, a time-lapse of a Jack-in-the-Pulpit emerging or developing its berries can be a unique and engaging project. This requires significant setup and patience.
Post-Processing: Bringing Your Vision to Life
The work doesn’t end when you click the shutter. Post-processing is a crucial step in refining your Jack-in-the-Pulpit images.
Essential Adjustments:
- Exposure and Contrast: Fine-tune these to reveal the subtle gradations of light and shadow in the woodland.
- White Balance: Correct any color casts and ensure accurate representation of the plant and its environment.
- Sharpening: Apply selective sharpening to bring out the intricate details of the spathe and spadix.
- Noise Reduction: Use judiciously if you had to shoot at a higher ISO.
- Color Correction: Enhance the natural greens of the foliage and the color of the spathe or berries.
Creative Enhancements:
- Dodging and Burning: Subtly lighten or darken specific areas to guide the viewer’s eye and enhance the mood.
- Vignetting: A gentle vignette can help draw attention to the central subject.
- Black and White Conversion: Sometimes, stripping away color can emphasize the form, texture, and drama of the Jack-in-the-Pulpit’s structure.
| Step | Description | Pros | Cons |
|---|---|---|---|
| 1. Location Scouting | Identify suitable habitats, observe light patterns | Find best specimens, understand timing and light | Time-consuming, requires knowledge of local flora |
| 2. Gear Preparation | Clean lenses, charged batteries, packed tripod | Ensures readiness, prevents missed opportunities | Can be heavy to carry |
| 3. Composition and Framing | Experiment with angles, depth of field, and natural elements | Creates visually appealing and impactful images | Requires practice and creative vision |
| 4. Camera Settings | Set aperture, shutter speed, ISO, and white balance | Optimizes image quality for the conditions | Can be overwhelming for beginners |
| 5. Careful Focusing | Achieve sharp focus on the subject’s key features | Ensures clarity and detail | Challenging in low light or with shallow depth of field |
| 6. Exposure Management | Use metering and exposure compensation to capture detail | Prevents over/under-exposure, preserves dynamic range | Requires understanding of light and camera meter |
| 7. Post-Processing | Adjustments and enhancements in software | Refines images, realizes artistic vision | Requires software skills and time commitment |
Ethical Considerations and Conservation
As photographers, we have a responsibility to protect the natural world we aim to capture.
- Leave No Trace: Absolutely do not disturb or damage the plants or their habitat. Stay on designated paths where available.
- Respect Wildlife: Be mindful of any insects or animals that may be attracted to the plants.
- Avoid Over-Collection: Never pick wildflowers. Their beauty is best appreciated in situ.
- Educate and Inspire: Your photographs can be a powerful tool for raising awareness about the importance of native plants and their ecosystems.
Conclusion: A Rewarding Photographic Pursuit
Photographing the Jack-in-the-Pulpit is more than just an exercise in technical proficiency; it’s an opportunity to connect with the subtle wonders of the natural world. By understanding your subject, mastering your gear, and approaching composition with intention, you can create images that not only showcase this unique wildflower but also tell a story of the woodland it inhabits. Embrace the challenges, be patient, and let the enigmatic beauty of the Jack-in-the-Pulpit inspire your creative journey. The rewards are images that are both technically sound and deeply evocative, a true testament to the art of landscape photography.


