Understanding Your Ice Plant’s Soil Needs
Ice plants, belonging to the Aizoaceae family, are fascinating succulents celebrated for their unique, water-filled epidermal cells that resemble ice crystals. These specialized cells allow them to thrive in arid conditions, reflecting sunlight and reducing water loss. To mimic their native desert environments, ice plants require a well-draining soil mix. Standard potting soils retain too much moisture, which can quickly lead to root rot, the most common demise of these beautiful plants. Understanding the specific soil requirements of your ice plant is the first crucial step in ensuring its health and longevity.
Why Soil Replacement is Essential
Over time, even the best soil mixes can degrade. Organic matter breaks down, compacting the soil and reducing aeration. Furthermore, accumulated salts from fertilizers and tap water can build up, creating an unfavorable environment for root growth. Repotting and replacing the soil offers several key benefits:
- Improved Drainage: Fresh potting mix ensures optimal water flow, preventing waterlogged roots.
- Nutrient Replenishment: New soil provides essential nutrients that may have been depleted.
- Aeration: Loosened soil allows for better oxygen circulation to the roots, promoting healthy growth.
- Root Pruning: Repotting is an opportunity to inspect and prune any dead or circling roots, encouraging a more robust root system.
- Pest and Disease Prevention: Replacing soil can help eliminate potential soil-borne pests or diseases.
When to Replace Your Ice Plant’s Soil

Knowing the right time to repot is as important as knowing how to do it. While ice plants are not heavy feeders and generally prefer to be slightly root-bound, there are clear indicators that signal a need for fresh soil.
Signs Your Ice Plant Needs Repotting
- Slowed Growth: If your ice plant’s growth has significantly slowed or come to a standstill, it might be due to compacted or depleted soil.
- Water Draining Too Quickly or Too Slowly: If water runs straight through the pot without being absorbed (indicating the soil has lost its structure) or if the soil remains wet for an extended period after watering, it’s time for a change.
- Roots Emerging from Drainage Holes: This is a classic sign that the plant has outgrown its current pot and the soil is likely compacted.
- Visible Salt Buildup: White crusty deposits on the soil surface or around the rim of the pot indicate salt accumulation.
- Unhealthy Appearance: Yellowing leaves, wilting despite adequate watering, or a general lack of vigor can all be symptoms of poor soil conditions.
- Every 2-3 Years: As a general rule of thumb, most ice plants benefit from a soil refresh every two to three years, even if they don’t appear to have outgrown their pots.
Ideal Timing for Soil Replacement
The best time to replace the soil for your ice plant is during its active growing season, which typically spans from spring to early summer. This allows the plant to recover quickly and establish its roots in the new medium before the cooler, dormant periods of fall and winter. Avoid repotting during extreme heat or cold, as this can stress the plant.
Choosing the Right Soil Mix for Your Ice Plant
The foundation of a healthy ice plant is a well-draining soil mix. The goal is to create a medium that allows water to pass through freely while still retaining some moisture and providing essential nutrients.
Key Components of an Ice Plant Soil Mix
A good ice plant soil mix is a blend of ingredients that promote aeration and drainage. Here are the most common and effective components:
- Cactus/Succulent Potting Mix: This forms the base and is specifically formulated for plants with similar needs.
- Perlite or Pumice: These are lightweight, porous volcanic rocks that significantly improve drainage and aeration. They prevent soil compaction and waterlogging.
- Coarse Sand or Horticultural Grit: Adds drainage and grit, further preventing the soil from becoming too dense. Avoid fine sand, which can clog drainage.
- Compost or Worm Castings (in moderation): A small amount of organic matter can provide slow-release nutrients, but too much will retain too much moisture.
DIY Soil Mix Recipes
Creating your own soil mix offers the best control over the composition. Here are a couple of popular DIY recipes:
Recipe 1: Simple & Effective
- 2 parts Cactus/Succulent Potting Mix
- 1 part Perlite or Pumice
- 1 part Coarse Sand or Horticultural Grit
Recipe 2: Enhanced Drainage
- 1 part Cactus/Succulent Potting Mix
- 1 part Perlite
- 1 part Pumice
- ½ part Coarse Sand
Remember to mix these components thoroughly before use.
The Step-by-Step Process of Ice Plant Soil Replacement
Replacing the soil for your ice plant is a straightforward process, but it requires careful handling to minimize stress on the plant.
Preparation Steps
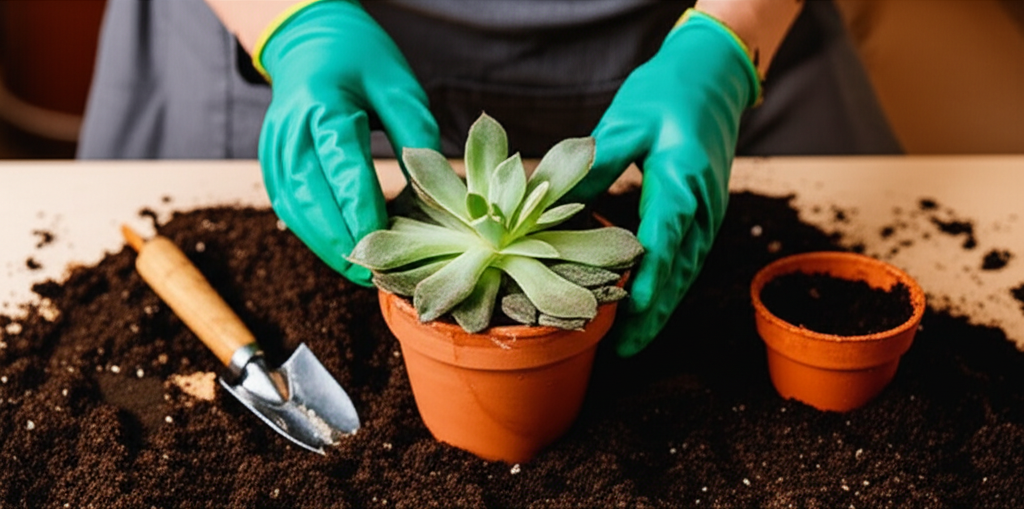
Before you begin, gather all the necessary materials:
- Fresh soil mix (pre-mixed or ingredients for DIY)
- A slightly larger pot with drainage holes (if repotting into a new container)
- Gardening gloves
- Trowel or small shovel
- Newspaper or drop cloth for mess containment
- Pruning shears or sharp scissors (for root pruning, if necessary)
- Watering can
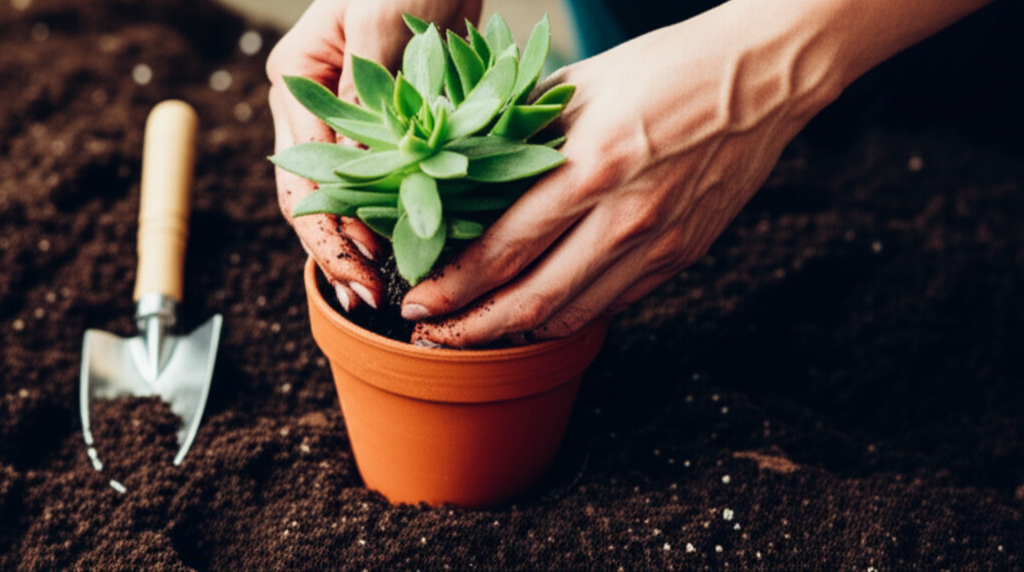
The Repotting Procedure
Follow these steps carefully:
- Water the Plant: A day or two before repotting, water your ice plant thoroughly. This helps to hydrate the roots and makes it easier to slide the plant out of its current pot.
- Prepare the New Pot: If using a new pot, ensure it has adequate drainage holes. Add a small layer of your prepared soil mix to the bottom of the new pot.
- Remove the Ice Plant from its Current Pot: Gently turn the pot on its side and carefully slide the plant out. If it’s stuck, you can gently tap the sides of the pot or use a trowel to loosen the soil around the edges. Avoid pulling the plant by its stem.
- Inspect and Prune the Roots: Once the plant is out, gently shake off as much of the old soil as possible. Inspect the root ball for any dead, damaged, or circling roots. Use clean pruning shears to trim these away.
- Place the Plant in the New Pot: Position the ice plant in the center of the new pot, ensuring the top of the root ball is about an inch below the rim.
- Fill with New Soil: Add your prepared soil mix around the root ball, filling in any gaps. Gently firm the soil with your hands, but avoid compacting it too much.
- Water Lightly: After repotting, water the plant lightly. This helps settle the soil and encourages root contact.
- Post-Repotting Care: Place your repotted ice plant in a location with bright, indirect light. Avoid direct sun for the first week or two as the plant adjusts. Do not fertilize for at least a month after repotting.
Key Facts and Comparison of Soil Replacement Techniques
Understanding the nuances of soil replacement for ice plants can help tailor your approach. While the core principle of improving drainage remains, different scenarios might call for slight adjustments.
| Scenario | Soil Replacement Focus | Key Considerations | Recommended Soil Mix Adjustment |
|---|---|---|---|
| General Refresh (Every 2-3 years) | Improved aeration and nutrient replenishment | Maintain good drainage, a balanced mix is sufficient | Standard DIY mix (Recipe 1) or good quality commercial cactus mix |
| Overwatering Issues / Root Rot Suspected | Maximizing drainage, reducing moisture retention | Aggressively promote airflow to roots | Increase perlite/pumice to at least 50% of the mix (e.g., 1 part cactus mix, 2 parts perlite/pumice) |
| Drought-Prone Climate / Infrequent Watering | Slightly better moisture retention without compromising drainage | Ensure roots have access to water for longer periods | Slightly increase the proportion of compost or worm castings (e.g., 2 parts cactus mix, 1 part perlite, 0.5 part compost) |
| New Container Planting | Establishing a healthy root system from scratch | Provide a supportive but well-draining environment | Standard DIY mix (Recipe 1 or 2) |
Troubleshooting Common Issues After Soil Replacement
While soil replacement is generally beneficial, some issues can arise. Being prepared to address them will ensure your ice plant thrives.
Common Problems and Solutions
- Wilting: This can be due to transplant shock. Ensure the plant is in a location with bright, indirect light and avoid overwatering. The roots may be temporarily damaged and taking time to re-establish.
- Yellowing Leaves: If new growth appears healthy but older leaves are yellowing, it might be normal shedding. If the whole plant seems affected, it could be due to overwatering in the new soil or insufficient light.
- Mold or Fungus on Soil Surface: This indicates the soil is staying too wet. Increase airflow around the plant and ensure the pot has adequate drainage. You may need to scrape off the affected soil and replace it with dry, sterile mix.
- No New Growth: Patience is key. It can take several weeks for an ice plant to show signs of new growth after repotting. Ensure it’s receiving the correct light and that the soil is appropriately moist, not soggy.
Pros and Cons of DIY vs. Commercial Soil Mixes
| Aspect | DIY Soil Mix | Commercial Cactus/Succulent Mix |
|---|---|---|
| Cost | Can be more cost-effective for large quantities | Convenient, but potentially more expensive per volume |
| Control over Composition | High – allows customization for specific plant needs | Limited – relies on manufacturer’s formulation |
| Quality Assurance | Depends on the quality of individual ingredients purchased | Generally consistent quality, but brand variation exists |
| Convenience | Requires sourcing and mixing ingredients | Ready to use, saving time and effort |
| Potential for Contaminants | Lower, if using reputable suppliers | Very low, typically sterilized |
| Customization for Specific Needs | Excellent – can be tailored for extreme drainage or slight moisture retention | Good baseline, but may not be perfect for all conditions |
Long-Term Care and Maintenance After Soil Replacement
Once your ice plant has settled into its new soil, consistent care will ensure its continued health and vibrancy.
Watering Practices
After repotting, let the soil dry out slightly before the first watering. Then, adopt a “soak and dry” method. Water thoroughly until water drains from the bottom, and then allow the soil to dry out completely before watering again. The frequency will depend on environmental factors like light, temperature, and humidity.
Light and Temperature
Ice plants thrive in bright, direct sunlight. However, after repotting, gradually reintroduce them to full sun to prevent scorching. They prefer warm temperatures and are sensitive to frost.
Fertilization
Wait at least a month after repotting before fertilizing. Use a diluted, balanced liquid fertilizer or a specific cactus/succulent fertilizer during the growing season (spring and summer), typically once a month. Reduce or stop fertilizing during the fall and winter.
Monitoring and Adjusting
Regularly inspect your ice plant for any signs of stress, pests, or diseases. Adjust your watering and light exposure as needed based on your plant’s response. Over time, you will learn to recognize your specific ice plant’s needs.
By understanding the importance of well-draining soil and following these detailed techniques, you can successfully revitalize your ice plant, ensuring it flourishes and continues to bring its unique crystalline beauty to your home.


