Ice plants, scientifically known as members of the Aizoaceae family (which includes Mesembryanthemums), are celebrated for their dazzling, iridescent foliage that sparkles like frost. These resilient succulents are relatively easy to grow, making them a favorite for gardeners seeking low-maintenance beauty. Understanding the distinct growth stages of ice plant succulents is key to providing optimal care and witnessing their full, radiant potential. This guide will walk you through each phase, from the initial germination of seeds to the mature, flowering plant, offering practical tips and insights for success.
Understanding the Aizoaceae Family: The Charm of Ice Plants
The term “ice plant” broadly refers to a diverse group of succulents, most famously those within the Mesembryanthemum genus, but also encompassing others like Delosperma, Lampranthus, and Lithops (though the latter are often considered a separate, highly specialized category). What unites them is their unique leaf structure, often covered in specialized epidermal cells called papillae or “bladder cells.” These cells store water and give the plants their characteristic glistening, “ice-like” appearance, especially under direct sunlight.
These succulents are native to arid and semi-arid regions, primarily in Southern Africa. This origin story is crucial for understanding their care requirements: they thrive in bright light, well-draining soil, and tolerate drought exceptionally well. Their growth patterns, however, can vary significantly between species, influencing the specific timing and visual cues of each stage.
Stage 1: Germination and Seedling Emergence (The Humble Beginnings)

The journey of an ice plant succulent begins with a tiny seed. Successful germination is the first hurdle, and while ice plants are generally forgiving, a few key factors can significantly improve your success rate.
Sowing Your Ice Plant Seeds
- Timing: The best time to sow ice plant seeds is typically in spring or early summer, when temperatures are consistently warm.
- Soil Medium: Use a well-draining seed-starting mix or a blend of coarse sand and perlite. Standard potting soil can retain too much moisture, leading to damping off.
- Depth: Ice plant seeds are very small and benefit from light exposure for germination. Sow them on the surface of the soil and lightly press them down. Do not bury them deeply.
- Moisture: Keep the soil consistently moist but not waterlogged. A spray bottle is ideal for watering to avoid disturbing the delicate seeds. Covering the seed tray or pots with a clear plastic dome or wrap can help maintain humidity.
- Temperature: Ideal germination temperatures range from 65-75°F (18-24°C).
- Light: Place the seed tray in a bright location, but out of direct, intense sunlight.
What to Expect in the First Few Weeks
Germination can take anywhere from a few days to several weeks, depending on the species and conditions. You’ll first notice tiny green sprouts emerging from the soil. These initial leaves are often called cotyledons, and they are the seedling’s first set of leaves, providing initial energy reserves.
Soon after, the true leaves will begin to appear. These will more closely resemble the adult ice plant’s foliage, often with the beginnings of those characteristic bladder cells. At this stage, the seedlings are extremely fragile.
Key Facts for Germination:
| Factor | Optimal Condition | Notes |
|---|---|---|
| Soil Type | Well-draining, sandy | Avoid heavy, moisture-retentive soils. |
| Sowing Depth | Surface sow, lightly pressed | Light is beneficial for germination. |
| Moisture | Consistently moist, not wet | Use a spray bottle for watering. |
| Temperature | 65-75°F (18-24°C) | Consistent warmth is crucial. |
| Light | Bright, indirect | Avoid direct, scorching sun. |
| Germination Time | Few days to several weeks | Patience is key. |
Stage 2: Young Plant Development (Building Strength)
Once your ice plant seedlings have developed their first set of true leaves and are a few weeks old, they enter the young plant development stage. This phase is about establishing a robust root system and developing healthy foliage.
Transplanting Seedlings
When seedlings have a few sets of true leaves and are large enough to handle, they can be carefully transplanted into individual pots or a larger nursery tray. Use a well-draining succulent or cactus potting mix. Handle the delicate roots gently to minimize transplant shock.
Care for Young Plants
- Light: Gradually introduce young plants to more direct sunlight. Aim for at least 6 hours of bright sunlight per day. Insufficient light can lead to leggy, weak growth.
- Watering: Water thoroughly when the soil is completely dry to the touch. Allow excess water to drain away. Overwatering is a common cause of root rot in succulents.
- Fertilizing: Young plants generally do not require much fertilizer. A diluted, balanced liquid fertilizer (e.g., 10-10-10) applied once in the spring can be beneficial, but it’s not strictly necessary for most species.
- Air Circulation: Good air circulation helps prevent fungal diseases, especially in humid conditions.
Visual Cues at This Stage:
The plants will be small, perhaps only an inch or two across. Their leaves will be plump and may start to show the characteristic “ice” shimmer. The stems will be green and growing steadily.
Stage 3: Vegetative Growth and Maturation (Spreading and Strengthening)
This is the primary growth phase where the ice plant succulent establishes its mature form. Depending on the species, this can involve spreading outwards, forming a dense mat, or growing into a more upright shrub-like habit.
Optimizing Growth Conditions
- Light: Full sun is essential for vibrant color and compact growth. In very hot climates, some afternoon shade might be beneficial to prevent scorching of the leaf tips.
- Watering: Water deeply when the soil has dried out completely. The frequency will depend on your climate, soil, and the size of the plant. It’s better to underwater than overwater. Allow the soil to dry out between waterings.
- Soil: Continue to use a well-draining soil mix. Adding gravel or pumice can further improve drainage.
- Fertilizing: Mature plants can benefit from a light feeding in the spring with a succulent or cactus fertilizer, or a balanced fertilizer diluted to half strength. Avoid over-fertilizing, which can lead to soft, weak growth prone to pests.
- Pruning: Pruning is typically done to manage the plant’s shape, encourage bushier growth, or remove any dead or damaged foliage. You can propagate cuttings taken during pruning.
Signs of a Healthy, Mature Plant:
The plant will have a well-established root system and a dense covering of plump, shimmering leaves. The stems will be sturdy. The plant might start to spread significantly outwards, especially groundcover varieties.
Stage 4: Flowering (The Grand Display)
Many ice plant succulents are grown primarily for their spectacular floral displays. This stage is often triggered by changes in light, temperature, and watering patterns.
When and How They Flower
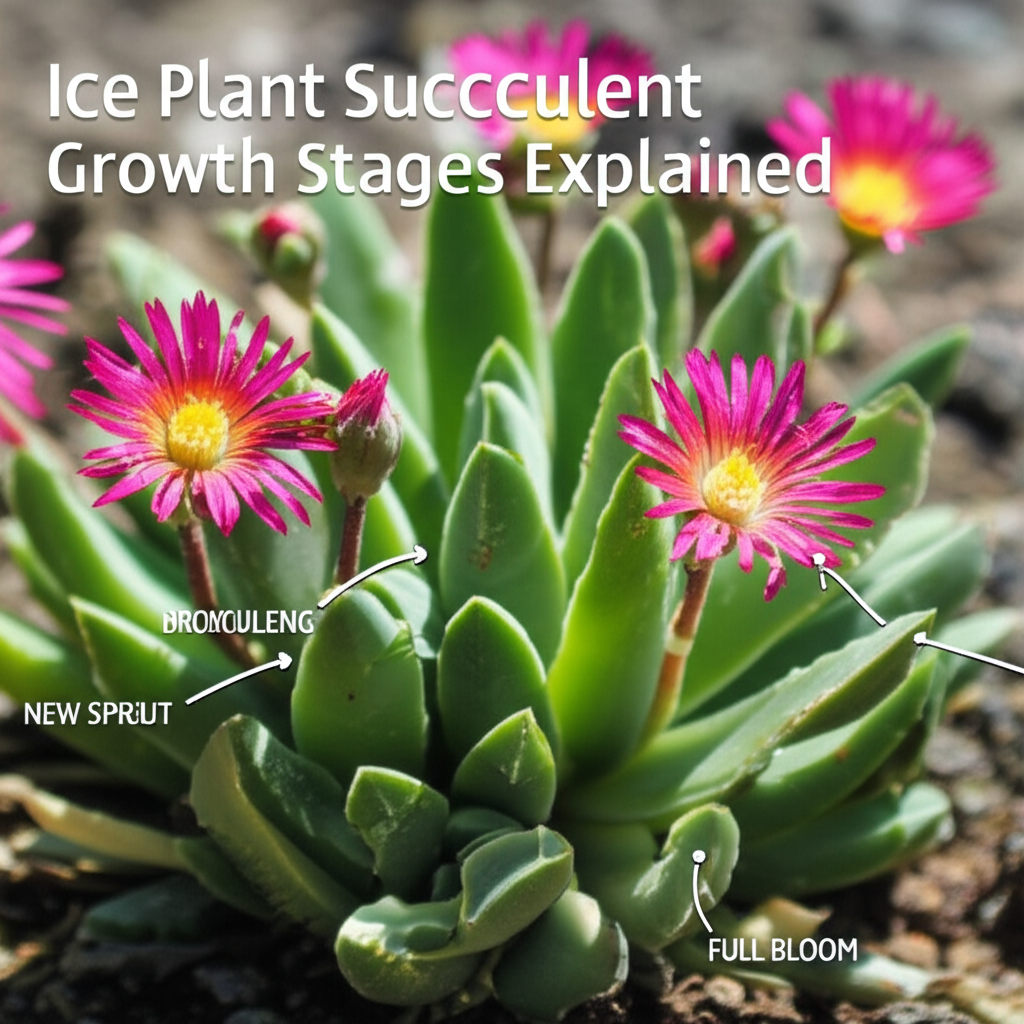
The flowering period varies by species but often occurs in late spring and summer. The flowers are typically daisy-like, with numerous ray florets that can be brightly colored in shades of pink, red, orange, yellow, and white. The unique characteristic of many ice plant flowers is that they open in sunlight and close in the evening or on cloudy days, mimicking the diurnal behavior of some desert flowers.
Factors Influencing Flowering:
- Sunlight: Ample direct sunlight is crucial for encouraging abundant blooms.
- Watering: While mature plants are drought-tolerant, a slight reduction in watering during the dry period leading up to flowering can sometimes encourage blooming. However, avoid prolonged drought, which can stress the plant.
- Temperature: Many species respond well to a period of cooler temperatures followed by warmth, mimicking seasonal changes.
- Maturity: Plants need to reach a certain level of maturity before they begin to flower consistently.
Post-Flowering Care:
After the flowers fade, you can deadhead them to prevent seed production if you want to direct the plant’s energy into vegetative growth or if you don’t want it to self-seed. In some cases, allowing some flowers to go to seed can be a way to propagate new plants.
Pros and Cons of Ice Plant Succulent Growth Stages
Each stage presents its own set of challenges and rewards for the gardener. Understanding these can help you manage expectations and provide the best care.
| Growth Stage | Pros | Cons |
|---|---|---|
| Germination & Seedling | Rewarding to watch tiny life emerge; relatively easy to start from seed. | Seedlings are very fragile and susceptible to damping off; slow initial growth. |
| Young Plant Development | Rapid leaf development; plant starts to establish its characteristic look. | Requires careful handling during transplanting; still susceptible to overwatering. |
| Vegetative Growth & Maturation | Plant fills out its space, becomes visually striking, and is more resilient. | Can spread aggressively (depending on species); may require pruning for containment. |
| Flowering | Spectacular visual display; attracts pollinators. | Flowering is dependent on optimal conditions; can be seasonal and short-lived. |
Common Issues and Troubleshooting Throughout Growth
Even with the best care, you might encounter some common problems. Here’s a quick guide to troubleshooting:
- Yellowing Leaves: Often indicates overwatering or poor drainage. Ensure the soil is drying out between waterings and has good aeration.
- Stretched, Leggy Growth (Etiolation): This is a clear sign of insufficient light. Move the plant to a brighter location.
- Mushy or Translucent Leaves: Almost always a sign of overwatering and potential root rot. Stop watering immediately and check the roots. If root rot is present, you may need to repot with fresh, dry soil and trim away affected roots.
- Brown, Crispy Leaf Tips: Can be caused by underwatering, too much direct sun (scorching), or salt buildup from tap water or fertilizers.
- Pests: Mealybugs and spider mites can sometimes affect ice plants. Treat with insecticidal soap or neem oil, ensuring good coverage.
Propagating Ice Plants: Extending the Cycle
One of the joys of growing ice plants is their ease of propagation. This can happen naturally through self-seeding, or you can actively propagate them.
Propagation by Cuttings
This is the most common and successful method.
- Take stem cuttings from a healthy, mature plant, preferably in spring or early summer.
- Ensure the cuttings have at least 2-3 leaf nodes.
- Allow the cuttings to air dry and callus over for a few days to a week. This prevents rot when planted.
- Plant the callused end into a well-draining succulent mix.
- Keep the soil slightly moist and place in bright, indirect light until roots form.
Propagation by Seed
As detailed in Stage 1, growing from seed is a rewarding, albeit slower, method. It’s also a great way to obtain a variety of colors and forms if you’re working with mixed seed packets.
Conclusion: A Rewarding Journey of Transformation
The growth stages of ice plant succulents offer a fascinating glimpse into the resilience and beauty of the plant kingdom. From the delicate first sprout to the spectacular floral display, each phase requires attentive, yet not overly demanding, care. By understanding their needs for light, water, and well-draining soil, you can nurture these sparkling gems from their humble beginnings to their full, radiant glory, transforming your garden or home with their unique, frosty charm. Enjoy the journey!


