The Enchanting Jack-in-the-Pulpit: A Woodland Wonder
The Jack-in-the-Pulpit (Arisaema triphyllum) is a captivating native wildflower that adds a touch of unique botanical charm to woodland gardens and shady, moist environments. Its distinctive spathe, resembling a preacher in a pulpit, and its vibrant red berries in the fall make it a highly sought-after plant for gardeners. While its natural beauty is undeniable, many gardeners wish to expand their collection or share this woodland gem with others. Fortunately, propagating Jack-in-the-Pulpit is achievable through a few key methods, primarily focusing on its underground storage organ: the corm. This guide will delve into the intricacies of corm propagation, ensuring you can successfully multiply your Jack-in-the-Pulpit plants.
Understanding the Jack-in-the-Pulpit Corm
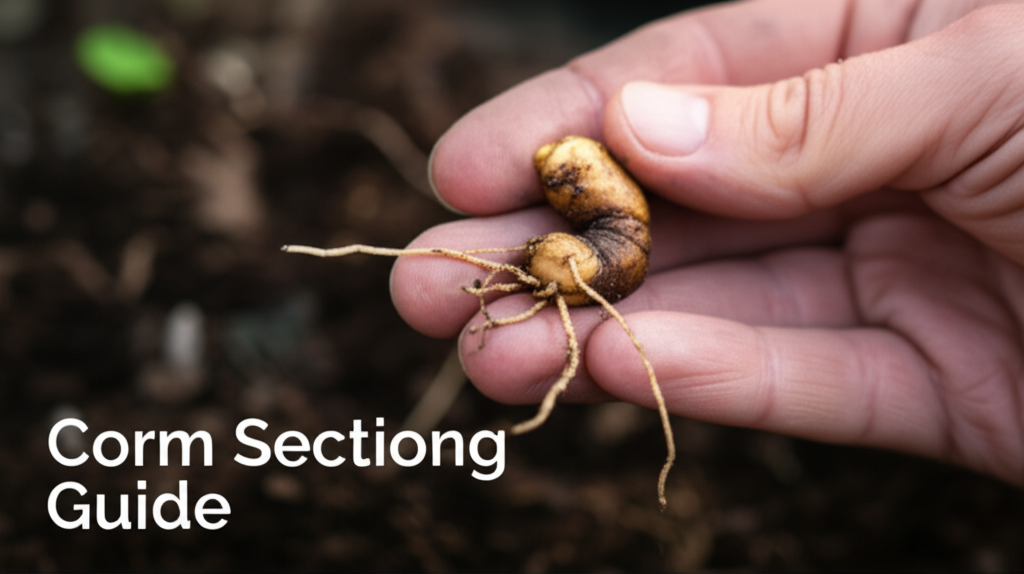
Before embarking on propagation, it’s crucial to understand the plant’s life cycle and its underground structure. Jack-in-the-Pulpit is a perennial herbaceous plant that overwinters as a corm. A corm is a swollen, underground plant stem that serves as a storage organ for food reserves, enabling the plant to survive unfavorable conditions such as winter cold or summer drought. Unlike a bulb, which is primarily made of fleshy leaves, a corm is a solid mass of stem tissue.
Each spring, the corm sends up new growth, which includes the characteristic hooded spathe and spadix, followed by a cluster of bright red berries in late summer or fall. Over time, the corm can grow and divide, forming offsets or “cormels.” These cormels are essentially miniature corms that can mature into independent plants. Propagating Jack-in-the-Pulpit primarily involves separating and replanting these cormels or dividing larger, established corms.
Methods of Jack-in-the-Pulpit Propagation

The most effective and commonly used method for propagating Jack-in-the-Pulpit is through its corms. This can be achieved in two main ways:
1. Propagation by Cormels (Offsets)
This is the gentlest and most natural method of propagation. As a Jack-in-the-Pulpit plant matures, its corm will produce small, rounded buds or offsets around its base. These are called cormels.
2. Propagation by Division of Large Corms
Mature corms can sometimes become quite large and may naturally divide. In other cases, gardeners can intentionally divide larger corms to create new plants. This method requires more care to ensure the health of both the parent corm and the divided sections.
Key Facts and Comparison of Propagation Methods
Understanding the nuances of each method will help you choose the best approach for your gardening situation.
| Feature | Propagation by Cormels | Propagation by Division of Large Corms |
|---|---|---|
| Maturity Time for Flowering Plant | Longer (often 3-5 years from very small cormels) | Shorter (can flower in 1-2 years depending on size) |
| Ease of Propagation | Relatively easy, nature-assisted | Requires more skill and precision |
| Risk of Damage to Parent Plant | Minimal | Moderate (if not done carefully) |
| Success Rate | High, especially with proper planting | High, if done correctly and corms are healthy |
| Best Time for Propagation | Late summer to early fall, after leaf die-back | Late summer to early fall, after leaf die-back |
| Availability of Material | Found around established, mature plants | Requires a mature, healthy corm that can be divided |
When to Propagate Jack-in-the-Pulpit
The ideal time to propagate Jack-in-the-Pulpit is during its dormant period. This is typically in the late summer to early fall, after the plant’s foliage has yellowed and died back. At this stage, the plant has replenished its energy reserves in the corm and is preparing for winter. Attempting to propagate when the plant is actively growing can stress it and reduce the chances of success.
Signs the Plant is Ready for Dormancy
- Foliage Yellowing: The leaves will start to turn yellow and eventually wither.
- Berries Mature: If the plant produced berries, they will have reached their full color and likely dropped some seeds.
- Spike Has Withdrawn: The unique “Jack-in-the-Pulpit” structure will have decayed.
Step-by-Step Guide to Propagating by Cormels
This method is akin to harvesting tiny treasures from the parent plant.
Step 1: Locate and Excavate the Parent Plant
- Identify your mature Jack-in-the-Pulpit plant.
- Gently dig around the base of the plant using a trowel or small shovel. Be careful not to damage the main corm.
- Excavate the entire corm and its surrounding soil.
Step 2: Gently Separate Cormels
- Once the parent corm is exposed, carefully brush away excess soil.
- Look for small, round, bulb-like structures attached to the sides of the main corm. These are the cormels.
- Gently twist or carefully cut them away from the parent corm. Cormels can range in size from that of a pea to a small marble.
Step 3: Prepare the Cormels for Planting
- Inspect the cormels for any signs of rot or damage. Discard any that appear unhealthy.
- Allow the cormels to air dry for a day or two in a cool, dry place. This helps prevent rot during storage.
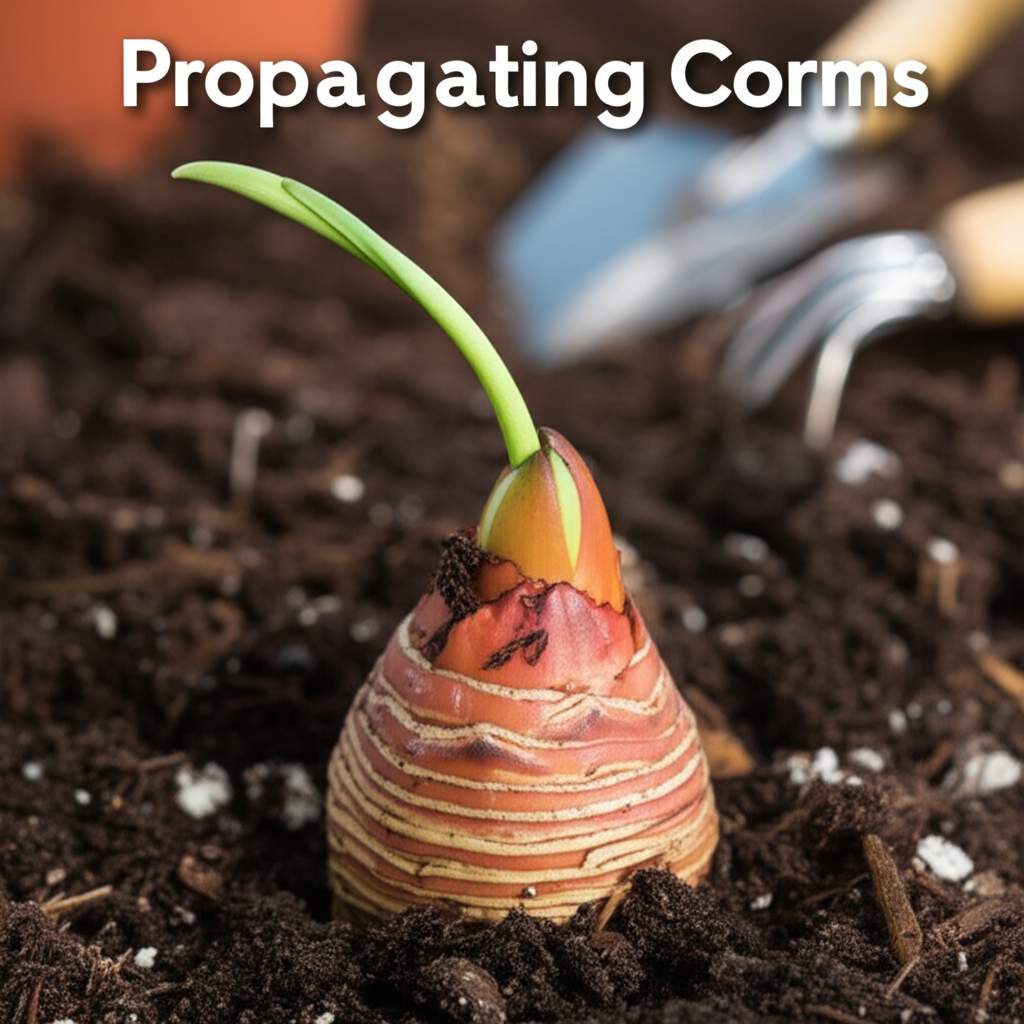
Step 4: Planting Cormels
- Timing: Plant immediately in fall, or store them for spring planting.
- Soil Preparation: Prepare a well-draining soil mix. A good blend would be 50% compost and 50% garden soil or a mix of potting soil and perlite.
- Planting Depth: Plant cormels about 1-2 inches deep in their new location or in small pots.
- Spacing: Space them about 2-3 inches apart.
- Location: Choose a shady, moist location that mimics their natural woodland habitat.
Step 5: Watering and Mulching
- Water the newly planted cormels gently but thoroughly.
- Apply a layer of mulch (such as shredded leaves or pine needles) to help retain moisture and regulate soil temperature.
Step 6: Patience is Key
- Cormels require patience. They may not sprout in the first spring.
- You will likely see only leaves in the first year or two, and it can take 3-5 years for a cormel to mature enough to produce flowers.
Step-by-Step Guide to Propagating by Division of Large Corms
This method is for when you have a substantial, mature corm that you wish to divide.
Step 1: Excavate the Mature Corm
- As with cormel propagation, the best time is late summer to early fall after the foliage has died back.
- Gently dig around the mature corm and lift it from the soil.
Step 2: Clean and Inspect the Corm
- Carefully brush off all soil from the corm.
- Examine the corm for any signs of rot, disease, or damage. If the corm is unhealthy, it’s best not to divide it.
Step 3: Divide the Corm
- Using a Knife: If the corm has natural divisions or has clear “eyes” or growth points, you can use a clean, sharp knife to cut the corm into sections.
- Ensure Each Section Has an “Eye”: It is crucial that each divided section has at least one healthy bud or “eye” from which new growth can emerge.
- Natural Divisions: Sometimes, larger corms will have natural crevices or sections that are already somewhat separated. These are ideal for division.
- Avoid Over-Division: Do not try to divide a corm into too many small pieces. Larger sections with established buds will have a higher success rate.
- Clean Cuts: Make clean cuts to minimize damage and potential for rot.
Step 4: Treat Cut Surfaces (Optional but Recommended)
- Some gardeners recommend dusting the cut surfaces of the divided corms with a fungicide or sulfur powder to prevent rot and fungal infections.
Step 5: Allow Corms to Callus
- Place the divided corm sections in a dry, well-ventilated area for a few days to a week. This allows the cut surfaces to callus over, which helps prevent rot when planted.
Step 6: Plant the Divided Corms
- Soil: Plant in well-draining soil, similar to the cormel mix.
- Depth: Plant the divided corms about 2-4 inches deep, depending on their size.
- Spacing: Space them 4-6 inches apart.
- Orientation: Plant with the “eye” or bud pointing upwards.
Step 7: Watering and Mulching
- Water thoroughly after planting.
- Apply a layer of mulch to retain moisture and protect the soil.
Step 8: Monitoring and Care
- Keep the soil consistently moist but not waterlogged.
- Divided corms are more likely to produce foliage in the following spring than cormels, and may even flower within a couple of years if the division was successful.
Pros and Cons of Propagation Methods
Choosing the right method depends on your goals and the resources available.
| Method | Pros | Cons |
|---|---|---|
| Propagation by Cormels |
|
|
| Propagation by Division of Large Corms |
|
|
Post-Propagation Care
Whether you’ve propagated from cormels or divided corms, proper aftercare is essential for success.
Watering
Jack-in-the-Pulpit thrives in moist environments. Keep the soil consistently damp but not waterlogged, especially during the establishment phase. Water more deeply when the soil surface begins to dry out. Avoid letting the soil become completely dry, as this can stress the young plants.
Soil and Location
As mentioned, these plants prefer shade and rich, well-draining soil. If planting in pots, use a high-quality potting mix amended with compost. For in-ground planting, amend the native soil with compost to improve its structure and fertility. Partial to full shade is ideal, protecting them from harsh afternoon sun.
Fertilizing
Jack-in-the-Pulpit generally doesn’t require heavy fertilization. A top dressing of compost in the spring is usually sufficient. Over-fertilizing can lead to weak, leggy growth.
Mulching
A layer of organic mulch around the base of the plants is highly beneficial. It helps to:
- Retain soil moisture.
- Suppress weed growth.
- Regulate soil temperature, keeping roots cool in summer and insulated in winter.
- Decompose over time, adding nutrients to the soil.
Suitable mulching materials include shredded leaves, pine needles, or compost.
Pest and Disease Management
Jack-in-the-Pulpit is generally a robust plant, but it can be susceptible to slug and snail damage, especially when young. Other potential issues include fungal diseases if the soil is too wet and lacks adequate drainage. Practicing good garden hygiene, ensuring proper air circulation, and avoiding overwatering can help prevent most problems.
Troubleshooting Common Propagation Issues
Even with careful planning, propagation can sometimes present challenges.
- Corms Rotting: This is often due to overwatering or poor drainage. Ensure the soil is well-draining and avoid waterlogged conditions. If planting in pots, make sure they have drainage holes.
- No Growth After Planting: This is common with cormels. Patience is vital, as they can take a year or more to sprout. Ensure they are planted at the correct depth and the soil remains adequately moist. Also, verify that you planted them with the “eye” pointing upwards if you divided a larger corm.
- Weak or Leggy Growth: This can be a sign of insufficient light (if in too much shade) or too much nitrogen from over-fertilizing. Adjust your approach based on your specific conditions.
- Damage During Excavation: Be as gentle as possible when digging. If a corm is damaged, try to trim away bruised or torn parts cleanly and consider treating the wound with fungicide before planting.
Conclusion: The Reward of Multiplying Your Jack-in-the-Pulpit
Propagating Jack-in-the-Pulpit is a rewarding endeavor that allows you to expand your collection of these fascinating woodland wildflowers, share them with fellow gardeners, or even reintroduce them to suitable natural areas. By understanding the plant’s life cycle, employing the correct techniques for cormel separation or corm division, and providing diligent post-propagation care, you can successfully multiply these botanical wonders. The patience required, especially with cormels, is a testament to nature’s pace, but the eventual reward of a flourishing Jack-in-the-Pulpit display is well worth the effort. Happy propagating!


