The Allure of the Globe Artichoke
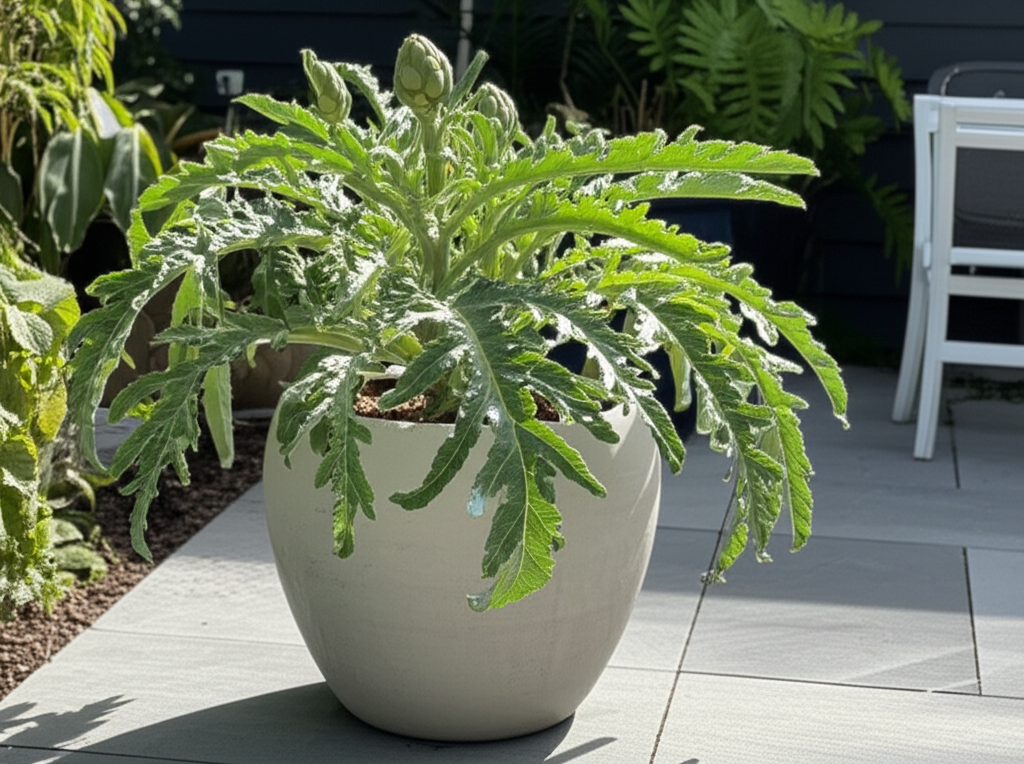
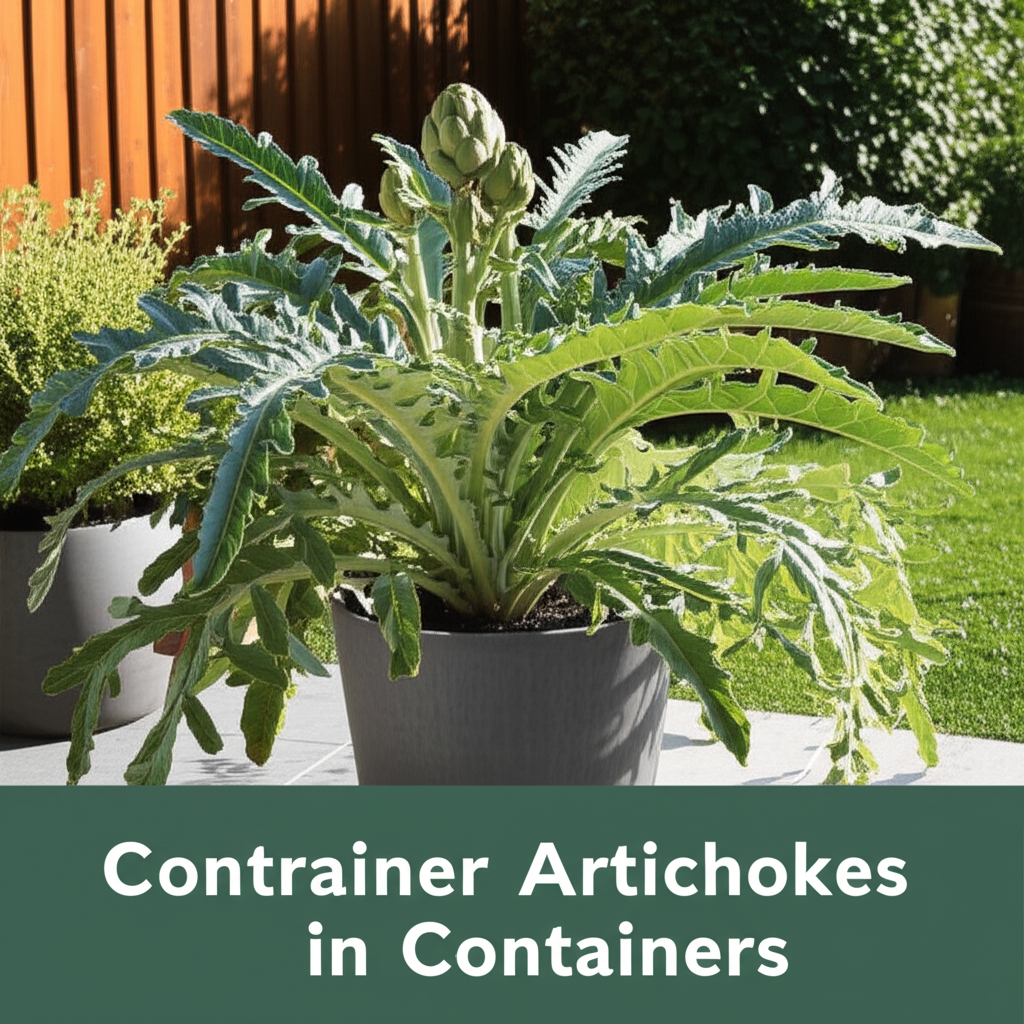
The globe artichoke (Cynara cardunculus var. scolymus) is a majestic edible thistle, celebrated for its tender hearts and succulent bases of bracts. While often associated with sprawling Mediterranean gardens, this culinary treasure can be successfully cultivated in containers, bringing its unique charm and delicious harvest to even the smallest urban balcony or patio. Growing artichokes in pots not only allows those with limited space to enjoy them but also provides a controlled environment, potentially aiding in pest management and overwintering in colder climates. This guide will walk you through every step, from selecting the right variety to harvesting your homegrown bounty.
Why Grow Artichokes in Containers?
Container gardening offers several distinct advantages for artichoke enthusiasts:
- Space Efficiency: Ideal for balconies, patios, and small yards where in-ground planting isn’t feasible.
- Mobility: Allows you to move plants to optimal sun exposure or protect them from harsh weather.
- Soil Control: You can create the perfect soil mix, tailored to the artichoke’s needs, bypassing potentially unsuitable native soils.
- Pest and Disease Management: Easier to monitor and treat pests or diseases in a contained environment.
- Overwintering: In colder regions, containers make it simpler to move plants to a frost-free location for the winter.
Choosing the Right Artichoke Variety for Container Growing

Not all artichoke varieties are created equal when it comes to container cultivation. Some are naturally more compact and well-suited to pots.
Recommended Varieties:
- ‘Imperial Star’: This is a popular and highly recommended variety for containers. It’s a hybrid that produces multiple medium-sized, delicious artichokes and is known for its earlier maturity and ability to produce from seed.
- ‘Green Globe’: A classic, dependable variety that produces large, flavorful artichokes. While it can be a bit more vigorous, it can still be managed in larger containers.
- ‘Violetto’: This Italian heirloom produces beautiful, smaller, purple-tinged artichokes. It’s often more manageable in size for container growing.
Key Factors to Consider:
- Size: Look for varieties specifically bred for smaller stature or those known to perform well in pots.
- Maturity Time: Some varieties mature faster, meaning you’ll enjoy a harvest sooner.
- Cold Hardiness: If you live in a region with harsh winters, consider varieties with better cold tolerance or those that can be easily overwintered.
Essential Supplies for Container Artichoke Gardening
Before you begin, gather the necessary materials to ensure success.
Container Selection:
The container is crucial for artichoke success. They are thirsty and hungry plants with substantial root systems.
- Size: A minimum of 5-gallon (approx. 19-liter) capacity is recommended per plant. Larger, 10-15 gallon (approx. 38-57 liter) containers are even better, providing more room for root development and moisture retention.
- Material: Terracotta pots offer good breathability but dry out quickly. Plastic or resin containers retain moisture better. Fabric grow bags are excellent for aeration and preventing root circling.
- Drainage: Ensure the container has ample drainage holes. Artichokes abhor waterlogged roots.
Potting Mix:
A well-draining, nutrient-rich potting mix is vital.
- Base: A good quality potting soil, preferably organic.
- Amendments: Mix in compost or well-rotted manure for nutrients, and perlite or coarse sand for improved drainage. A 2:1:1 ratio of potting soil, compost, and perlite is a good starting point.
Other Supplies:
- Artichoke seeds or seedlings
- Fertilizer (balanced, slow-release, or organic options)
- Watering can or hose
- Gardening gloves
- Trowel
- Pruning shears or sharp knife
Planting Your Container Artichokes
Whether starting from seed or purchasing seedlings, proper planting technique is key.
Starting from Seed:
Artichoke seeds can be sown indoors 6-8 weeks before the last expected frost.
- Fill small pots or seed trays with a seed-starting mix.
- Sow seeds about 1/4 inch (0.6 cm) deep.
- Water gently and keep the soil consistently moist.
- Provide warmth (70-80°F / 21-27°C) and plenty of light. A grow light is beneficial.
- Once seedlings have at least two sets of true leaves and the danger of frost has passed, they can be transplanted into their final containers.
Planting Seedlings:
If you purchased seedlings, transplant them into their containers once the weather is reliably warm.
- Fill your chosen container with the prepared potting mix, leaving about 2 inches (5 cm) of space at the top for watering.
- Gently remove the seedling from its nursery pot. If the roots are tightly bound (root-bound), gently loosen them with your fingers.
- Dig a hole in the potting mix large enough to accommodate the seedling’s root ball.
- Place the seedling in the hole so that the top of its root ball is level with the soil surface.
- Backfill with soil, pressing gently to remove air pockets.
- Water thoroughly to settle the soil and hydrate the plant.
Caring for Your Container-Grown Artichokes
Artichokes are relatively low-maintenance, but consistent care will yield the best results.
Sunlight Requirements:
Artichokes are sun-loving plants.
- Full Sun: They require at least 6-8 hours of direct sunlight per day. Place your containers in the sunniest location available.
Watering:
Consistent moisture is crucial, especially during dry periods.
- Deep Watering: Water deeply and regularly, ensuring the entire root ball is moistened. Allow the top inch (2.5 cm) of soil to dry out slightly between waterings.
- Avoid Overwatering: Soggy soil can lead to root rot.
- Frequency: Watering needs will vary depending on temperature, container size, and the plant’s growth stage. Check the soil moisture regularly.
Fertilizing:
Artichokes are heavy feeders, particularly in containers where nutrients can be depleted more quickly.
- Initial Feeding: Incorporate a balanced, slow-release fertilizer into the potting mix at planting time.
- Regular Feeding: Begin feeding with a liquid fertilizer (e.g., fish emulsion, compost tea, or a balanced liquid fertilizer) every 4-6 weeks once the plant is established and actively growing. Alternatively, top-dress with compost or granular fertilizer.
- Avoid Over-fertilizing: Too much nitrogen can lead to lush foliage but fewer flower buds.
Pruning and Maintenance:
Regular pruning helps manage the plant’s size and encourages bud production.
- Remove Suckers: Artichokes tend to send up multiple shoots (suckers) from the base. For container growing, it’s often best to limit the plant to one or two main stems to conserve energy and produce larger buds. Prune away excess suckers using sharp pruning shears.
- Remove Flower Buds: Once a bud is harvested, or if a bud starts to open before you can harvest it, remove it to encourage the plant to produce more buds.
- Remove Dead or Damaged Leaves: Trim away any yellowing, brown, or damaged foliage to maintain plant health and improve air circulation.
Pest and Disease Management:
Container-grown artichokes are generally less susceptible to pests and diseases, but vigilance is still important.
- Common Pests: Aphids, slugs, snails, and the artichoke plume moth are common culprits.
- Organic Solutions: Use insecticidal soap, neem oil, or handpick pests. Encourage beneficial insects like ladybugs. Slugs and snails can be deterred with copper tape around containers or slug bait.
- Common Diseases: Powdery mildew and root rot (due to overwatering) can occur. Ensure good air circulation and avoid waterlogged soil.
Harvesting Your Globe Artichokes
The reward for your efforts comes when the artichoke buds are ready.
When to Harvest:
Artichoke buds are ready for harvest when they are mature but before the bracts begin to separate and open widely.
- Size: Look for buds that are about 3-4 inches (7.5-10 cm) in diameter.
- Tight Bracts: The bracts should be tightly closed. If they start to loosen and curl, the artichoke is past its prime for eating as a whole bud, though it can still be used for its heart or for decorative purposes.
- Timing: Most varieties will produce their first harvest about 60-90 days after transplanting. They typically bloom in late spring to early summer.
How to Harvest:
Use a sharp knife or pruning shears to harvest.
- Cut the main stem about 1-2 inches (2.5-5 cm) below the bud.
- It’s beneficial to leave a small portion of the stem attached to the plant, as this can sometimes encourage the development of secondary buds.
- Harvest the main bud first, as this is usually the largest. The plant will then produce smaller, secondary buds on side shoots.
Overwintering Container Artichokes
In regions with freezing temperatures, protecting your artichoke plants during winter is essential.
Methods for Overwintering:
- Bring Indoors: The easiest method for container-grown artichokes is to bring the entire pot into a frost-free location. This could be an unheated garage, a shed, a basement, or a greenhouse.
- Reduce Watering: Once indoors, significantly reduce watering. Keep the soil just moist enough to prevent it from drying out completely.
- Provide Light: If possible, provide some indirect light.
- Prepare for Spring: In early spring, when temperatures begin to warm and the threat of hard frost has passed, you can gradually reintroduce the plants to outdoor conditions. Trim back any dead foliage and resume regular watering and feeding.
Alternative: Treat as Annuals
If overwintering seems too much of a hassle, artichokes can also be grown as annuals in colder climates, meaning you’ll replant them each year. Many gardeners find the harvest from a first-year plant to be smaller, but still enjoyable.
Key Facts and Comparison
Here’s a quick overview of important considerations for growing globe artichokes in containers.
| Aspect | Requirement | Notes |
|---|---|---|
| Container Size | Minimum 5 gallons (19L), 10-15 gallons (38-57L) recommended | Allows for root development and moisture retention. |
| Sunlight | 6-8+ hours direct sun daily | Crucial for bud formation and plant health. |
| Watering | Consistent moisture, avoid waterlogging | Deep watering when top inch of soil is dry. |
| Soil Type | Well-draining, rich potting mix | Mix potting soil with compost and perlite/sand. |
| Fertilizing | Regular feeding required | Balanced fertilizer, compost, or organic liquid feed. |
| Overwintering | Essential in freezing climates | Bring containers indoors to a frost-free location. |
Pros and Cons of Container Artichoke Gardening
Weighing the advantages against the challenges will help you decide if container artichokes are the right choice for you.
| Pros | Cons |
|---|---|
| Space-saving, ideal for small areas | Requires diligent watering due to faster drying pots |
| Easier pest and disease monitoring | Nutrients can deplete faster, requiring more frequent feeding |
| Soil quality control | Larger containers can be heavy to move |
| Simplified overwintering in colder climates | May produce smaller yields compared to in-ground plants |
| Aesthetically pleasing, adds a tropical feel | Some varieties can grow quite large, needing substantial pots |
Troubleshooting Common Issues
Even with the best care, you might encounter a few problems.
- Yellowing Leaves: This can be caused by overwatering, underwatering, or a lack of nutrients. Check soil moisture and consider fertilizing if needed.
- No Buds: This could be due to insufficient sunlight, young plants not yet mature enough, or poor fertilization. Ensure the plant is getting enough sun and is adequately fed. Some varieties may take a year or two to establish and produce a good harvest.
- Pests: Regularly inspect your plants for common pests. Early detection and treatment are key.
Enjoying Your Harvest
Once harvested, globe artichokes can be enjoyed in numerous ways. They can be steamed, grilled, baked, or used in salads. Remember to trim the thorny tips of the bracts and the fibrous outer layers before cooking. The true prize is the tender artichoke heart, a delicacy that makes the cultivation effort incredibly rewarding.
Growing globe artichokes in containers is a fulfilling endeavor that brings a touch of edible elegance to your home. With the right variety, a generous pot, and consistent care, you can successfully cultivate these magnificent plants and savor their unique flavors. Happy gardening!


