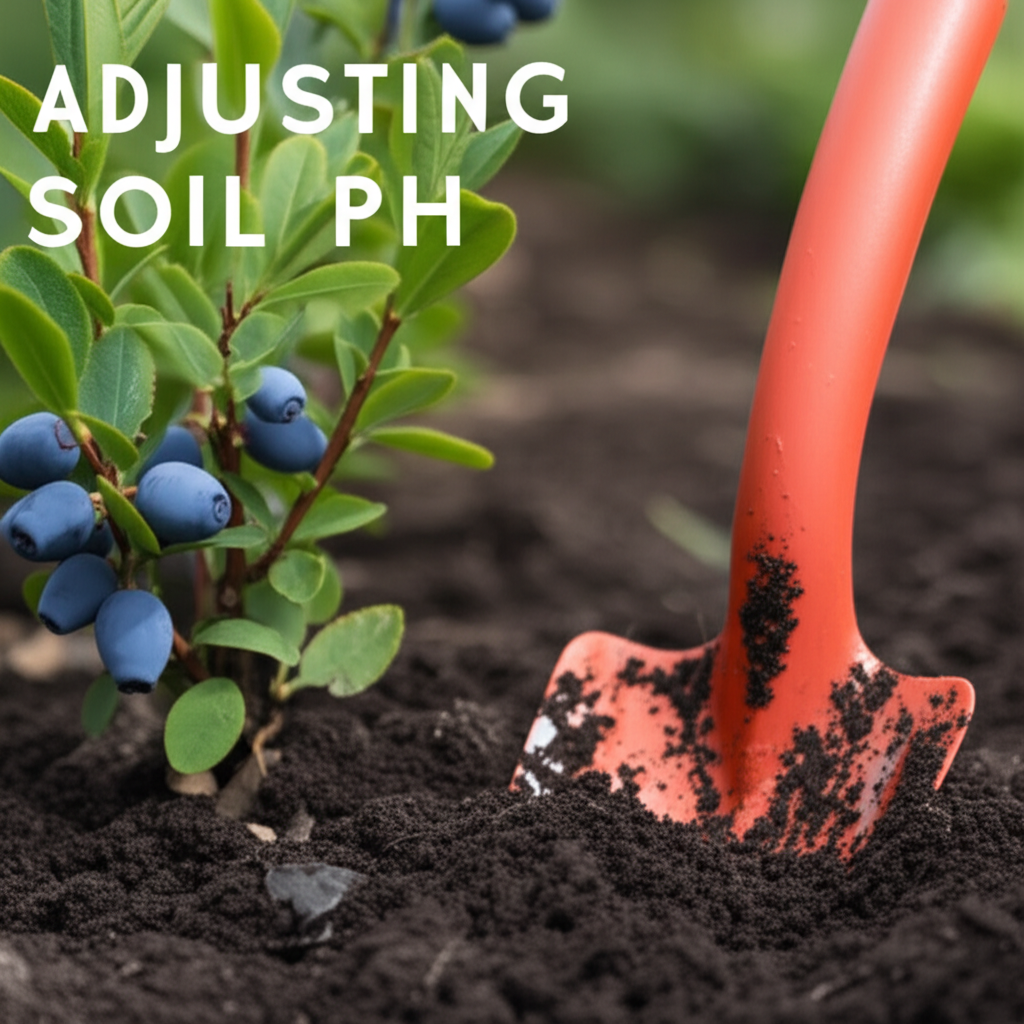
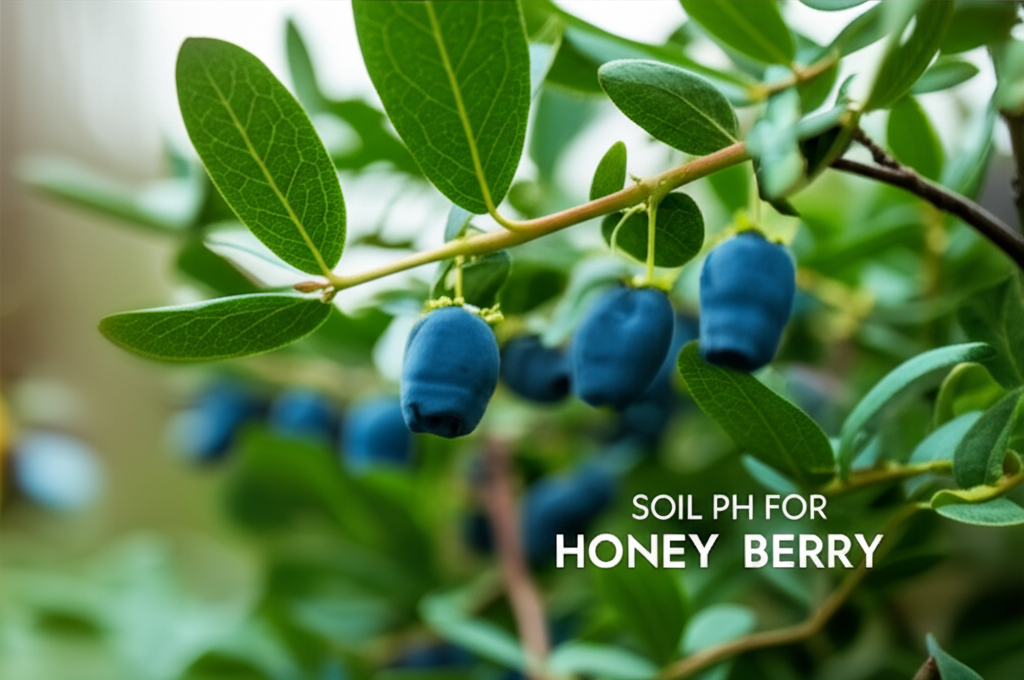
Honeyberry (Haskap) shrubs are increasingly popular for their delicious, nutrient-rich berries and early spring harvests. However, like many fruit-bearing plants, they have specific soil pH requirements to thrive. Understanding and adjusting your soil’s pH is crucial for optimal growth, nutrient uptake, and ultimately, a bountiful berry harvest. This guide will walk you through everything you need to know about honeyberry soil pH, from why it matters to how to achieve and maintain the ideal conditions.
Why Soil pH Matters for Honeyberries
Soil pH is a measure of the acidity or alkalinity of your soil on a scale of 0 to 14, with 7 being neutral. Below 7 is acidic, and above 7 is alkaline. For honeyberries, the ideal pH range is slightly acidic to neutral, generally between 5.5 and 7.0.
Why is this narrow range so important?
- Nutrient Availability: Soil pH directly affects how well plants can absorb essential nutrients from the soil. In soil that is too acidic or too alkaline, certain nutrients become “locked up” and unavailable to the plant’s roots, even if they are present in the soil. This can lead to nutrient deficiencies, stunted growth, and reduced fruit production.
- Root Health: Extreme pH levels can damage honeyberry roots, making them susceptible to diseases and unable to absorb water and nutrients efficiently.
- Microbial Activity: Soil pH influences the populations of beneficial microorganisms in the soil, which play vital roles in nutrient cycling and plant health. Optimal pH supports a healthy soil ecosystem.
- Pest and Disease Resistance: Plants growing in conditions that are not ideal for their pH requirements are often weaker and more prone to pest infestations and diseases.
Understanding Your Soil’s Current pH

Before you can adjust your soil pH, you need to know what it is. Fortunately, there are several reliable ways to test your soil:
Soil Testing Kits
These are readily available at garden centers and online. They typically involve taking a soil sample, mixing it with a reagent, and comparing the resulting color to a chart. While convenient, these kits can sometimes be less accurate than more professional methods.
Digital pH Meters
These electronic devices can provide a quick reading by inserting a probe into the soil. They offer a more precise measurement than color-matching kits, but it’s important to calibrate them regularly according to the manufacturer’s instructions.
Professional Soil Testing Labs
For the most accurate and comprehensive results, send a soil sample to a local university extension office or a private soil testing laboratory. These labs not only provide a precise pH reading but also offer recommendations for nutrient amendments based on your specific soil type and crop. This is often the best route if you are undertaking a significant planting or have persistent issues with plant health.
How to Collect a Soil Sample for Testing:
- Collect samples from several different locations within your intended planting area to get an average reading.
- Avoid testing soil immediately after applying fertilizers or amendments, as this can skew the results.
- For accurate results from a lab, follow their specific sampling instructions carefully. Generally, this involves digging to the root zone depth, collecting a core, and repeating this at multiple spots before combining them into a single sample.
Honeyberry pH Requirements: The Ideal Range
As mentioned, honeyberries prefer a soil pH between 5.5 and 7.0.
Why this specific range?
- Within this slightly acidic to neutral range, the essential micronutrients that honeyberries need, such as iron, manganese, and zinc, are readily available for uptake by their root systems.
- This pH also supports the healthy functioning of the soil microbiome, which aids in nutrient availability and plant vitality.
How to Raise Soil pH (Make it Less Acidic)
If your soil test reveals that your soil is too acidic (pH below 5.5), you’ll need to raise the pH. The most common and effective way to do this is by adding lime.
Types of Lime:
- Agricultural Lime (Calcitic Lime): Primarily calcium carbonate. It’s slower to react but provides calcium, which is also an essential nutrient for plants.
- Dolomitic Lime: Contains both calcium carbonate and magnesium carbonate. It’s a good choice if your soil is also deficient in magnesium. It tends to react a bit faster than calcitic lime.
Application of Lime:
- Timing is Key: Apply lime in the fall, well before planting. This allows it time to react with the soil and begin changing the pH. If you can’t wait until fall, apply it at least several months before planting in the spring.
- Apply Gradually: It is much better to apply smaller amounts of lime more frequently than one large dose. Over-liming can cause more problems than it solves.
- Even Distribution: Spread the lime evenly over the soil surface. You can lightly incorporate it into the top few inches of soil, but it is not strictly necessary as rain and soil organisms will help it integrate over time.
- Dosage: The amount of lime needed depends on your current soil pH, the target pH, and your soil type (sandy soils require less lime than clay soils). Always follow the recommendations from your soil test report or consult local extension services. A general guideline for a moderate pH adjustment might be 2-5 pounds of lime per 100 square feet, but this can vary significantly.
How to Lower Soil pH (Make it More Acidic)
If your soil test indicates that your soil is too alkaline (pH above 7.0), you’ll need to lower the pH. This is generally less common for honeyberry growers in most regions, as many soils naturally lean towards the acidic side.
Common Acidifying Agents:
- Elemental Sulfur: This is the most common and effective way to lower soil pH. Soil bacteria convert elemental sulfur into sulfuric acid, which then reacts with the soil to lower the pH.
- Aluminum Sulfate: This provides a faster-acting reduction in pH, but it should be used with caution as excessive aluminum can be toxic to plants. It’s generally not recommended for long-term soil health.
- Organic Matter: Adding generous amounts of acidic organic materials like peat moss, pine needles, or composted oak leaves can gradually lower soil pH over time. This is a slower but more beneficial method for soil health.
Application of Acidifiers:
- Timing: Apply sulfur in the fall or early spring, several months before planting.
- Gradual Application: Like lime, it’s best to apply sulfur in smaller, repeated applications rather than a large dose.
- Even Distribution: Spread the sulfur evenly over the soil surface. Incorporating it into the top few inches of soil will speed up the process.
- Dosage: The amount of sulfur needed depends on your current pH, target pH, and soil type. Again, follow soil test recommendations. A general guideline for lowering pH might be 1-3 pounds of elemental sulfur per 100 square feet, but this can vary significantly.
- Caution with Aluminum Sulfate: If using aluminum sulfate, apply it sparingly and only when a rapid pH change is needed. Follow product instructions carefully.
Key Facts and Comparison of pH Adjustment Methods
Here’s a quick overview of the primary methods for adjusting honeyberry soil pH:
| Method | Primary Use | How it Works | Speed of Action | Potential Side Effects | Best For |
|---|---|---|---|---|---|
| Lime (Agricultural/Dolomitic) | Raising Soil pH (Decreasing Acidity) | Neutralizes soil acids | Slow to Moderate (months to years) | Over-liming can lead to nutrient lockout (e.g., phosphorus, micronutrients), magnesium deficiency (if using calcitic lime only) | Most common pH adjustment for honeyberries, provides calcium and magnesium |
| Elemental Sulfur | Lowering Soil pH (Increasing Acidity) | Converted by soil microbes to sulfuric acid | Slow to Moderate (months) | Can temporarily tie up nitrogen if applied in large quantities near planting time; must be used cautiously to avoid over-acidification | Correcting alkaline soils for honeyberries |
| Aluminum Sulfate | Lowering Soil pH (Increasing Acidity) | Directly lowers pH by releasing aluminum ions | Fast (weeks) | Can lead to aluminum toxicity in plants if overused; not ideal for long-term soil health | Rapid, temporary pH adjustment (use with extreme caution) |
| Organic Matter (Peat Moss, Compost) | Slightly Lowering pH (increasing acidity), Improving Soil Structure | Decomposition releases organic acids | Very Slow (over years) | Can introduce weed seeds or pathogens if not properly composted; peat moss is a non-renewable resource | Long-term soil health improvement and gradual pH adjustment |
Steps for Adjusting and Maintaining Honeyberry Soil pH
Adjusting and maintaining the correct soil pH for your honeyberry shrubs is an ongoing process. Here are the essential steps:
Step 1: Test Your Soil
As discussed earlier, this is the critical first step. Get a reliable soil test to determine your current pH and any nutrient deficiencies.
Step 2: Determine Necessary Adjustments
Based on your soil test results, decide whether you need to raise or lower your soil pH and by how much.
Step 3: Apply Amendments (Timing and Method)
- For Raising pH (Adding Lime): Apply lime in the fall, several months before planting. Spread evenly and lightly incorporate.
- For Lowering pH (Adding Sulfur): Apply elemental sulfur in the fall or early spring, several months before planting. Spread evenly and lightly incorporate.
Step 4: Plant Your Honeyberries
Once the pH has been adjusted and you’ve allowed sufficient time for the amendments to work (at least a few months), you can plant your honeyberry shrubs.
Step 5: Ongoing Monitoring and Adjustment
- Re-test: Test your soil pH annually or every other year, especially in the first few years after planting.
- Observe Your Plants: Watch for signs of nutrient deficiencies (yellowing leaves, stunted growth) that might indicate pH issues.
- Use Mulch: A layer of organic mulch, such as pine bark or compost, can help maintain consistent soil moisture and temperature, which indirectly supports healthy root function. Some organic mulches can also contribute to a slightly more acidic environment over time.
- Fertilize Appropriately: Use fertilizers formulated for acid-loving plants or berries if your pH is on the lower end of the ideal range. Avoid fertilizers that can artificially raise pH, like those high in nitrates if your soil is already alkaline.
Pros and Cons of Different pH Adjustment Strategies
Here’s a breakdown of the advantages and disadvantages of the primary methods:
| Strategy | Pros | Cons |
|---|---|---|
| Using Lime (to Raise pH) |
|
|
| Using Elemental Sulfur (to Lower pH) |
|
|
| Incorporating Acidic Organic Matter (e.g., Peat Moss, Pine Needles) |
|
|
| Blindly Adding Amendments Without Testing |
|
|
Common Pitfalls to Avoid
- Not Testing Your Soil: This is the most common mistake. Adjusting pH without knowing your starting point is like trying to fix a car without a diagnostic check.
- Over-Liming or Over-Acidifying: Making drastic changes can shock your plants and create new problems. Gradual adjustments are always best.
- Applying Amendments at the Wrong Time: Applying lime or sulfur right before planting may not give them enough time to work and can interfere with root establishment.
- Ignoring Soil Type: Sandy soils require less amendment than clay soils for the same pH change.
- Using Aluminum Sulfate Recklessly: While it acts fast, the risk of aluminum toxicity outweighs its benefits for most home gardeners.
- Forgetting About Ongoing Monitoring: Soil pH can change over time due to rainfall, irrigation water, and fertilization. Regular testing is key.
Conclusion: A Foundation for Berry Success
Achieving and maintaining the correct soil pH is a cornerstone of successful honeyberry cultivation. By understanding why pH matters, accurately testing your soil, and making appropriate, gradual adjustments with the right amendments, you create an environment where your honeyberry shrubs can truly flourish. This careful attention to soil conditions will pay dividends in healthier plants, stronger growth, and, most importantly, a delicious harvest of these remarkable berries. Happy gardening!


