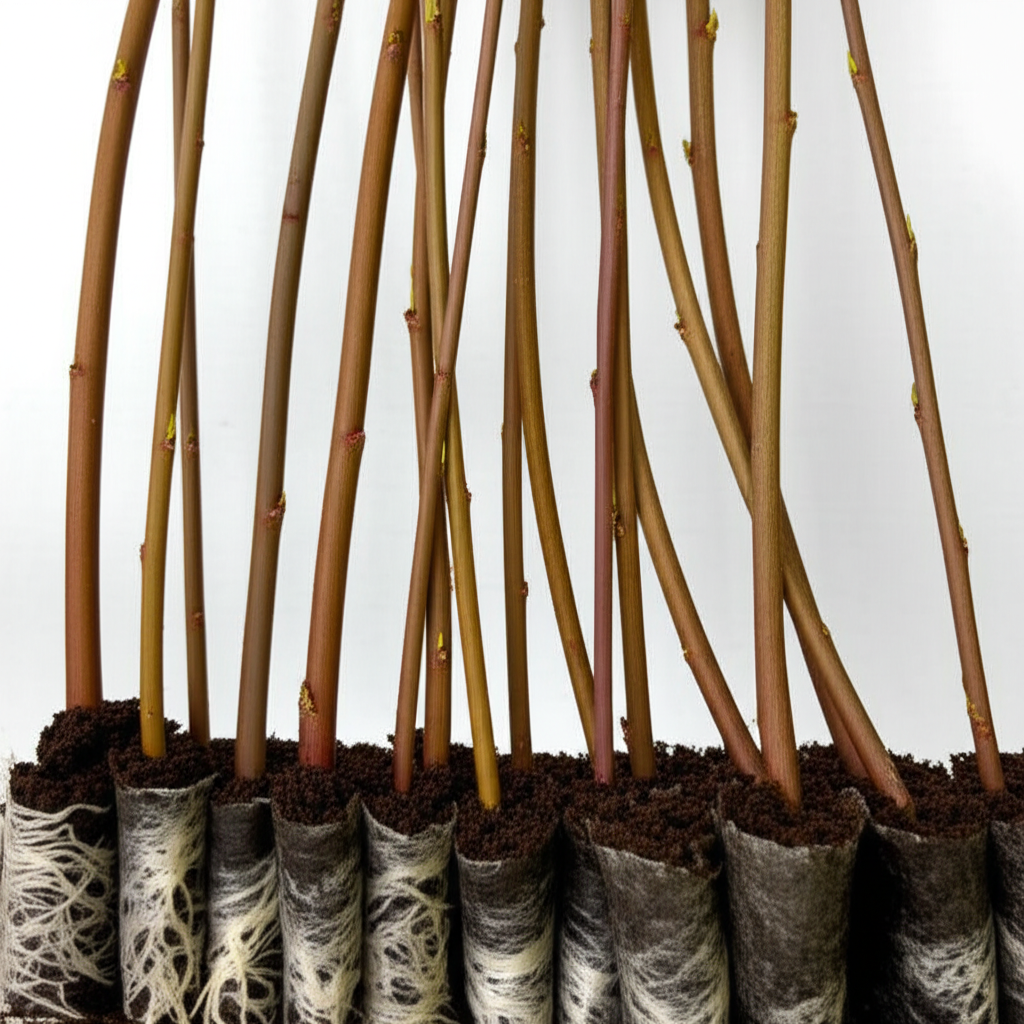
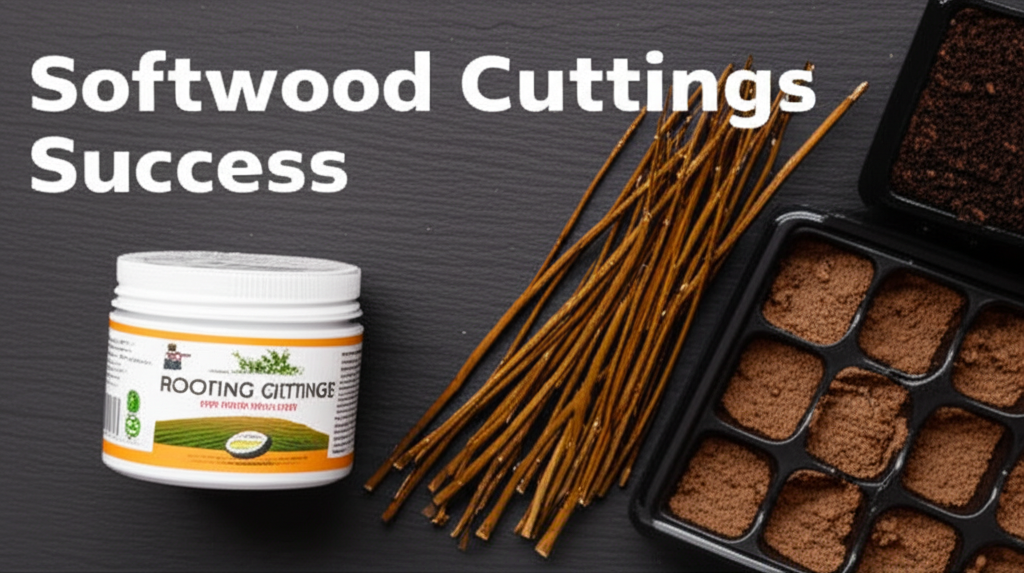
The Sweet Reward: Unlocking Honeyberry Propagation with Softwood Cuttings
Honeyberries, also known as Haskaps, are rapidly gaining popularity in home gardens and commercial agriculture alike. Their delicious, antioxidant-rich berries offer a unique sweet-tart flavor profile, ripening earlier than most other berries. For those eager to expand their honeyberry patch or share these fascinating plants with fellow gardeners, propagation is key. While several methods exist, understanding how to propagate honeyberry shrubs via softwood cuttings offers a highly effective and rewarding approach. This comprehensive guide will walk you through the entire process, from selecting the right time and material to nurturing your new honeyberry plants to maturity.
Why Softwood Cuttings for Honeyberry Propagation?
Softwood cuttings are taken from the current season’s growth, typically in late spring or early summer. This type of cutting is characterized by its flexibility and the fact that it hasn’t yet woody. Honeyberry plants are particularly well-suited to this method due to their vigorous growth habit and the ease with which softwood stems root.
There are several advantages to using softwood cuttings for honeyberry propagation:
- Speed: Softwood cuttings generally root faster than hardwood cuttings, allowing for quicker establishment of new plants.
- Availability: The ideal time for taking softwood cuttings coincides with the period of active growth, making the necessary material readily available.
- Ease of Handling: These cuttings are pliable and easier to work with compared to more rigid hardwood cuttings.
- High Success Rate: With proper technique and care, softwood cuttings of honeyberry often exhibit a high rooting success rate.
Understanding Honeyberry Growth Stages for Optimal Cuttings
To maximize your success, it’s crucial to understand the growth stages of your honeyberry shrub and identify the ideal time to harvest softwood cuttings. Honeyberries, like many deciduous shrubs, exhibit distinct growth phases throughout the year.
The Ideal Window: Late Spring to Early Summer
The prime time for taking softwood cuttings from honeyberry shrubs is typically from late May through June, or whenever the new growth is about 4-8 inches long and has developed several sets of leaves. At this stage, the stems are still flexible and green, but they have started to harden slightly, meaning they won’t wilt as readily as very young, tender shoots. This “semi-hardwood” stage is crucial for successful rooting.
Step-by-Step Guide to Propagating Honeyberry via Softwood Cuttings
Propagating honeyberry shrubs from softwood cuttings is a straightforward process, but attention to detail is paramount. Here’s a detailed breakdown of the steps involved:
Step 1: Gathering Your Supplies
Before you begin, ensure you have all the necessary tools and materials. This will streamline the process and increase your chances of success.
- Sharp, clean pruning shears or a sharp knife
- Rooting hormone (powder or gel)
- Small pots or trays with drainage holes
- A sterile, well-draining potting mix (a blend of peat moss, perlite, and vermiculite is ideal)
- A plastic bag or propagator to create a humid environment
- A misting bottle filled with water
- Labels for your cuttings
Step 2: Selecting and Harvesting Cuttings
The quality of your cuttings directly impacts rooting success.
- Choose Healthy Parent Plants: Select vigorous, disease-free honeyberry shrubs.
- Identify the Right Growth: Look for stems that are approximately pencil-thick and show active, but not overly soft, growth. The tip should be pliable but not floppy.
- The Cut: Using your clean pruning shears or knife, make a cut just below a leaf node (the point where leaves attach to the stem). This is where rooting hormones are most effective.
- Cutting Length: Aim for cuttings that are 4 to 6 inches long.
- Remove Lower Leaves: Carefully strip off the leaves from the bottom 2-3 inches of the cutting, leaving only the top few leaves intact. If the remaining leaves are very large, you can cut them in half horizontally to reduce water loss through transpiration.
Step 3: Preparing the Cuttings for Rooting
This stage involves applying rooting hormone and preparing the base of the cutting.
- Apply Rooting Hormone: Dip the cut end of each honeyberry cutting into rooting hormone, ensuring the lower 1-2 inches are coated. Gently tap off any excess.
- Remove Flowers/Buds: If your cuttings have any flower buds or developing fruits, remove them. These will divert energy away from root development.
Step 4: Planting the Cuttings
The planting medium and technique are critical for encouraging root formation.
- Prepare the Potting Mix: Moisten your sterile potting mix so it’s damp but not waterlogged. Fill your pots or trays with the mix.
- Insert the Cuttings: Make a small hole in the potting mix with a pencil or your finger. Insert the prepared end of the honeyberry cutting into the hole, ensuring the leaf nodes that were below the soil line are covered. Gently firm the soil around the cutting to ensure good contact.
- Spacing: If planting multiple cuttings in a tray or larger pot, space them about 2-3 inches apart.
Step 5: Creating a Humid Environment
Humidity is vital for softwood cuttings as it prevents them from drying out before they can establish roots.
- Cover the Pots: Cover the pots or tray with a clear plastic bag or place them inside a propagator. Ensure the plastic doesn’t touch the leaves of the cuttings. You can use stakes to keep the bag elevated.
- Ventilation: To prevent fungal diseases, it’s a good idea to remove the plastic covering for about 15-30 minutes each day to allow for air circulation.
Step 6: Providing Optimal Conditions for Rooting
Consistent conditions are key to successful rooting.
- Light: Place the pots in a bright location that receives indirect sunlight. Avoid direct sun, which can overheat and damage the cuttings.
- Temperature: Honeyberry cuttings prefer consistent temperatures, ideally between 65-75°F (18-24°C). A heat mat can be beneficial if your ambient temperature is lower.
- Watering: Keep the potting mix consistently moist but not soggy. Mist the cuttings occasionally, especially if the plastic cover is removed for ventilation.
Step 7: Checking for Roots and Transplanting
Patience is a virtue when waiting for your cuttings to root.
- Rooting Time: Honeyberry softwood cuttings typically take 3-6 weeks to develop a strong root system.
- Testing for Roots: You can gently tug on a cutting. If there is resistance, it has likely rooted. Alternatively, you can carefully slide a cutting out of its pot to inspect for root development.
- Transplanting: Once your cuttings have a good root system, they can be carefully transplanted into individual pots filled with a standard potting mix. Continue to provide them with consistent moisture and indirect light.
Step 8: Acclimatizing and Hardening Off
Before planting your new honeyberry plants outdoors, they need to be gradually acclimatized to outdoor conditions.
- Gradual Exposure: Over a period of 7-10 days, gradually increase the time your potted cuttings spend outdoors. Start with a few hours in a sheltered location and slowly expose them to more sun and wind.
- Planting Out: Once your honeyberry plants have been hardened off, they can be planted in their permanent outdoor location, typically in the fall or the following spring, depending on your climate and the size of the plants.
Key Facts and Comparison: Softwood vs. Hardwood Honeyberry Cuttings

While softwood cuttings are excellent for honeyberry propagation, it’s helpful to understand how they compare to other methods, particularly hardwood cuttings.
| Characteristic | Softwood Cuttings | Hardwood Cuttings |
|---|---|---|
| Timing | Late spring to early summer (new growth) | Late fall to early winter (dormant season) |
| Stem Type | Flexible, green, not woody | Mature, woody stems from the previous season’s growth |
| Rooting Speed | Faster (3-6 weeks) | Slower (often takes longer, can be several months) |
| Ease of Rooting | Generally easier for honeyberry | Can be more challenging, may require more specific conditions |
| Availability of Material | Readily available during growing season | Requires dormant plant material |
| Temperature Preference | Warmer temperatures for root initiation | Cooler temperatures initially, then warmer for rooting |
| Success Rate (Honeyberry) | High | Moderate to high, but timing is crucial |
Troubleshooting Common Issues in Softwood Cutting Propagation
Even with the best practices, sometimes things don’t go as planned. Here are some common issues and their solutions:
- Wilting Cuttings: This is usually due to insufficient humidity or drying out. Ensure the plastic cover is properly in place, mist regularly, and avoid prolonged periods of low humidity.
- Fungal Growth/Rot: Overwatering and poor air circulation can lead to fungal problems. Ensure your potting mix is well-draining, don’t overwater, and provide daily ventilation by removing the plastic cover for a short period.
- No Root Development: This can be due to a lack of rooting hormone, incorrect temperature, or taking cuttings from unhealthy parent plants. Ensure you’re using rooting hormone correctly, maintaining optimal temperatures, and selecting vigorous parent stock.
- Cuttings Drying Out Before Rooting: This is a common problem. The key is to maintain high humidity and ensure the potting medium stays consistently moist.
Pros and Cons of Propagating Honeyberry via Softwood Cuttings
Like any horticultural technique, propagating honeyberry shrubs via softwood cuttings has its advantages and disadvantages.
| Pros | Cons |
|---|---|
| Fast Rooting: Honeyberry softwood cuttings typically root more quickly than hardwood cuttings, leading to faster plant establishment. | Requires Careful Timing: Success depends heavily on taking cuttings at the right stage of growth (semi-hardwood). |
| High Success Rate: With proper technique, softwood cuttings often yield a high percentage of successful new plants. | Susceptible to Drying Out: Softwood cuttings are more prone to desiccation if humidity is not maintained. |
| Readily Available Material: The ideal time to take softwood cuttings coincides with active growth, making the material easily accessible. | May Require a Greenhouse or Propagator: Consistent humidity and temperature control can be easier to achieve with specialized equipment. |
| Cost-Effective: This method is generally inexpensive, requiring minimal specialized equipment beyond basic gardening tools and rooting hormone. | Potential for Disease: Cuttings can be susceptible to fungal diseases if conditions are too wet or ventilation is inadequate. |
| Produces True-to-Type Plants: Cuttings are clones of the parent plant, ensuring the new plants will have the same characteristics (berry flavor, ripening time, growth habit). | Requires Sterile Conditions: Using clean tools and sterile potting mix is crucial to prevent infections. |
The Long-Term Rewards: Nurturing Your New Honeyberry Plants
Once your honeyberry cuttings have successfully rooted and been transplanted, the journey continues. Consistent care will ensure they grow into healthy, productive shrubs.
- Watering: Water new plants regularly, especially during dry periods, ensuring the soil is kept consistently moist.
- Sunlight: Honeyberries thrive in full sun to partial shade. Once established, they are quite drought-tolerant.
- Soil: They prefer well-draining soil with a slightly acidic to neutral pH.
- Fertilizing: A balanced, slow-release fertilizer in early spring can provide essential nutrients.
- Pruning: Once the plants are established (usually after the first year or two), annual pruning in late winter or early spring will help maintain their shape and promote fruit production.
Conclusion: A Fruitful Endeavor
Propagating honeyberry shrubs via softwood cuttings is a highly effective and rewarding method for expanding your harvest or sharing the joy of these remarkable berries. By carefully selecting your cuttings, providing the right conditions, and exercising a bit of patience, you can successfully multiply your honeyberry plants, ensuring a future filled with delicious, nutritious fruit. Embrace this technique, and you’ll soon be enjoying an abundance of your own homegrown honeyberries.


