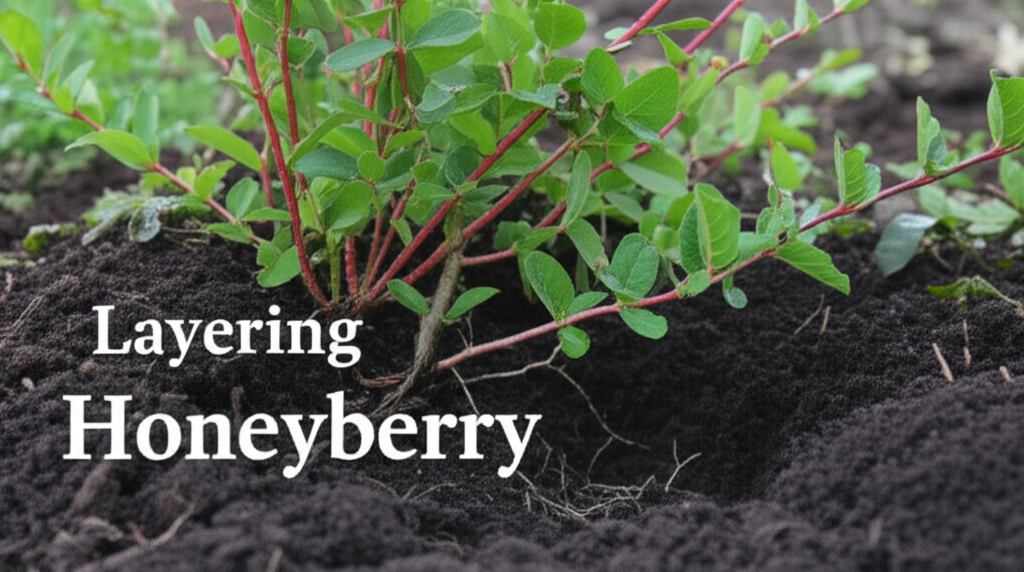
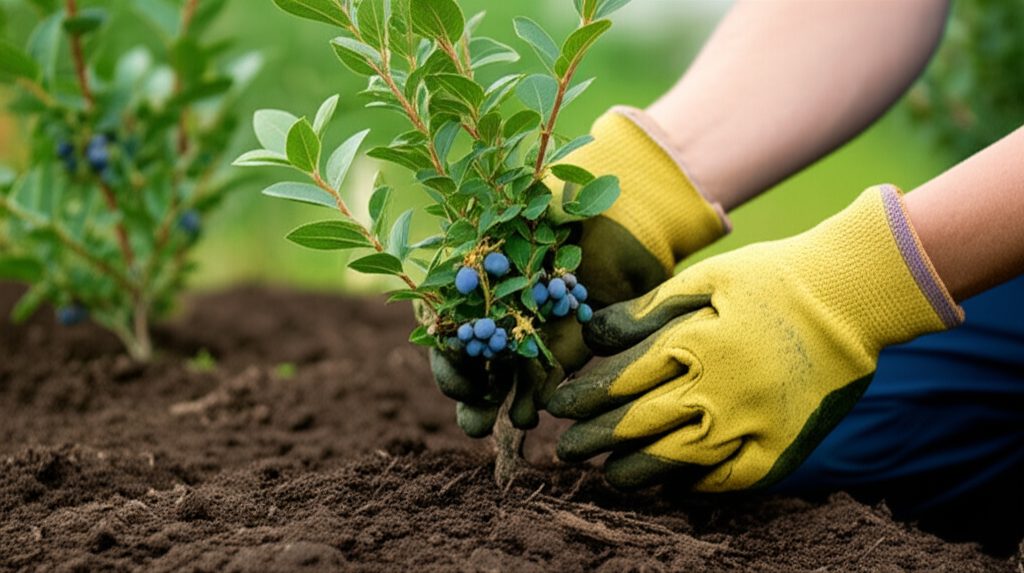
Honeyberries (Lonicera caerulea), also known as haskaps, are increasingly popular for their delicious, nutrient-rich berries and their hardiness. As more gardeners discover the joy of growing these remarkable shrubs, the desire to expand their patch naturally arises. Fortunately, honeyberry bushes are relatively easy to propagate, and one of the most effective and straightforward methods is through layering. This technique allows you to create new, genetically identical plants from an existing, healthy parent bush. This comprehensive guide will delve into the specifics of honeyberry propagation via layering, covering the most effective methods, the steps involved, and what you can expect.
Why Choose Layering for Honeyberry Propagation?
Layering is a vegetative propagation method where a stem is induced to form roots while still attached to the parent plant. Once roots have developed, the layered stem is detached and grown as a new, independent plant. This method offers several advantages for honeyberry growers:
- High Success Rate: Compared to cuttings, which can be more temperamental, layering often results in a higher success rate as the developing roots are supported by the parent plant’s established system.
- Genetic Clones: The new plants will be true to type, meaning they will have the same characteristics as the parent plant, including berry flavor, yield, and disease resistance.
- Simplicity: Layering doesn’t require specialized equipment or sterile conditions, making it accessible to gardeners of all skill levels.
- Cost-Effective: It’s a free way to expand your garden, as you’re using your existing plants.
- Less Stress on New Plants: The developing roots have access to the parent plant’s resources, making the transition to independent growth smoother.
Understanding Honeyberry Growth Habits for Layering

Honeyberries typically grow as upright, deciduous shrubs, often reaching heights and widths of 4-6 feet. Their branches are flexible enough to be bent towards the ground, which is crucial for layering. The best branches for layering are those that are one to two years old, flexible, and healthy. Avoid overly woody or spindly branches.
Key Honeyberry Layering Techniques
There are two primary layering techniques that work exceptionally well for honeyberry shrubs: simple layering and mound or stool layering.
1. Simple Layering
Simple layering involves bending a low-growing shoot to the ground, where it is pegged down and covered with soil. Roots typically form at the point where the stem is buried.
Steps for Simple Layering:
- Timing: The best time to perform simple layering on honeyberries is in late winter or early spring, just before new growth begins, or in late summer after the fruiting season has ended. Early spring layering allows the new plant to establish roots throughout the growing season.
- Select a Branch: Choose a healthy, flexible, one- to two-year-old shoot that is growing from the base of the parent plant and can be bent down to the soil without snapping.
- Prepare the Branch: Gently bend the selected branch down to the ground. If the tip doesn’t reach the soil easily, you can loosen the soil beneath it.
- Wound the Stem: To encourage rooting, make a small wound on the underside of the branch where it will be in contact with the soil. This can be done by:
- Girdling: Removing a thin strip of bark (about 1 inch long) from the underside of the branch.
- Notching: Making a shallow cut (about 1/3 of the way through the stem) on the underside of the branch.
- Bruising: Lightly scraping the underside of the branch with a sharp knife.
After wounding, you can optionally apply a rooting hormone to the wounded area to further stimulate root development.
- Bend and Bury: Bend the wounded section of the branch down to the soil. Use a landscape staple, a small rock, or a bent piece of wire to hold the wounded section firmly in place, ensuring it remains in contact with the soil. Cover the buried section with about 2-3 inches of good quality potting mix or garden soil. Ensure the tip of the branch remains exposed above the soil.
- Secure and Water: Firm the soil around the buried stem. Water the area thoroughly.
- Maintain Moisture: Keep the soil consistently moist around the layered stem throughout the growing season. This is crucial for root formation. Avoid letting it dry out.
- Check for Roots: Roots typically form within a few months to a year. You can gently tug on the layered stem to feel for resistance, indicating root development. A more definitive check is to carefully uncover the buried section in late fall or early spring of the following year to look for visible roots.
- Separate the New Plant: Once a healthy root system has developed (usually after one to two years), carefully sever the layered stem from the parent plant using sharp secateurs, just behind the newly formed roots.
- Transplant: Transplant the new honeyberry plant into its own pot filled with potting mix or directly into its final planting location in the garden. Water well and continue to provide consistent moisture until it establishes.
2. Mound or Stool Layering
Mound layering, also known as stool layering, is a technique where the parent plant is cut back severely in late winter. This stimulates the production of numerous new shoots from the base. These shoots are then mounded with soil as they grow, encouraging them to root along their length. This method is excellent for producing multiple new plants from a single parent bush.
Steps for Mound Layering:
- Timing: The initial pruning for mound layering is best done in late winter or early spring, before new growth emerges.
- Prune the Parent Plant: Cut back the parent honeyberry bush to about 4-6 inches from the ground. This drastic pruning encourages vigorous basal shoot growth.
- First Year Growth: Allow the new shoots to grow throughout the first season without disturbance.
- Mounding Soil: In late fall or early winter of the first year, or in early spring of the second year, gently mound soil or compost around the base of the new shoots, covering about half to two-thirds of their length.
- Encourage Rooting: As the shoots grow taller in the second season, continue to add more soil or compost around them, aiming to cover most of their length. This process of mounding soil encourages the buried portions of the stems to develop roots. You can also make small slits or wounds on the underside of the stems before mounding to further promote rooting, similar to simple layering.
- Check for Roots: In the fall of the second year, or spring of the third year, carefully excavate around the base of the shoots. You should find roots forming along the buried portions.
- Separate the New Plants: Once sufficient roots have formed, carefully cut the layered shoots from the parent plant using sharp secateurs, ensuring each new plant has a good root system.
- Transplant: Transplant the newly rooted honeyberry plants into pots or their permanent garden locations. Water thoroughly and maintain consistent moisture until established.
- Repeat: The parent plant, having been cut back, will continue to produce shoots for further mound layering in subsequent years.
Key Facts and Comparison of Layering Techniques
Here’s a quick comparison to help you choose the best layering method for your honeyberry propagation needs:
| Feature | Simple Layering | Mound (Stool) Layering |
|---|---|---|
| Number of New Plants per Branch | Typically 1 | Multiple shoots from the base can be layered |
| Time to Root | Several months to 1 year | 1-2 years from initial pruning |
| Parent Plant Disturbance | Minimal | Significant initial pruning |
| Suitability for Low-Growing Branches | Excellent | Requires the entire plant to be cut back |
| Ease of Execution | Relatively easy | Requires more soil mounding over time |
| Potential for Multiple New Plants | Limited by available low branches | High potential from a single plant |
Pros and Cons of Honeyberry Layering
Like any gardening technique, layering has its advantages and disadvantages.
| Pros | Cons |
|---|---|
| High success rate | Can take 1-2 years for new plants to be ready |
| Produces genetic clones | Requires a healthy parent plant |
| Simple and requires minimal specialized equipment | Takes up space on the parent plant for a year or more |
| Cost-effective propagation | Mound layering requires significant initial pruning |
| New plants are robust due to parent support | Only suitable for certain types of branches (flexible, low-growing for simple layering) |
Tips for Success
To maximize your chances of successful honeyberry propagation through layering:
- Use Healthy Parent Plants: Ensure the honeyberry bush you are layering from is vigorous and free from pests and diseases.
- Choose the Right Time: Timing is crucial. Spring layering often yields the best results.
- Maintain Moisture: Consistent watering of the layered area is paramount.
- Use a Good Growing Medium: A well-draining potting mix or compost will help roots establish.
- Be Patient: Root formation takes time. Don’t be discouraged if you don’t see results immediately.
- Rooting Hormone (Optional): While not strictly necessary for honeyberries, applying rooting hormone to the wounded area can sometimes speed up root development.
- Inspect Regularly: Periodically check the layered sections for signs of rooting or any issues like rot.
- Sanitation: Use clean, sharp tools to make any cuts or wounds to prevent the introduction of diseases.
Troubleshooting Common Issues
While layering is generally successful, here are a few common issues and how to address them:
- No Root Formation: This can be due to insufficient moisture, incorrect timing, or inadequate wounding of the stem. Ensure consistent watering and re-evaluate your technique.
- Rotting: Overwatering or poor drainage can lead to rot. Ensure the soil is moist but not waterlogged.
- Branch Drying Out: Extreme heat or wind can dry out the layered stem. Provide adequate shade and water.
- Pests: Keep an eye out for common garden pests that might attack the layered stems.
Conclusion
Propagating honeyberry shrubs using layering techniques is a rewarding and practical way for gardeners to expand their harvests. Both simple layering and mound layering are effective methods that leverage the natural growth habits of these hardy plants. By understanding the steps involved, choosing the right technique for your situation, and following best practices for care and maintenance, you can successfully create new, healthy honeyberry plants from your existing bushes, ensuring a bountiful supply of delicious berries for years to come. Happy layering!


