Introduction to Honeyberry Propagation
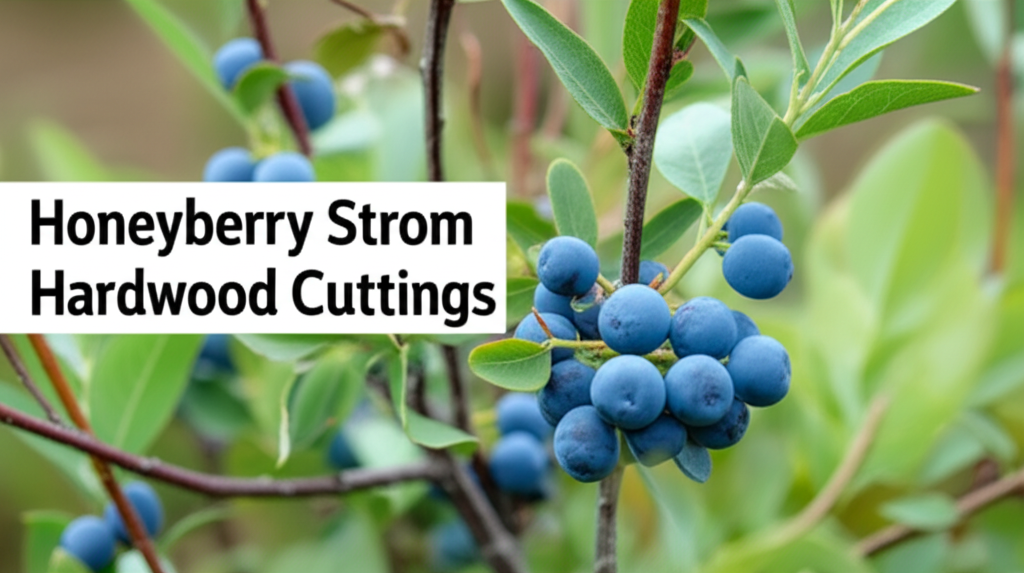
Honeyberry, also known scientifically as Lonicera caerulea, is a fascinating and increasingly popular berry-producing shrub. Renowned for its early spring harvest of antioxidant-rich, tart-sweet berries, it offers a unique addition to the home garden. While honeyberries can be purchased as established plants, propagating them from hardwood cuttings presents a rewarding and cost-effective method for expanding your collection or sharing with fellow gardeners. This technique allows you to create new, genetically identical plants from dormant, one-year-old wood, ensuring the desirable traits of the parent plant are passed on.
This comprehensive guide will walk you through the entire process of honeyberry shrub propagation from hardwood cuttings, from selecting the right material to nurturing your new plants to maturity. We will cover the optimal timing, essential materials, step-by-step instructions, and crucial aftercare to maximize your success rate.
Why Propagate Honeyberries from Hardwood Cuttings?

There are several compelling reasons to choose hardwood cuttings for honeyberry propagation:
- Cost-Effectiveness: This method significantly reduces the cost of acquiring new plants, especially if you already have a mature honeyberry shrub.
- Genetic Consistency: Cuttings produce clones of the parent plant, guaranteeing that the offspring will have the same fruit quality, disease resistance, and growth habit.
- Efficiency: It’s an efficient way to produce multiple plants from a single parent shrub.
- Dormancy Period: Hardwood cuttings are taken during the plant’s dormant season, which minimizes stress and allows for easier handling and storage.
- Ease of Success: With proper technique and conditions, hardwood cuttings have a high success rate for many woody plants, including honeyberries.
Key Facts and Comparison: Honeyberry Propagation Methods
| Propagation Method | Best Timing | Difficulty | Success Rate | Genetic Purity | Cost | Time to Maturity |
|---|---|---|---|---|---|---|
| Hardwood Cuttings | Late Fall/Winter (dormant season) | Moderate | Good to Excellent (with proper technique) | 100% | Low (minimal material cost) | 2-4 years |
| Softwood/Semi-hardwood Cuttings | Spring/Summer (active growth) | Moderate to High | Good | 100% | Low (minimal material cost) | 2-3 years |
| Layering | Spring/Summer | Easy | Excellent | 100% | Low (minimal material cost) | 3-5 years |
| Seed Propagation | Fall/Winter (stratification) | Difficult | Variable (may not come true to type) | Variable (significant genetic variation) | Very Low (seed cost) | 4-6 years (for fruiting) |
Understanding Hardwood Cuttings
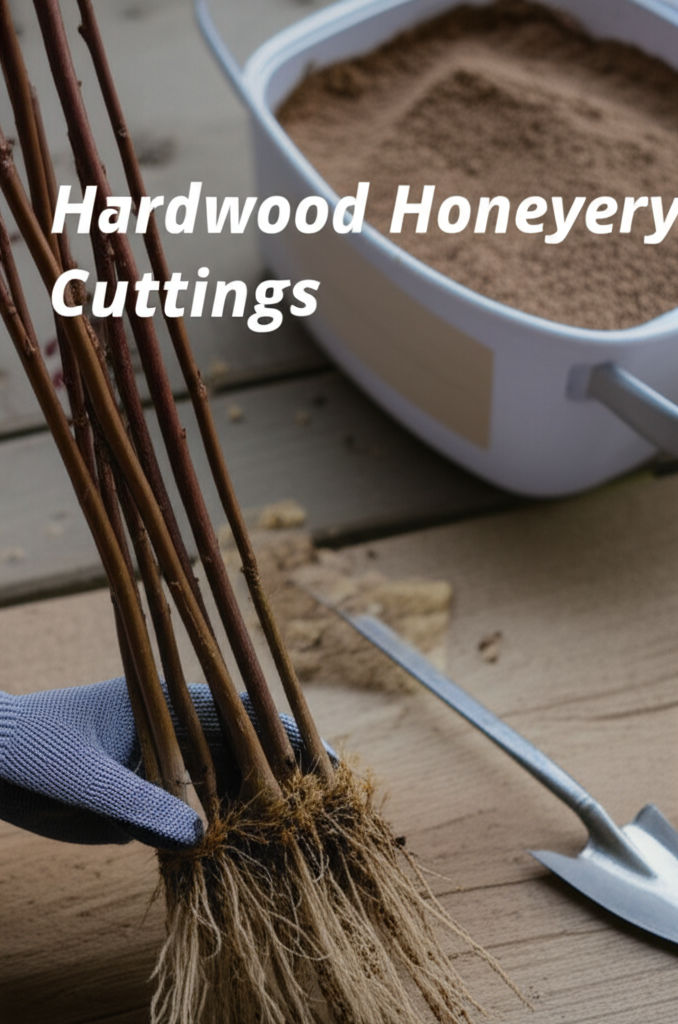
Hardwood cuttings are taken from mature, dormant, woody stems of the previous season’s growth. These cuttings are typically made during the late fall after the leaves have dropped and before the onset of freezing temperatures, or in late winter before new growth begins. The wood is firm and brown, with no soft, green tissue remaining. This dormancy period is crucial, as the plant is not actively expending energy on leaves and new shoots, making it more resilient to the cutting and rooting process.
Optimal Timing for Taking Honeyberry Hardwood Cuttings
The most opportune time to take hardwood cuttings from honeyberry shrubs is during their dormant season. This typically falls between late autumn (after leaf drop) and late winter (before bud break).
- Late Autumn: Once the plant has shed its leaves and entered dormancy, the stems have accumulated sufficient stored energy. Taking cuttings at this time allows them to be stored over winter and planted in early spring.
- Late Winter: Taking cuttings just before the sap starts to rise and new growth emerges is also highly effective. This ensures the cutting is still fully dormant but ready to root when conditions become favorable.
Avoid taking cuttings when the plant is stressed due to drought, disease, or extreme cold. Choose a mild day for collection.
Materials You’ll Need
Gathering the right tools and materials beforehand will ensure a smooth and successful propagation process:
- Sharp Pruning Shears or Secateurs: Clean, sharp tools are essential for making clean cuts that promote healing and prevent disease.
- Sharp Knife or Blade: For preparing the base of the cuttings.
- Rooting Hormone: While not always strictly necessary for honeyberries, rooting hormone can significantly improve the success rate and speed of root development. Opt for a powder or gel formulation.
- Clean Pots or Trays: Approximately 4-6 inches deep, with drainage holes.
- Sterile Potting Mix: A well-draining mix, such as a blend of peat moss, perlite, and vermiculite, is ideal.
- Watering Can or Spray Bottle: For gentle watering.
- Plastic Bags or Domes: To create a humid environment for the cuttings.
- Labels: To identify the variety and date of cuttings.
- Dormant Parent Honeyberry Shrub: The source of your cuttings.
Step-by-Step Guide to Taking Honeyberry Hardwood Cuttings
Follow these steps carefully to prepare and take your honeyberry hardwood cuttings:
Step 1: Select the Right Stems
- Identify healthy, vigorous, one-year-old stems from the current season’s growth. These are typically located on the outer parts of the shrub.
- Look for stems that are pencil-thick (approximately 1/4 to 1/2 inch in diameter).
- Avoid overly thin, weak, or diseased stems, as well as old, woody, brown stems that are more than two years old.
- The ideal stems will be firm and have small buds along their length.
Step 2: Make the Cuts
- Using your sharp pruning shears, cut the selected stems into sections approximately 6 to 10 inches long.
- Make the bottom cut at a 45-degree angle, just below a bud. This angled cut increases the surface area for root development and helps you remember which end is which.
- Make the top cut straight across, about 1/4 to 1/2 inch above a bud. A straight cut prevents water from collecting on the top, which can lead to rot.
Step 3: Prepare the Cuttings
- Remove any remaining leaves from the cuttings (they should have already fallen if taken in late fall or winter).
- Gently scrape a small strip of bark (about 1 inch long) from the base of each cutting on one side, or make several shallow vertical cuts through the bark along the lower portion. This exposes the cambium layer, which can aid in root initiation.
- Dip the basal end of each cutting into rooting hormone, ensuring the hormone covers the scraped area and the angled cut. Gently tap off any excess.
Step 4: Prepare the Planting Medium and Pots
- Fill your clean pots or trays with the sterile, well-draining potting mix.
- Moisten the potting mix thoroughly but ensure it is not waterlogged.
Step 5: Plant the Cuttings
- Insert 2-3 prepared cuttings into each pot, spacing them a few inches apart.
- Push the cuttings about 2-3 inches deep into the potting mix, ensuring at least two nodes (where buds are located) are buried. The angled cut should be at the bottom.
- Gently firm the potting mix around the base of each cutting to ensure good contact and eliminate air pockets.
Aftercare for Your Honeyberry Cuttings
Proper aftercare is crucial for encouraging root development and ensuring the survival of your cuttings:
Step 6: Provide Initial Watering and Humidity
- Water the potting mix gently after planting to settle it around the cuttings.
- To maintain high humidity, which is vital for cuttings that cannot yet absorb water, cover the pots with clear plastic bags or domes. Ensure the plastic doesn’t touch the cuttings by using stakes or the pot rim.
- Place the pots in a cool, bright location, out of direct sunlight. An unheated garage, basement, or cool greenhouse is ideal.
Step 7: Overwintering the Cuttings
If you took cuttings in late fall, they will need to overwinter before being planted outdoors.
- Keep the potting mix consistently moist but not soggy. Check regularly and water as needed.
- Ensure good air circulation to prevent fungal diseases. You may need to open the plastic coverings periodically for ventilation.
- The ideal overwintering temperature is just above freezing, around 35-40°F (2-4°C).
Step 8: Planting Out the Cuttings
Once the danger of hard frost has passed in your region and the soil is workable (typically early to mid-spring), you can plant your cuttings outdoors or into larger pots.
- Hardening Off: Before planting outdoors, gradually acclimate the cuttings to outdoor conditions over a week or two. Start by placing them outside in a sheltered spot for a few hours each day, gradually increasing the duration and exposure.
- Planting Location: Choose a sunny location with well-draining soil. Honeyberries prefer slightly acidic to neutral soil.
- Planting: Dig a hole large enough to accommodate the roots. If they are still in pots, gently remove the cutting from its pot. Plant the cutting at the same depth it was growing previously.
- Spacing: Space the new honeyberry plants about 4-6 feet apart, depending on the mature size of the variety.
- Watering: Water thoroughly after planting.
Monitoring Root Development and Growth
Patience is key when propagating from hardwood cuttings. Root development can take several weeks to months.
- You can gently tug on a cutting after a few weeks to feel for resistance, indicating root formation.
- Look for signs of new growth, such as swelling buds and small leaves, which indicates the cutting has successfully rooted and is beginning to grow.
- If the cuttings are still in their original pots, you can carefully unpot one to check for root development. If roots are forming, leave the rest undisturbed until they are ready to be planted out.
Troubleshooting Common Issues
Even with careful preparation, you might encounter some challenges:
Fungal Growth
Cause: Excess moisture, poor air circulation, and lack of sterile conditions.
Solution: Ensure all materials are sterile. Maintain moderate moisture levels and provide good air circulation by occasionally removing plastic coverings. Fungicides can be used as a preventative measure.
Drying Out
Cause: Insufficient humidity or infrequent watering.
Solution: Always maintain high humidity by keeping the plastic coverings on until new growth appears. Monitor moisture levels closely and water as needed.
No Rooting
Cause: Cuttings taken at the wrong time, poor quality stems, absence of rooting hormone, or unfavorable environmental conditions.
Solution: Ensure you are using dormant, one-year-old wood. Try using rooting hormone. Experiment with slightly different timing for your next batch of cuttings.
Pros and Cons of Honeyberry Propagation from Hardwood Cuttings
| Pros | Cons |
|---|---|
| Cost-effective way to increase plant numbers. | Requires a period of dormancy and overwintering. |
| Guarantees true-to-type plants, preserving desired traits. | Success rate can be variable depending on timing and care. |
| Efficient use of dormant plant material. | Takes time to develop into mature, fruit-bearing plants. |
| Can be done in large batches during the off-season. | Requires careful attention to humidity and preventing drying out. |
| Relatively simple technique once understood. | Potential for fungal issues if conditions are not managed properly. |
Conclusion
Propagating honeyberry shrubs from hardwood cuttings is a rewarding and accessible method for any gardener looking to expand their collection of these unique and delicious berries. By understanding the optimal timing, selecting healthy material, and adhering to proper techniques for preparation, planting, and aftercare, you can significantly increase your chances of success. While it requires patience and attention to detail, the ability to create new, genetically identical honeyberry plants from your existing shrubs is a valuable skill that will continue to yield fruit for years to come. Happy propagating!


