Embarking on Your Honeyberry Harvesting Adventure
The allure of fresh, vibrant fruit is a powerful motivator for any gardener. Among the lesser-known but incredibly rewarding berries to cultivate is the honeyberry, also known as haskap. These hardy, adaptable shrubs produce oblong, sapphire-blue berries with a unique flavor profile that hints at blueberries, raspberries, and even a touch of blackcurrant. For beginners, the prospect of harvesting these delightful fruits can be both exciting and a little daunting. This comprehensive guide will equip you with the knowledge and practical tips needed to ensure a successful and abundant honeyberry harvest.
Understanding Honeyberry Ripeness: The Key to Flavor

One of the most crucial aspects of successful fruit harvesting, especially for beginners, is accurately identifying when the fruit is ripe. Honeyberries, with their distinct appearance, offer clear indicators.
Visual Cues: Color and Shape
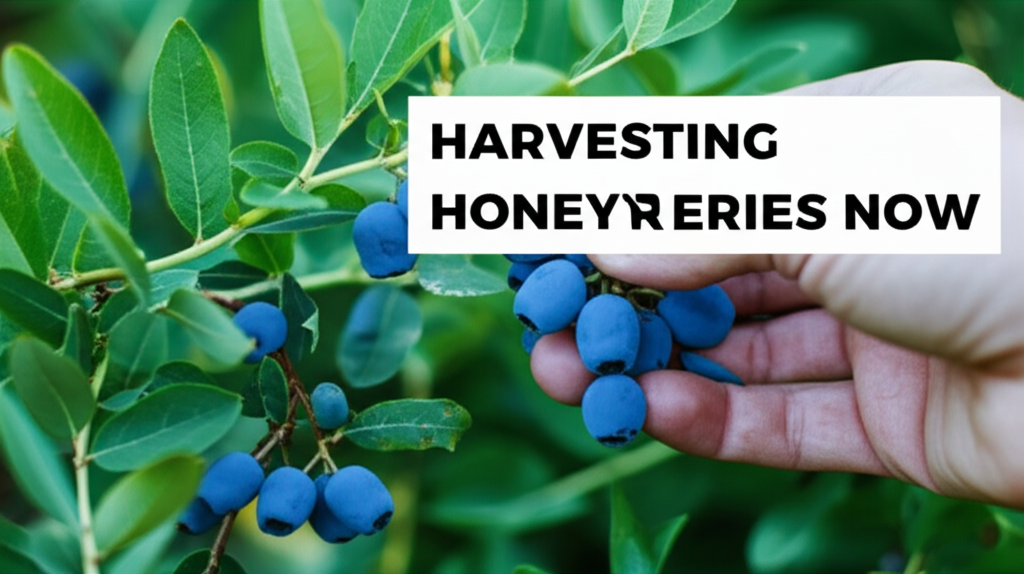
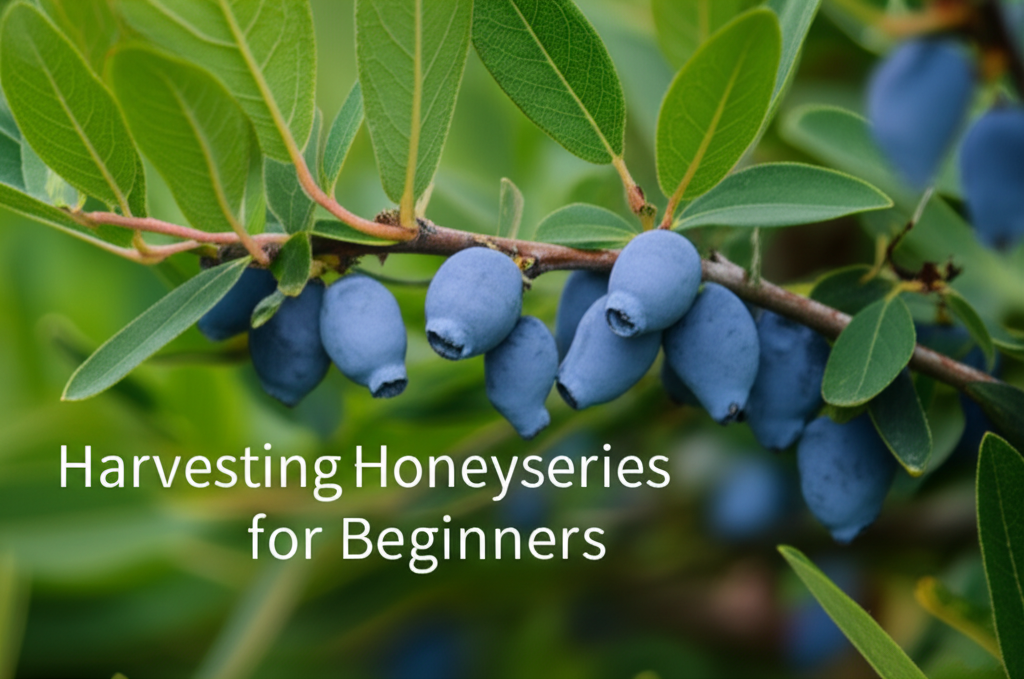
- Color Transformation: Unripe honeyberries are typically a bright red or pinkish hue. As they mature, they undergo a significant color change, transitioning to a deep, rich blue or purplish-blue. This blue color should be uniform across the berry.
- Oblong Shape: Honeyberries are characterized by their elongated, oval shape, often described as torpedo-like. Ripe berries will maintain this characteristic shape, perhaps appearing slightly plumper than their unripe counterparts.
Tactile and Olfactory Indicators
- Firmness with a Slight Give: A ripe honeyberry will feel firm to the touch, but with a very slight give when gently squeezed. Avoid berries that are overly soft or mushy, as these are likely past their prime.
- Subtle Aroma: While not as intensely fragrant as some other berries, ripe honeyberries can emit a faint, sweet, and slightly tart aroma. This is a secondary indicator and should be used in conjunction with visual cues.
The Ultimate Test: Taste
Ultimately, the best way to confirm ripeness is through taste. Pick a berry that exhibits the visual characteristics of ripeness and sample it. A ripe honeyberry will be sweet with a pleasant tartness, offering a complex flavor. If it’s still very tart or has a raw, vegetal taste, it likely needs a few more days on the bush.
When to Harvest: Timing is Everything
Honeyberry ripening is a sequential process, meaning not all berries on a single bush will ripen simultaneously. This allows for multiple harvest sessions throughout the season, extending your enjoyment.
The Honeyberry Season Window
- Early Season Delights: Honeyberries are among the earliest berries to ripen in the spring, often ready for harvest in late May or early June in many climates. This makes them a fantastic start to the berry-picking season.
- Extended Harvest: Depending on the variety and your local climate, the harvest period can extend for several weeks. It’s common to have berries at different stages of ripeness on the same plant.
Factors Influencing Ripening Time
- Variety: Different honeyberry cultivars have slightly different ripening windows. Some are bred for earlier or later harvests.
- Sunlight: Bushes that receive ample sunlight will generally ripen their fruit faster and more evenly.
- Climate: Temperature, rainfall, and the overall length of the growing season in your region will play a significant role in when your honeyberries are ready.
Essential Tools and Preparations for Harvesting
Before you head out to your honeyberry bushes, a little preparation can make the harvesting process much smoother and more efficient.
Gathering Your Harvesting Kit
- Containers: The most important tool is a suitable container. Shallow, wide containers like berry flats, punnets, or even clean margarine tubs are ideal. These prevent the delicate berries from being crushed under their own weight. Avoid deep buckets or bags.
- Gloves (Optional): While not strictly necessary, some people prefer to wear lightweight gardening gloves to keep their hands clean and protect them from any thorns (though most honeyberry varieties are thornless).
- Step Stool or Ladder (If Needed): For taller bushes, a stable step stool or a small, sturdy ladder can provide access to higher branches. Ensure you have a helper if using a ladder.
- Pruning Shears (For Hard-to-Reach Berries): Occasionally, a berry might be tucked away or difficult to reach with your fingers. Small, sharp pruning shears can be used to snip the stem, but do so carefully to avoid damaging the bush.
Pre-Harvest Checks
- Inspect Your Bushes: Before you start picking, take a moment to observe the ripeness of the berries. Identify which ones are the deepest blue and have that slight give.
- Clear the Area: Ensure the area around your bushes is clear of debris and that you have a comfortable space to work.
The Art of Picking Honeyberries: Gentle Hands, Big Rewards
Honeyberries are relatively delicate and can bruise easily. The picking technique you employ will directly impact the quality of your harvested fruit.
Techniques for Gentle Extraction
- The Roll-Off Method: The easiest and most common method for ripe honeyberries is to gently roll the berry between your thumb and forefinger. This action should detach the berry from its stem with minimal effort.
- Supporting the Branch: When picking, it’s helpful to gently support the branch with one hand while using the other to pick the berries. This prevents unnecessary strain on the bush.
- Avoid Pulling: Never yank or pull berries directly off the stem. This can damage the stem and potentially harm the developing fruit on that same stem.
What to Look For (and Avoid) During Picking
- Only Pick Ripe Berries: Resist the temptation to pick berries that are still red or pink. They will not ripen further off the bush and will only detract from the quality of your harvest.
- Handle with Care: Treat each berry as if it were a fragile egg. Place them gently into your containers.
- Don’t Overfill Containers: As mentioned, shallow containers are best. Avoid piling berries too high, as the weight of the upper layers can crush those beneath.
Post-Harvest Care: Preserving Your Honeyberry Bounty
Once you’ve finished picking, the journey of your honeyberries isn’t over. Proper handling and storage are crucial to maintain their freshness and flavor.
Immediate Handling
- Gentle Transfer: If you collected berries in a smaller container, gently transfer them to your primary harvest container to avoid unnecessary jostling.
- Inspection: Briefly inspect your harvested berries for any damaged or overripe fruit and remove them to prevent spoilage from spreading.
Storage Options
- Refrigeration: For short-term storage, place your harvested honeyberries in a shallow, breathable container in the refrigerator. They can typically last for 1-2 weeks when stored properly.
- Freezing: Honeyberries freeze exceptionally well, making them ideal for enjoying their flavor long after the season has ended.
Single Layer Freeze: Spread the washed and thoroughly dried berries in a single layer on a baking sheet lined with parchment paper. Place the baking sheet in the freezer until the berries are firm.
Bagging: Once frozen, transfer the individual berries into freezer-safe bags or containers. This prevents them from clumping together. Frozen honeyberries can last for 6-12 months.
- Drying: While less common for honeyberries, they can also be dried in a dehydrator or oven on a low setting. Dried honeyberries offer a chewy, concentrated sweet-tart flavor.
Troubleshooting Common Harvesting Challenges
Even with the best intentions, beginners might encounter a few hurdles. Here are solutions to common issues:
Berries Won’t Detach Easily
- Check for Ripeness: The most common reason for berries sticking is that they are not yet fully ripe. Give them a few more days.
- Gentle Twist: If a berry is ripe but slightly stubborn, try a very gentle twisting motion along with the roll-off technique.
Uneven Ripening on the Bush
- Multiple Harvests: This is normal. Return to your bushes every few days to pick the berries that have ripened since your last visit.
- Patience: Nature has its own timeline. Trust the process and enjoy the extended harvest season.
Birds and Pests
- Netting: If birds are a problem, consider covering your bushes with bird netting as the berries begin to ripen. Ensure the netting is secured to the ground to prevent birds from getting underneath.
- Observation: Keep an eye out for other pests, though honeyberries are generally quite resistant.
Key Facts and Comparison: Honeyberry vs. Other Berries
To better understand the unique characteristics of honeyberry harvesting, let’s compare it to some other popular berries.
| Feature | Honeyberry (Haskap) | Blueberry | Raspberry |
|---|---|---|---|
| Ripening Season | Late Spring/Early Summer (earliest berry) | Summer | Summer (with some remontant varieties fruiting in fall) |
| Berry Shape | Oblong, torpedo-like | Round | Conical, aggregate fruit |
| Color | Deep Blue/Purple-Blue | Blue/Purple | Red (most common), Black, Yellow |
| Texture | Juicy, slightly firm | Juicy, soft | Soft, delicate |
| Ease of Picking | Rolls off easily when ripe | Pulls off easily when ripe | Pulls off easily from receptacle when ripe |
| Ease of Bruising | Moderate | High | Very High |
| Storage Life (Refrigerated) | 1-2 weeks | 1 week | 2-3 days |
Harvesting Steps, Pros, and Cons
A structured approach to honeyberry harvesting will enhance your experience and yield.
| Step | Description | Pros | Cons |
|---|---|---|---|
| 1. Assess Ripeness | Visually inspect berries for deep blue color and gently check for a slight give. Taste a few. | Ensures best flavor and sweetness. Prevents harvesting of unripe, tart berries. | Requires observation and potentially some taste-testing. |
| 2. Prepare Harvesting Kit | Gather shallow containers, gloves (optional), and any necessary tools. | Organized and efficient picking. Prevents berry damage during collection. | Requires foresight and having supplies ready. |
| 3. Gentle Picking Technique | Use the roll-off method, supporting branches, and avoid pulling. | Preserves berry integrity and prevents damage to the plant. | Requires patience and a delicate touch. |
| 4. Sort and Inspect | Remove any underripe, overripe, or damaged berries as you pick or immediately after. | Improves the overall quality of the harvested batch. Prevents spoilage. | Adds an extra step to the process. |
| 5. Proper Storage | Refrigerate for immediate use or freeze for long-term preservation. | Maintains freshness and allows for enjoyment year-round. | Requires dedicated storage space and knowledge of preservation methods. |
Beyond the Harvest: Enjoying Your Honeyberries
The satisfaction of harvesting your own honeyberries is just the beginning. These versatile fruits can be enjoyed in a multitude of ways.
Fresh Consumption
- Straight from the Bush: The simplest and often most rewarding way to enjoy them.
- In Salads: Their unique flavor can add a delightful tang to fruit salads or even green salads.
Culinary Uses
- Smoothies: Blend them into your favorite smoothie for a burst of antioxidants and flavor.
- Jams and Jellies: Their natural pectin content makes them excellent for homemade preserves.
- Pies and Crumbles: Use them in place of or in addition to other berries in baked goods.
- Sauces and Coulis: Create a delicious topping for desserts or even savory dishes.
- Juices: Their vibrant color and flavor make for a nutritious and tasty juice.
Conclusion: A Rewarding Harvest Awaits
The honeyberry shrub offers a unique and accessible entry into the world of berry gardening. By understanding the signs of ripeness, employing gentle harvesting techniques, and properly storing your bounty, beginners can look forward to a truly rewarding harvest. Embrace the process, savor the unique flavor of these early-season gems, and enjoy the sweet success of your own homegrown honeyberries!


