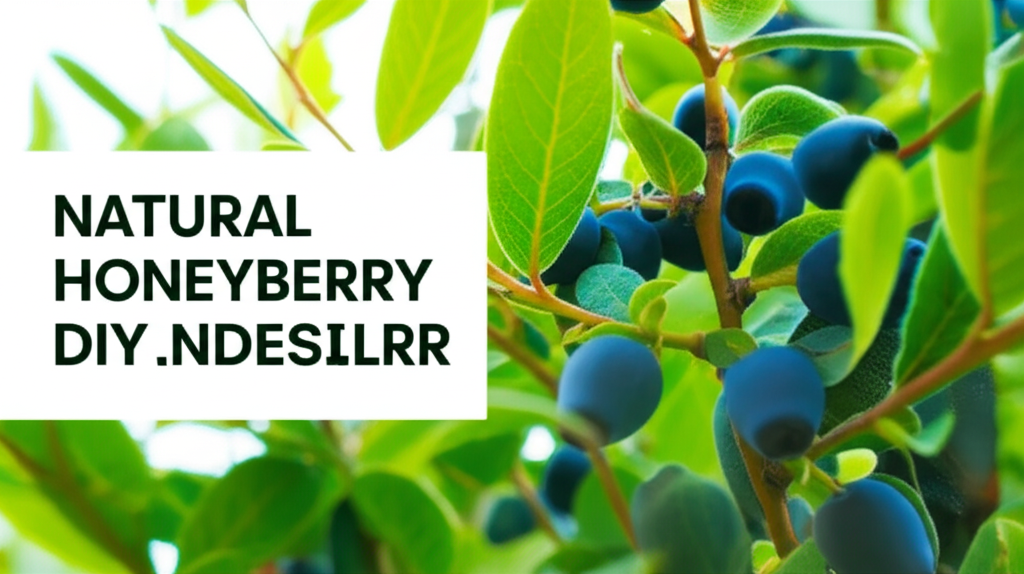
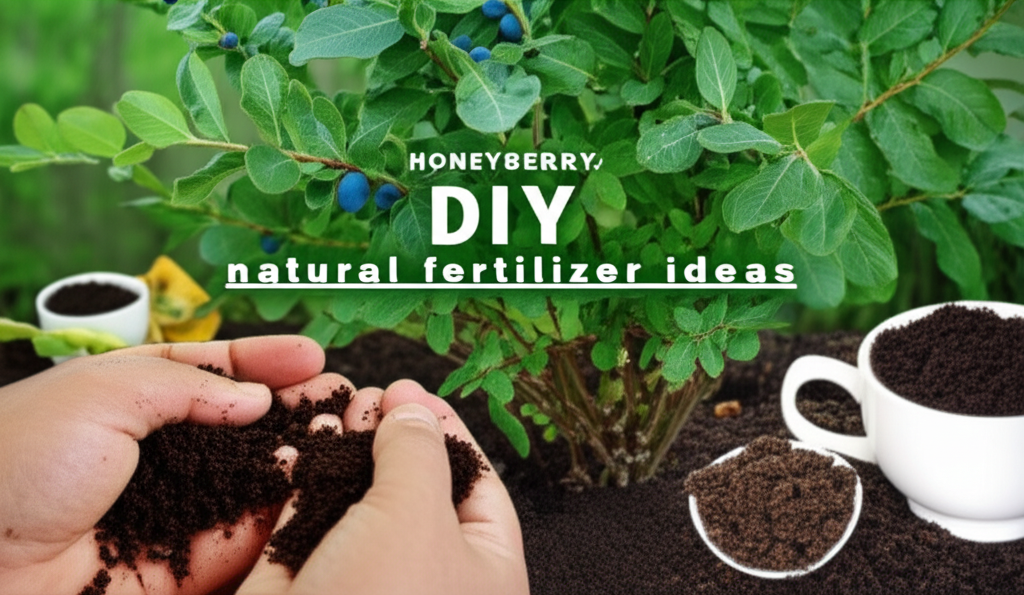
The Sweet Secret: Nurturing Honeyberries with Natural Fertilizers
Honeyberries, also known as haskaps, are increasingly popular for their delicious, antioxidant-rich berries and their remarkable resilience. These hardy shrubs thrive in a variety of conditions, but to unlock their full potential – a truly bountiful harvest of sweet, juicy fruits – proper nutrition is key. While commercial fertilizers are readily available, many gardeners are seeking natural, sustainable, and cost-effective ways to feed their honeyberry bushes. This guide delves into the world of DIY natural fertilizers, offering practical recipes and insights to help your honeyberry plants flourish.
Understanding Honeyberry Nutritional Needs

Before we start mixing up potions, it’s essential to understand what honeyberries crave. Like most fruiting plants, they benefit from a balanced supply of macronutrients: nitrogen (N) for leafy growth, phosphorus (P) for root development and flowering, and potassium (K) for overall plant health and fruit production. However, honeyberries are not particularly heavy feeders and can even be sensitive to over-fertilization, which can lead to excessive vegetative growth at the expense of fruit.
They also appreciate micronutrients like calcium, magnesium, and sulfur, which contribute to disease resistance and nutrient uptake. Healthy soil is the foundation of a healthy plant, and our DIY fertilizers aim to enrich the soil structure and microbial activity, creating a thriving ecosystem for your honeyberry shrubs.
Key Soil Factors for Honeyberries
- pH Level: Honeyberries prefer slightly acidic to neutral soil, with an ideal pH range of 5.5 to 7.0.
- Drainage: Well-draining soil is crucial. They don’t like “wet feet.”
- Organic Matter: A good supply of organic matter improves soil structure, water retention, and nutrient availability.
The Power of Compost: The Gold Standard for DIY Fertilization
Compost is arguably the king of DIY fertilizers. It’s a slow-release powerhouse that improves soil structure, aeration, and water-holding capacity, all while providing a steady stream of essential nutrients. Making your own compost is incredibly rewarding and sustainable.
What to Compost for Your Honeyberries:
- Greens (Nitrogen-rich): Vegetable scraps, fruit peels, coffee grounds, tea bags, grass clippings, and fresh manure (aged).
- Browns (Carbon-rich): Dry leaves, shredded newspaper, cardboard, straw, and wood chips.
How to Use Compost for Honeyberries:
- Top Dressing: In early spring, before new growth emerges, spread a 2-3 inch layer of finished compost around the base of the honeyberry shrub, extending out to the drip line. Avoid piling it directly against the trunk.
- Soil Amendment: When planting new honeyberry bushes, incorporate a generous amount of compost into the planting hole to give them a strong start.
DIY Natural Fertilizer Recipes: From Kitchen Scraps to Garden Gold
Beyond compost, a treasure trove of natural fertilizer ingredients can be found right in your kitchen, garden, or even the local coffee shop. These ingredients, when used thoughtfully, can provide targeted nutrition and boost your honeyberries’ vitality.
Recipe 1: The “Coffee Kick” Nitrogen Booster
Coffee grounds are a fantastic source of nitrogen, magnesium, and other micronutrients. They also help to slightly acidify the soil, which honeyberries appreciate.
Ingredients:
- Used coffee grounds (fresh or dried)
- Optional: Eggshells (crushed) for calcium
Instructions:
- Gather your used coffee grounds. If you have a lot, spread them out on a tray to dry to prevent mold.
- Crush dried eggshells finely.
- Mix the coffee grounds and crushed eggshells thoroughly.
- Apply a thin layer (about ½ inch) around the base of the honeyberry bush in early spring or late fall. You can also lightly scratch it into the top layer of soil.
- For a liquid feed, steep about ½ cup of coffee grounds in a gallon of water for 24 hours, then strain and water your plants.
Recipe 2: The “Banana Peel Power” Potassium and Phosphorus Boost
Banana peels are surprisingly rich in potassium and also contain phosphorus and calcium, all vital for fruit development and overall plant health.
Ingredients:
- Banana peels (fresh or dried)
Instructions:
- Chop fresh banana peels into small pieces.
- Option A (Direct Application): Bury the chopped peels directly around the base of the honeyberry plant, about 4-6 inches away from the trunk. This method allows them to decompose slowly in the soil.
- Option B (Fertilizer Tea): Dry banana peels (in the sun or a low oven). Once dry and brittle, grind them into a powder using a blender or food processor. Steep about ½ cup of banana peel powder in a gallon of water for a week, stirring occasionally. Strain and use as a liquid feed.
Recipe 3: The “Epsom Salt Elixir” Magnesium and Sulfur Boost
Epsom salts (magnesium sulfate) are a readily available source of magnesium and sulfur, which are essential for chlorophyll production and nutrient uptake.
Ingredients:
- Epsom salts
Instructions:
- Dissolve 1 tablespoon of Epsom salts in a gallon of water.
- Water your honeyberry bushes with this solution in early spring, before flowering, and again after fruiting. Avoid over-application, as too much magnesium can disrupt the uptake of other nutrients.
Recipe 4: The “Alfalfa Meal Magic” Balanced Nutrient and Growth Enhancer
Alfalfa meal is a fantastic all-around natural fertilizer, containing a good balance of NPK, plus trace minerals and growth stimulants.
Ingredients:
- Alfalfa meal
Instructions:
- Apply 1-2 cups of alfalfa meal around the base of each honeyberry shrub in early spring.
- Lightly scratch it into the top inch of soil.
- Alfalfa meal can also be used to make a “compost tea” by steeping a cup or two in a porous bag (like a burlap sack) in a bucket of water for a few days before watering your plants.
Recipe 5: The “Seaweed Soothing” Micronutrient and Stress Reducer
Seaweed and kelp are packed with a wide array of micronutrients, amino acids, and growth hormones that can boost plant health and resilience, especially during stressful periods.
Ingredients:
- Liquid seaweed or kelp extract
- Optional: Dried seaweed or kelp
Instructions:
- Follow the dilution instructions on your purchased liquid seaweed product. Typically, this involves mixing a few tablespoons into a gallon of water.
- Apply as a foliar spray or soil drench every 4-6 weeks during the growing season, especially during periods of drought or extreme temperatures.
- If using dried seaweed, you can create a tea by soaking it in water for a few days or incorporating it directly into your compost.
Recipe 6: The “Wood Ash Wisdom” Potassium and pH Adjuster
Wood ash can be a good source of potassium and calcium, and it can help to raise the pH of acidic soils. However, it must be used with caution.
Ingredients:
- Ash from hardwood fires (untreated wood only)
Instructions:
- Ensure the wood ash is completely cooled and free of any accelerants.
- Apply sparingly, only if your soil test indicates a need for potassium or if your soil is too acidic.
- Lightly sprinkle a small amount (no more than a handful per plant) around the base of the honeyberry shrub, keeping it away from the trunk.
- Caution: Overuse of wood ash can drastically raise soil pH and lead to nutrient deficiencies. It is best used on very acidic soils and in moderation.
Key Facts and Comparison of DIY Fertilizers
Let’s break down the primary benefits and primary nutrients provided by these natural fertilizer options.
| Fertilizer Type | Primary Nutrient Focus | Soil Improvement | Ease of Application | Potential Caution |
|---|---|---|---|---|
| Compost | Balanced NPK, Micronutrients | Excellent: Structure, water retention, aeration | Easy: Top dressing, soil amendment | None significant (if well-composted) |
| Coffee Grounds | Nitrogen (N), Magnesium (Mg) | Good: Aeration, slight acidification | Easy: Top dressing, liquid feed | Can become matted if applied too thickly |
| Banana Peels | Potassium (K), Phosphorus (P) | Good: Slow-release nutrients | Moderate: Burying, or processing for tea | Can attract pests if not buried properly |
| Epsom Salts | Magnesium (Mg), Sulfur (S) | Minimal | Easy: Liquid feed | Overuse can disrupt nutrient uptake |
| Alfalfa Meal | Balanced NPK, Trace Minerals | Good: Slow-release nutrients | Easy: Top dressing, compost tea | Can encourage fungal growth in damp conditions |
| Seaweed/Kelp | Micronutrients, Hormones | Good: Soil conditioning | Easy: Foliar spray, soil drench | Can add salt to soil if used excessively (seaweed) |
| Wood Ash | Potassium (K), Calcium (Ca) | Can raise pH | Requires caution: Light application | High risk of raising pH too much, causing deficiencies |
When and How to Apply Your Natural Fertilizers
Timing is crucial for maximizing the benefits of your DIY fertilizers. Honeyberries have specific needs throughout their growth cycle.
Application Schedule:
- Early Spring (Late Winter/Early Spring): This is the primary feeding time for honeyberries. Apply compost, alfalfa meal, coffee grounds, or aged manure. If using Epsom salts, this is a good time for a liquid application.
- Late Spring/Early Summer (During Flowering/Fruit Set): A light application of a potassium-rich fertilizer like banana peel tea or a diluted seaweed solution can support fruit development.
- Late Fall (After Leaf Drop): A top dressing of compost will slowly release nutrients over the winter and prepare the plant for spring growth.
Application Methods:
- Top Dressing: Spreading materials on the soil surface around the plant.
- Soil Scratch: Gently working the fertilizer into the top inch or two of soil.
- Liquid Feed/Fertilizer Tea: Dissolving or steeping materials in water and applying directly to the soil.
- Foliar Spray: Applying diluted liquid fertilizers to the leaves for rapid absorption (best for seaweed extracts).
Pros and Cons of DIY Natural Fertilizers for Honeyberries
While the benefits are numerous, it’s also important to consider potential drawbacks.
| Pros | Cons |
|---|---|
| Cost-Effective: Utilizes readily available or recycled materials. | Variable Nutrient Content: The exact nutrient breakdown can fluctuate depending on the source material. |
| Environmentally Friendly: Reduces waste and avoids synthetic chemicals. | Slower Release: Nutrients are released gradually, which can be a pro but might not provide a quick fix for severe deficiencies. |
| Improves Soil Health: Enhances soil structure, microbial activity, and water retention. | Potential for Imbalance: Over-reliance on a single ingredient can lead to nutrient imbalances. |
| Reduced Risk of Burning: Natural fertilizers are less likely to damage plant roots compared to synthetic ones. | Time and Effort: Requires sourcing, preparing, and applying materials, which can be more labor-intensive. |
| Slow-Release Nutrients: Provides a steady supply of food to the plant over time. | Attracting Pests: Some organic materials, if not properly processed or applied, can attract unwanted pests. |
| Sustainable Practice: Aligns with organic gardening principles. | Odor: Some composting or fermentation processes can produce unpleasant smells. |
Tips for Success and Troubleshooting
- Soil Testing: Before embarking on a fertilization regime, consider getting a soil test. This will give you specific insights into your soil’s pH and nutrient levels, allowing you to tailor your DIY approach.
- Observe Your Plants: Your honeyberry bushes will tell you what they need. Yellowing leaves might indicate a nitrogen deficiency, while poor flowering could suggest a lack of phosphorus or potassium.
- Mulching is Key: Always mulch around your honeyberry plants with organic material like wood chips, straw, or shredded leaves. Mulch conserves moisture, suppresses weeds, regulates soil temperature, and slowly breaks down to add nutrients.
- Avoid Over-Fertilizing: It’s better to under-fertilize than over-fertilize. Too much of a good thing can harm your plants.
- Compost is Your Foundation: Regularly amending your soil with compost is the most beneficial practice for long-term honeyberry health. The DIY recipes are excellent supplements.
- Pest and Disease Management: Healthy plants are less susceptible to pests and diseases. A robust soil ecosystem fostered by natural fertilizers will contribute to stronger, more resilient honeyberry bushes.
By embracing these DIY natural fertilizer ideas, you can cultivate vibrant, productive honeyberry shrubs that will reward you with abundant harvests of delicious, wholesome berries. Happy gardening!


