The Sweet Rewards of Honeyberry Gardens
Honeyberries, also known as Haskaps, are a delightful addition to any garden, offering early-season berries packed with antioxidants and a unique sweet-tart flavor. As your honeyberry patch matures and expands, keeping track of your varieties and their specific needs becomes increasingly important for optimal growth and harvesting. This is where DIY garden markers and labels truly shine, transforming a functional necessity into an opportunity for creative expression and informative garden management.
Why DIY Markers for Your Honeyberry Shrubs?
While store-bought options exist, crafting your own garden markers for honeyberries offers a wealth of advantages:
- Cost-Effectiveness: Utilizing recycled materials or inexpensive craft supplies significantly reduces the overall cost of gardening.
- Personalization: You can tailor markers to your specific aesthetic, garden style, and the individual needs of each honeyberry plant.
- Durability: Choosing the right materials ensures your markers can withstand the elements, providing lasting information.
- Environmental Friendliness: Repurposing materials reduces waste and contributes to a more sustainable gardening practice.
- Educational Value: Involving children or fellow gardeners in the marker-making process can be an enjoyable and educational activity.
- Variety Identification: With numerous honeyberry cultivars available, clear and attractive labels are crucial for distinguishing them, especially for cross-pollination needs.
Essential Information for Your Honeyberry Labels

Before diving into the creative process, it’s vital to consider what information your honeyberry garden markers should convey. This ensures your labels are not only decorative but also serve a practical purpose in managing your plants.
Key Details to Include:
- Variety Name: This is paramount for identifying different honeyberry cultivars (e.g., ‘Borealis’, ‘Honeybee’, ‘Tundra’).
- Planting Date: Knowing when a plant was established helps in monitoring its growth and establishing a baseline for care.
- Fertilization Schedule: Specific nutrient needs or the timing of fertilization can be noted.
- Pruning Recommendations: Some varieties might have slightly different pruning requirements or optimal times.
- Pollinator Information: Honeyberries require cross-pollination, so noting which varieties are compatible can be extremely helpful.
- Harvest Time: A general indication of when to expect berries can be a useful reminder.
- Watering Needs: While generally consistent, any specific watering quirks can be noted.
- Sun Exposure Requirements: Honeyberries thrive in full sun, but noting any shade tolerance for a specific spot can be beneficial.
DIY Honeyberry Marker Materials: A Creative Palette
The beauty of DIY is the freedom to use a wide range of materials. When selecting materials for your honeyberry garden markers, consider durability, weather resistance, and how well they will hold your chosen lettering.
Popular and Effective Material Options:
- Painted Stones: Smooth, flat stones are readily available and can be painted with weather-resistant acrylics.
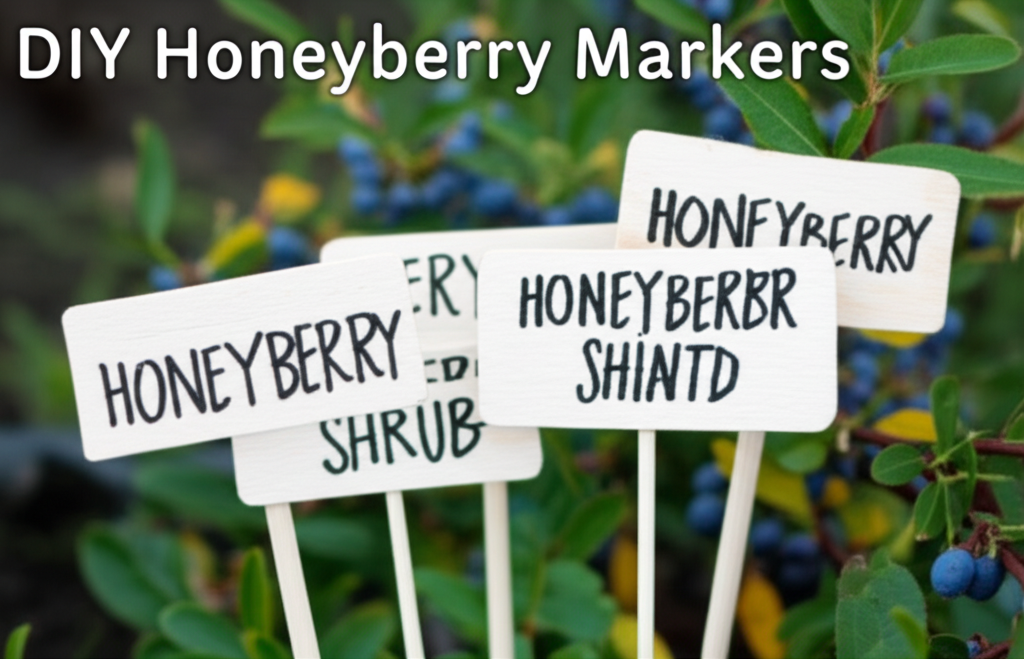
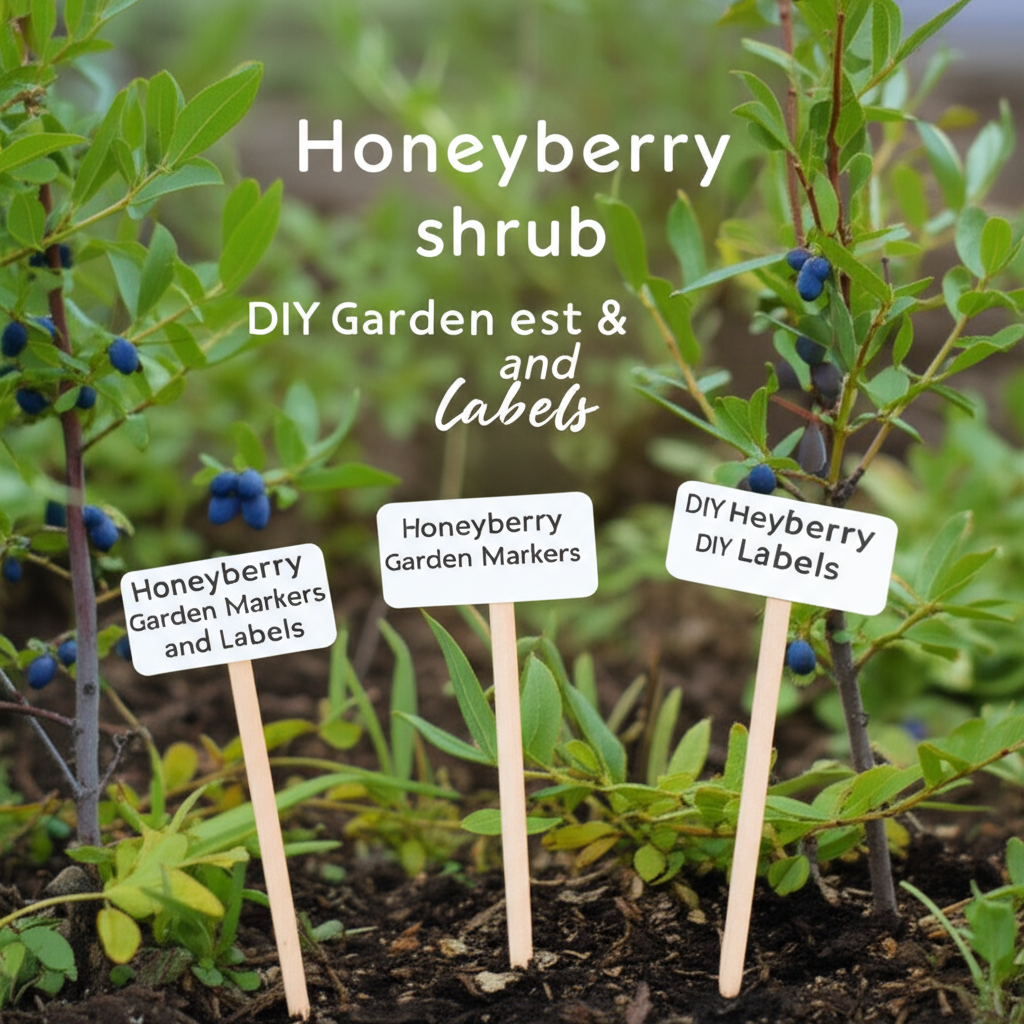
- Wooden Craft Sticks/Dowels: These are inexpensive and easy to write or paint on. Sealing them with a waterproof varnish is recommended.
- Terra Cotta Pots/Shards: Small terra cotta pots or broken shards can be written on with permanent markers or painted.
- Recycled Plastic Containers: Cleaned yogurt cups, margarine tubs, or plastic bottles can be cut into strips or shapes.
- Metal Plant Tags: While often purchased, these can be etched or stamped with permanent markers.
- Cork: Wine corks can be sliced and used as small markers, often attached to skewers.
- Seashells: Larger, flatter seashells can be a charming, natural option.
- Copper Sheet/Wire: This offers a rustic and elegant look, and can be embossed or etched.
Crafting Your Honeyberry Garden Markers: Step-by-Step
The process of creating your own honeyberry markers is straightforward and rewarding. Here’s a general guide to get you started, adaptable to your chosen materials.
General Marker Creation Process:
- Gather Your Materials: Collect your chosen marker base (stones, wood, plastic, etc.) and your marking tools (permanent markers, paint pens, stencils, stamps).
- Prepare the Surface: Ensure your marker base is clean and dry. For porous materials like wood or terra cotta, consider applying a sealant or primer for better ink adhesion and durability.
- Plan Your Design: Decide what information you want to include and how you will present it. Sketching out your ideas can be helpful.
- Mark the Surface: Use your chosen method to write or paint the information onto the marker. Ensure the ink or paint is permanent and weather-resistant.
- Let it Dry/Cure: Allow ample time for any paint or ink to dry completely. For outdoor use, consider applying a clear, waterproof sealant over the finished design for added protection.
- Attach to a Support (if needed): For smaller markers like painted stones or corks, you may need to attach them to a wooden skewer or a small stake to insert into the ground. Use strong, waterproof adhesive for this.
- Install in the Garden: Carefully place your finished markers near the respective honeyberry shrubs, ensuring they are visible and won’t be easily obscured by foliage.
Key Facts and Comparison of Honeyberry Marker Methods
To help you choose the best approach for your honeyberry garden, let’s compare some popular DIY marker methods based on key factors.
| Marker Method | Durability (Weather Resistance) | Ease of Creation | Aesthetic Appeal | Cost-Effectiveness | Best For |
|---|---|---|---|---|---|
| Painted Stones | High (with sealant) | Moderate | Charming, Natural | Very High | Simple variety names, short notes |
| Wooden Craft Sticks/Dowels | Moderate (requires sealing) | High | Rustic, Natural | High | Variety names, planting dates, short care tips |
| Terra Cotta Shards | High (with sealant) | Moderate | Earthy, Garden-like | Very High | Variety names, decorative elements |
| Recycled Plastic | High (UV resistant if chosen carefully) | High | Functional, Vibrant (if painted) | Extremely High | Clear identification, practical information |
| Copper Tags | Very High | Moderate (requires specialized tools for etching/stamping) | Elegant, Sophisticated | Moderate | Long-term identification, variety names |
Enhancing Your Honeyberry Garden with Creative Labels
Beyond basic identification, your honeyberry garden markers can become a delightful extension of your garden’s personality.
Creative Labeling Ideas:
- Color-Coding: Assign different colors to different varieties or to indicate specific needs (e.g., blue for early bloomers, red for those needing more sun).
- Illustrations: Add small, hand-drawn pictures of the berries, leaves, or even simple icons representing their characteristics.
- Personalized Messages: Include a short, encouraging message or a fun fact about honeyberries.
- Themed Markers: If you have a particular garden theme, design your markers to complement it.
- Tiered Information: For more complex needs, consider a layered approach where a primary marker identifies the variety, and a smaller secondary marker provides detailed care instructions.
Troubleshooting and Longevity Tips for Your Markers
Even the most carefully crafted markers can face challenges from the elements. Here are some tips to ensure their longevity and continued readability.
Common Issues and Solutions:
- Fading Ink: Use UV-resistant paints and permanent markers specifically designed for outdoor use. Reapply or touch up as needed annually.
- Peeling Paint/Sealant: Ensure surfaces are thoroughly cleaned and dried before painting or sealing. Apply multiple thin coats rather than one thick coat.
- Markers Falling Over: Use sturdy stakes or skewers, and ensure they are inserted firmly into the ground. Consider securing markers to a small rock or heavier base for added stability.
- Legibility Issues: Choose contrasting colors for your lettering and background. Use a clear, legible font. Avoid overly ornate lettering that can be difficult to read from a distance.
- Material Degradation: For wooden markers, reapply sealant annually. For plastic, ensure it’s UV-resistant to prevent brittleness.
Pros and Cons of DIY Honeyberry Markers
Every approach has its advantages and disadvantages. Understanding these can help you make informed decisions for your own garden.
| Pros of DIY Markers | Cons of DIY Markers |
|---|---|
| Cost savings | Can be time-consuming |
| High degree of personalization and creativity | Durability can vary depending on materials and craftsmanship |
| Opportunity to repurpose materials and reduce waste | Requires initial investment in materials and tools (e.g., paints, sealants, brushes) |
| Educational and enjoyable activity | Some methods may require reapplication or touch-ups over time |
| Can be tailored to specific garden aesthetics | Finding truly weather-proof and long-lasting inks can be a challenge |
Beyond Honeyberries: Adapting Your Skills
The skills and techniques you develop while creating DIY markers for your honeyberry shrubs are transferable to other areas of your garden. Whether you’re growing blueberries, raspberries, or even a vegetable patch, these creative labeling solutions can enhance organization and add a personal touch to your entire outdoor space.
Conclusion: Cultivating a Well-Marked Honeyberry Haven
A well-organized and beautifully labeled honeyberry garden is a joy to behold and a pleasure to maintain. By investing a little time and creativity into crafting your own garden markers, you not only ensure the health and productivity of your plants but also infuse your garden with personality and charm. Embrace the process, experiment with different materials, and enjoy the sweet rewards of a thoughtfully marked honeyberry haven.


