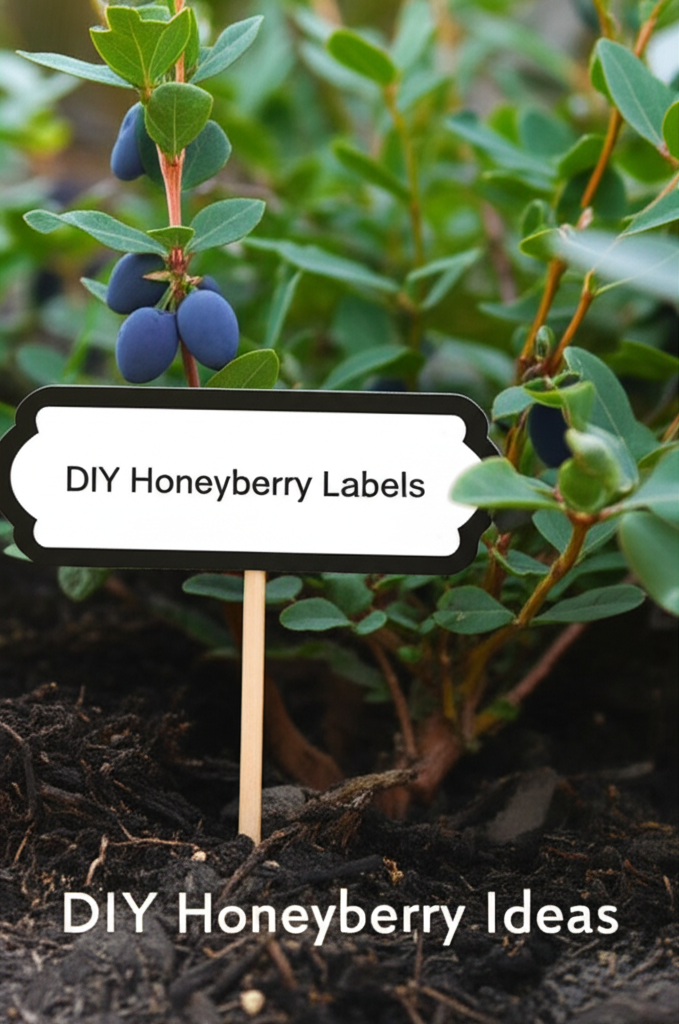
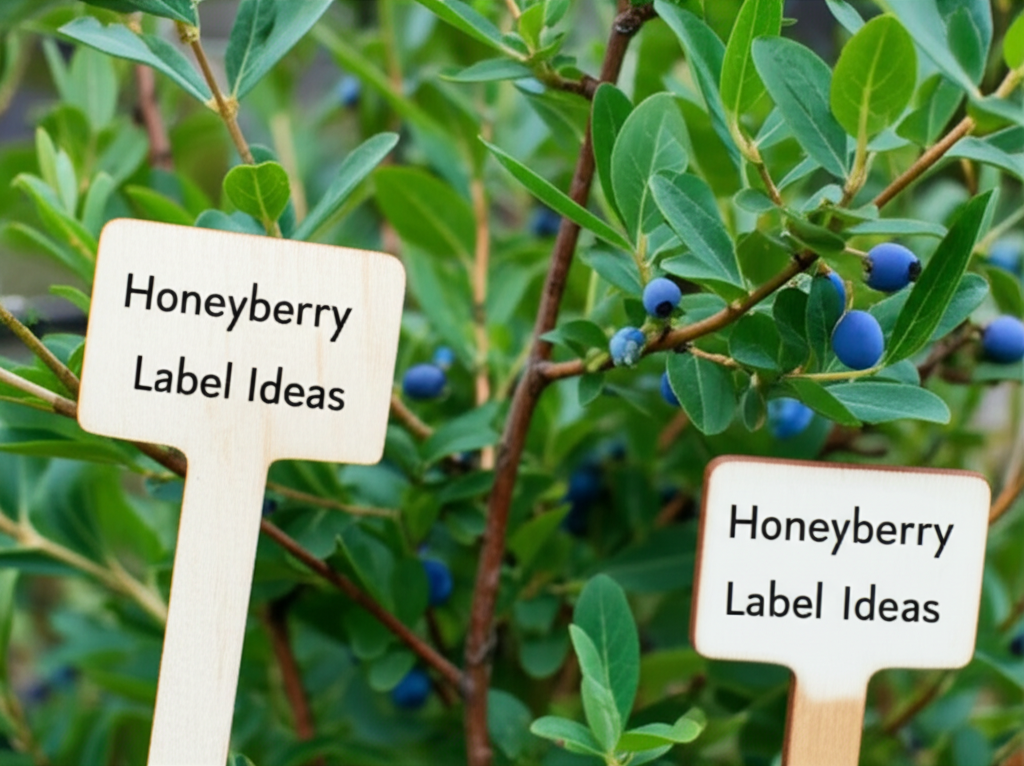
Honeyberry shrubs, also known as haskaps or edible honeysuckle, are increasingly popular additions to home gardens. These hardy, prolific producers of tangy, antioxidant-rich berries offer a delightful harvest for many weeks. To truly maximize your enjoyment and success with these fascinating plants, clear and attractive garden labels are essential. Beyond simply identifying your honeyberry varieties, well-crafted DIY labels can add charm, provide vital information, and even serve as educational tools for visitors and family members.
This comprehensive guide explores a variety of DIY honeyberry shrub garden label ideas, catering to different skill levels, aesthetic preferences, and informational needs. From durable and weather-resistant options to creative and decorative approaches, you’ll find inspiration to label your honeyberry plants like a pro.
Why Label Your Honeyberry Shrubs?
Before diving into the creative labeling techniques, it’s important to understand the practical reasons for labeling your honeyberry shrubs.
- Variety Identification: Honeyberry shrubs often require cross-pollination from different varieties to produce fruit. Knowing which variety you have is crucial for ensuring a good harvest.
- Planting Companions: Some varieties are better pollinators for others. Labels can help you remember which plants to place near each other.
- Harvest Timing: Different honeyberry varieties ripen at slightly different times. Labels can help you track the anticipated harvest window for each shrub.
- Plant Care: While honeyberries are generally low-maintenance, specific varieties might have minor differences in their preferred soil pH or watering needs.
- Winter Dormancy: Knowing which plants are which is helpful during winter when they may look similar in their dormant state.
- Aesthetics and Organization: Well-labeled plants contribute to a tidy and organized garden, making it easier to manage and appreciate your plantings.
- Educational Value: Labels can inform guests, children, or even yourself about the specific names, origins, or benefits of each honeyberry variety.
Key Facts About Honeyberry Varieties

Understanding the nuances of different honeyberry varieties can inform your labeling choices. Here’s a comparison of some common types:
| Variety | Origin | Berry Shape | Berry Flavor Profile | Approximate Ripening Time | Pollination Needs |
|---|---|---|---|---|---|
| ‘Aurora’ | Saskatoon, Canada | Oblong, cylindrical | Sweet-tart, blueberry-like with a hint of raspberry | Mid-June | Requires cross-pollination from a different variety (e.g., ‘Honeybee’ or ‘Tundra’) |
| ‘Honeybee’ | Saskatoon, Canada | Oblong | Sweet-tart, complex flavor with notes of grape | Mid-June | Requires cross-pollination from a different variety (e.g., ‘Aurora’ or ‘Tundra’) |
| ‘Tundra’ | Saskatoon, Canada | Oblong | Sweet, mild, slightly floral | Late May to Early June | Requires cross-pollination from a different variety (e.g., ‘Aurora’ or ‘Honeybee’) |
| ‘Borealis’ | Saskatoon, Canada | Oblong | Sweet-tart, comparable to blueberries | Late May to Early June | Requires cross-pollination from a different variety (e.g., ‘Aurora’ or ‘Honeybee’) |
| ‘Indigo Gem’ | Canada | Cylindrical | Tart, intense flavor | Mid-June | Requires cross-pollination from a different variety |
DIY Garden Label Materials: Durability Meets Design
The best DIY labels are those that are both informative and withstand the elements. Here are some popular and effective materials:
1. Weather-Resistant Plastics
Plastic labels are a common choice due to their longevity and resistance to moisture and UV rays.
- Types: You can use repurposed plastic containers (like yogurt cups or milk jugs), or purchase specialized plastic sheeting or garden stakes.
- Marking: Use permanent markers designed for outdoor use, such as paint pens or specialized garden markers. Engraving tools can also create durable labels.
- Pros: Highly durable, waterproof, UV resistant, inexpensive.
- Cons: Can look less natural, some plastics can become brittle over time.
2. Metal Labels
Metal offers a classic and enduring option for garden markers.
- Types: Aluminum, copper, brass, or galvanized steel. You can buy blank metal tags or sheets and cut them to size.
- Marking: Metal stamping kits are excellent for creating raised lettering that won’t fade. You can also engrave or use metal etching solutions.
- Pros: Extremely durable, weather-resistant, can develop an attractive patina, classic aesthetic.
- Cons: Can be more expensive, requires specific tools for stamping or engraving.
3. Slate or Stone Labels
Natural stone provides an elegant and organic feel to your garden.
- Types: Flat pieces of slate or smooth river stones.
- Marking: Use chalk markers (which may need reapplication after rain), permanent outdoor paints, or engraving tools.
- Pros: Natural and aesthetically pleasing, very durable, can blend seamlessly into the garden.
- Cons: Can be heavy, requires careful selection of pieces, lettering may fade over time depending on the marking method.
4. Wooden Labels
Wood offers a warm, rustic charm, but requires careful selection and treatment to ensure longevity.
- Types: Cedar, redwood, or cypress are naturally rot-resistant. You can also use craft wood sticks or larger pieces of reclaimed wood.
- Marking: Wood burning tools create permanent, attractive labels. Outdoor-grade permanent markers or paints can also be used, but may require reapplication. Sealants can prolong the life of painted or marked wood.
- Pros: Natural and rustic appearance, biodegradable, can be very cost-effective.
- Cons: Less durable than plastic or metal, susceptible to rot and insect damage if not treated, can warp or splinter.
Creative DIY Honeyberry Labeling Techniques
Now for the fun part – transforming simple materials into charming garden identifiers!
1. Stamped Metal Tags
This is a popular method for creating professional-looking, long-lasting labels.
- Materials: Blank metal tags (aluminum or brass are good choices), metal stamping alphabet set, hammer, steel bench block or anvil, permanent marker (optional, for filling stamped letters).
- Steps:
- Place a metal tag on the steel bench block.
- Choose your letter and position the stamp firmly on the tag.
- Strike the top of the stamp with a hammer with a firm, controlled blow.
- Repeat for each letter of your honeyberry variety name.
- Optionally, rub a permanent marker over the stamped letters and wipe away excess for better readability.
- Attach the stamped tag to a stake or wire.
- Tips: Practice on scrap metal first. Ensure your workspace is stable.
2. Painted Rocks or Slate
A simple yet effective way to add artistic flair to your garden.
- Materials: Smooth, flat rocks or pieces of slate, outdoor-grade acrylic paints or paint pens, clear sealant spray (optional).
- Steps:
- Clean and dry your rocks or slate thoroughly.
- Sketch your design or lettering lightly with a pencil if desired.
- Paint or draw the honeyberry variety name and any decorative elements.
- Allow the paint to dry completely.
- For added durability, spray with a clear outdoor sealant.
- Place the labeled rocks directly in front of your honeyberry shrubs or attach them to stakes.
- Tips: Consider a simple black or white palette for a sophisticated look, or bright colors for a playful feel.
3. Wood-Burned Labels
This technique creates beautiful, permanent markings on wooden stakes.
- Materials: Wooden craft stakes or small wooden pieces (cedar or pine are good), wood burning tool, pencil.
- Steps:
- Sand your wood pieces smooth.
- Lightly sketch the honeyberry variety name onto the wood with a pencil.
- Using the wood burning tool, carefully trace over the pencil lines.
- Allow the wood to cool completely.
- You can leave the burned wood natural or apply a clear outdoor sealant for extra protection.
- Insert the stakes into the ground near your honeyberry shrubs.
- Tips: Experiment with different wood burning tips for varying line thicknesses.
4. Repurposed Plastic Container Labels
An eco-friendly and budget-conscious option.
- Materials: Clean plastic containers (yogurt cups, sour cream containers, plastic milk jugs), scissors or utility knife, permanent outdoor marker or paint pen, hole punch (optional), wire or string.
- Steps:
- Wash and dry plastic containers thoroughly.
- Cut out rectangular or shaped labels from the plastic.
- Write the honeyberry variety name clearly using a permanent marker.
- If attaching to a stake or hanging, punch a hole in the label.
- Secure the label to a stake, wire, or tie it around a stem.
- Tips: Thicker plastic from milk jugs tends to be more durable.
5. Engraved Wooden Spoons or Utensils
A charming and unique way to label your edible plants.
- Materials: Wooden spoons, spatulas, or other utensils, wood burning tool or engraving pen.
- Steps:
- Choose sturdy wooden utensils.
- Use a wood burning tool or engraving pen to write the honeyberry variety name on the handle.
- Seal the utensil with a food-safe, outdoor-grade sealant if desired, though many garden labels aren’t meant for direct consumption.
- Place the handle end into the soil so the spoon part is visible above ground.
- Tips: Ensure the utensil is securely placed so it doesn’t fall over.
Advanced Labeling: Including More Information
Beyond just the variety name, you can enhance your labels with additional helpful details.
What Information to Include:
- Variety Name: The essential piece of information.
- Planting Date: Useful for tracking growth and age.
- Purchase Date: Helps with warranty information or remembering where you bought it.
- Pollinator Partner: Crucial for ensuring fruit set. You could note “Pollinator: Aurora.”
- Origin of Variety: For the curious gardener or educational purposes.
- Brief Notes: “Early Ripener,” “Very Sweet,” “Good for Jams.”
Table: Labeling Pros and Cons by Material/Technique
Here’s a summary to help you choose the best method for your needs.
| Material/Technique | Pros | Cons | Best For |
|---|---|---|---|
| Stamped Metal | Extremely durable, permanent, professional look | Requires specialized tools, higher initial cost | Long-term labeling, formal gardens |
| Painted Rocks/Slate | Natural aesthetic, artistic freedom, inexpensive | Lettering may fade, can be heavy, weather dependent | Decorative gardens, personalized touch |
| Wood Burned | Rustic charm, permanent marking, unique | Requires wood burning tool, wood can degrade over time | Naturalistic gardens, DIY enthusiasts |
| Repurposed Plastic | Eco-friendly, very low cost, waterproof | Can look less refined, some plastics degrade in UV | Budget-conscious gardeners, temporary labeling |
| Engraved Wooden Spoons | Unique, charming, functional aesthetic | Wood can degrade, might not be as stable | Whimsical gardens, herb and fruit gardens |
Tips for Long-Lasting Labels
No matter which method you choose, a few simple tips can significantly extend the life and legibility of your honeyberry garden labels.
- Choose the Right Location: Place labels where they are visible but not constantly in direct, harsh sunlight if using materials that can fade (like painted wood).
- Secure Placement: Ensure your labels are firmly anchored in the soil or attached to the plant’s support to prevent them from being blown away or dislodged.
- Protect from Weeds: Keep the area around the base of your honeyberry shrubs weed-free. Weeds can obscure labels and make them prone to damage during weeding.
- Regular Inspection: Periodically check your labels for any signs of wear, fading, or damage. Make touch-ups or replacements as needed.
- Consider a Protective Coating: For painted or wood-burned labels, a clear, UV-resistant outdoor sealant can offer an extra layer of protection against the elements.
Conclusion: Labeling Your Way to a Thriving Honeyberry Patch
Creating DIY garden labels for your honeyberry shrubs is a rewarding project that combines practicality with creativity. Whether you opt for the enduring strength of stamped metal, the rustic beauty of wood-burned designs, or the charming simplicity of painted stones, well-made labels will ensure you can identify your varieties, manage your planting, and ultimately enjoy a bountiful harvest of these delicious berries. Experiment with different techniques, have fun with your designs, and watch your honeyberry patch flourish with clear, informative, and beautiful labeling!


