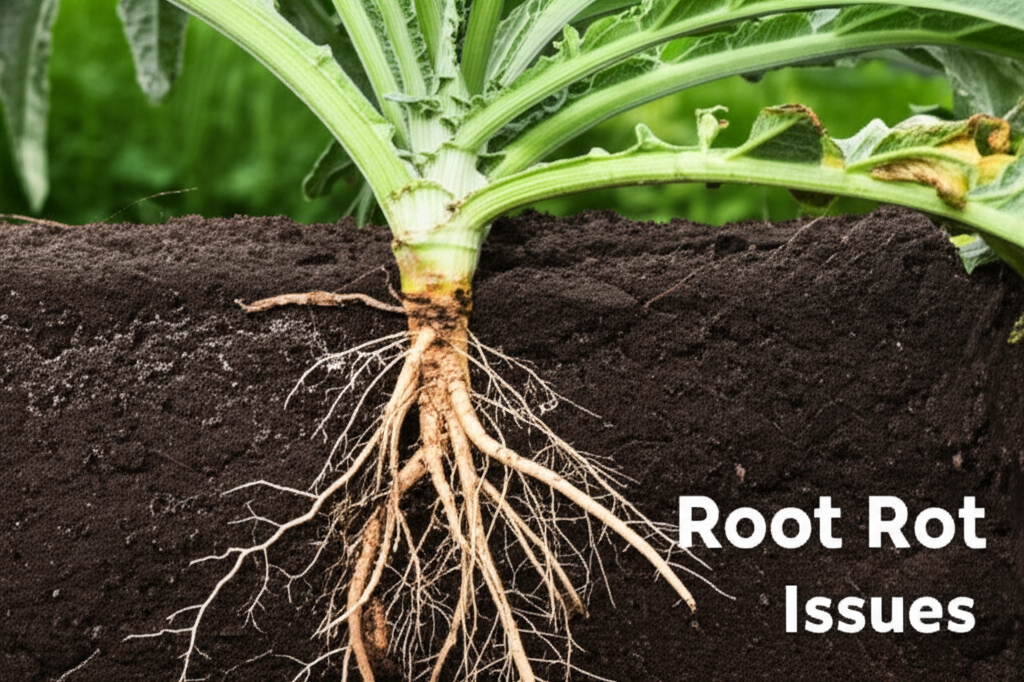
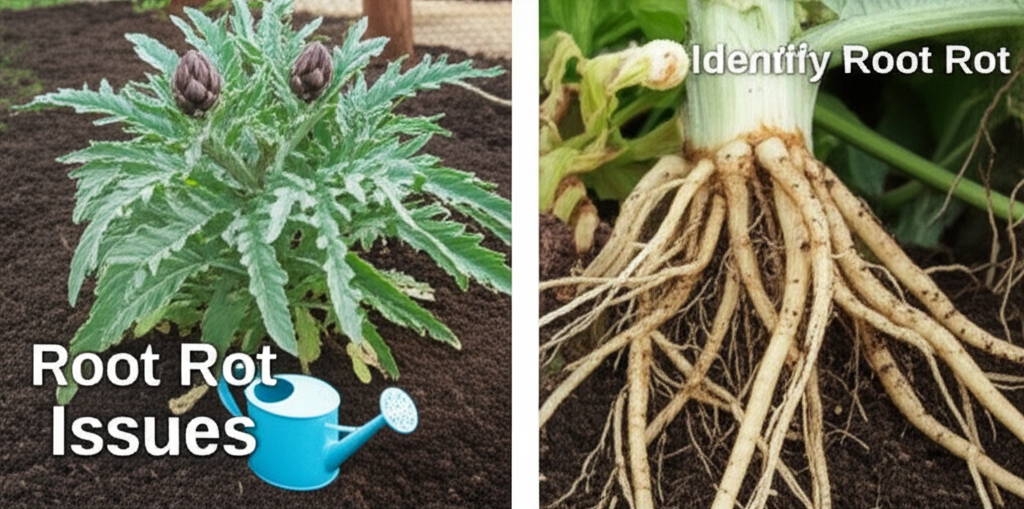
Understanding Root Rot in Globe Artichokes
Globe artichokes (Cynara cardunculus var. scolymus) are a delectable and visually striking addition to any garden, but they are not without their vulnerabilities. One of the most common and devastating threats they face is root rot. This fungal disease, often exacerbated by poor soil conditions and overwatering, can quickly decimate an otherwise healthy plant. Understanding the causes, symptoms, and effective treatment and prevention strategies is crucial for any artichoke enthusiast looking to protect their harvest.
Root rot is a broad term that encompasses diseases caused by various soil-borne fungi and oomycetes. These pathogens thrive in waterlogged, poorly aerated soil, where they can attack the plant’s root system. Once established, these organisms can impede the roots’ ability to absorb water and nutrients, leading to a decline in the plant’s overall health and vigor, and ultimately, its demise.
Common Causes of Root Rot in Artichokes
Several factors contribute to the development of root rot in globe artichokes. Identifying and mitigating these causes is the first step in protecting your plants.
- Poor Drainage: This is arguably the most significant contributor. Artichokes require well-draining soil. If water stands around the roots for extended periods, it creates an ideal environment for fungal pathogens.
- Overwatering: While artichokes need consistent moisture, overwatering can be just as detrimental as underwatering. Saturation deprives roots of oxygen and encourages fungal growth.
- Heavy Clay Soils: Soils with a high clay content tend to retain excessive moisture and compact easily, leading to poor aeration.
- Inadequate Spacing: Planting artichokes too closely together can impede air circulation around the plants and lead to a buildup of humidity, which can foster disease.
- Contaminated Soil or Tools: Fungal spores can persist in soil and on gardening tools, especially if they have been used on infected plants.
- Planting Depth: Planting artichokes too deep can bury the crown, making it more susceptible to rot.
- Weakened Plants: Plants that are already stressed by nutrient deficiencies, pests, or extreme weather conditions are more vulnerable to root rot.
Recognizing the Symptoms of Root Rot
Early detection is key to successfully managing root rot. The symptoms can sometimes be subtle at first, but they typically progress and become more apparent over time.
Above-Ground Symptoms:
- Yellowing Leaves: One of the first noticeable signs is often a general yellowing of the foliage, starting with the lower leaves and progressing upwards.
- Wilting: Despite adequate watering, the plant may appear wilted, especially during the hottest parts of the day. This is because the damaged roots cannot absorb enough water.
- Stunted Growth: New growth may be slow or absent, and the plant may appear generally weaker and less vigorous than usual.
- Browning or Blackening of Stems and Leaves: In more advanced stages, the stems and leaf bases may turn brown or black, indicating tissue death.
- Reduced Bud Formation: The plant may produce fewer or smaller flower buds, or the buds may fail to develop properly.
- Dieback: Entire branches or sections of the plant may begin to die back.
Below-Ground Symptoms:
If you suspect root rot, gently excavating around the base of the plant can reveal more definitive symptoms:
- Discolored Roots: Healthy roots are typically white or light tan. Infected roots will appear brown, black, or mushy.
- Soft or Slimy Roots: The root tissue may feel soft, mushy, or slimy to the touch.
- Fungal Growth: In some cases, a white, cottony fungal growth may be visible on the roots or at the soil line.
Key Facts and Comparison of Root Rot Causes

To better understand the nuances of root rot, it’s helpful to compare the primary contributing factors.
| Factor | Impact on Roots | Favorable Conditions for Pathogens | Severity if Unchecked |
|---|---|---|---|
| Poor Drainage | Waterlogging deprives roots of oxygen, causing suffocation and stress. | Excessive moisture, compacted soil. | High – creates a breeding ground for fungi. |
| Overwatering | Constant saturation leads to oxygen deprivation and root cell breakdown. | Frequent, heavy watering without adequate drainage. | High – similar to poor drainage. |
| Heavy Clay Soil | Restricts root growth and air penetration, retaining excess water. | Dense soil structure, low organic matter. | Moderate to High – makes drainage management difficult. |
| Poor Air Circulation | Increases humidity around the plant base, promoting fungal growth. | Close planting, lack of airflow. | Moderate – exacerbates existing moisture issues. |
Treating Existing Root Rot
Once root rot has taken hold, successful treatment can be challenging, as the damage to the root system is often significant. However, prompt action can sometimes save affected plants or at least prevent the spread of the disease.
Steps for Treating Root Rot
1. Diagnosis and Assessment
- Gently excavate around the base of the suspected plant to examine the roots.
- Look for the characteristic signs of discolored, mushy, or slimy roots.
- Assess the soil moisture; is it consistently waterlogged?
2. Improve Drainage Immediately
- If the soil is waterlogged, the first and most crucial step is to improve drainage.
- For potted plants, ensure drainage holes are clear and consider repotting into a better-draining mix.
- For in-ground plants, avoid watering. If the soil is compacted, gently aerate the soil around the plant without disturbing the roots too much.
- In severe cases, you may need to consider transplanting the plant to a more suitable location with better drainage.
3. Remove Affected Parts
- Using a clean, sharp knife or pruning shears, carefully trim away any visibly rotted or diseased roots.
- Disinfect your tools between cuts with rubbing alcohol or a bleach solution to prevent spreading the infection.
- Remove any infected leaves or stems that are showing signs of rot.
4. Apply Fungicides (Use with Caution)
- For more severe cases, consider using a fungicide specifically labeled for root rot.
- Look for products containing active ingredients such as phosphonates (e.g., potassium phosphonate) or certain beneficial fungi that can outcompete pathogens.
- Follow the product instructions meticulously for application and safety. Fungicides are often more effective as a preventative measure or in the very early stages of infection.
5. Adjust Watering Practices
- Water deeply but infrequently. Allow the top few inches of soil to dry out between waterings.
- Water at the base of the plant to keep foliage dry and reduce humidity.
- Avoid watering late in the day, which can leave foliage and soil damp overnight.
6. Amend the Soil
- Once the immediate crisis has passed, focus on improving the soil structure to enhance drainage and aeration.
- Incorporate organic matter such as compost, well-rotted manure, or perlite into the soil around the plant.
- For heavy clay soils, consider adding gypsum to improve soil structure.
Pros and Cons of Root Rot Treatment Methods
It’s important to weigh the potential benefits against the drawbacks of different treatment approaches.
| Method | Pros | Cons |
|---|---|---|
| Improving Drainage | Addresses the primary cause, essential for recovery and prevention. | May require significant soil amendment or transplanting. |
| Removing Affected Roots | Removes the source of infection, can prevent spread. | Can be stressful for the plant, may not remove all pathogens. |
| Fungicides | Can provide a chemical barrier against fungal growth. | May not be effective on advanced infections, can harm beneficial microbes, potential environmental impact. |
| Adjusting Watering | Simple, effective, and sustainable long-term. | Requires careful monitoring and understanding of plant needs. |
| Soil Amendments | Improves soil health and drainage for future growth. | Requires physical labor and materials. |
Preventing Root Rot in Globe Artichokes
Prevention is undoubtedly the most effective strategy for managing root rot in globe artichokes. By creating an optimal growing environment, you can significantly reduce the risk of your plants succumbing to this disease.
Key Prevention Strategies
1. Choose the Right Location
- Select a planting site that receives at least six to eight hours of direct sunlight per day.
- Crucially, ensure the site has excellent natural drainage. Avoid low-lying areas where water tends to collect.
- If your garden has heavy clay soil, consider raised beds or container gardening to ensure proper drainage.
2. Amend the Soil Before Planting
- Work generous amounts of organic matter, such as compost or well-rotted manure, into the soil before planting.
- This improves soil structure, aeration, and drainage, making it less hospitable to root rot pathogens.
- For clay soils, adding perlite or coarse sand can further enhance drainage.
3. Proper Planting Techniques
- When planting artichoke crowns or seedlings, ensure they are planted at the correct depth. The crown should be at or slightly above soil level.
- Avoid planting too deeply, as this can trap moisture around the sensitive crown.
- Give plants adequate space. Mature artichoke plants can spread, so spacing them at least 3-4 feet apart allows for good air circulation.
4. Water Wisely
- Water deeply but infrequently. The goal is to moisten the root zone, not to keep the soil constantly saturated.
- Allow the top inch or two of soil to dry out between waterings. Check the soil moisture with your finger before watering.
- Use drip irrigation or a soaker hose to deliver water directly to the root zone, minimizing moisture on the foliage and stem.
5. Mulch Appropriately
- Apply a layer of organic mulch, such as straw, shredded bark, or compost, around the base of the plants.
- Mulching helps retain soil moisture, suppress weeds, and regulate soil temperature.
- Keep the mulch a few inches away from the plant’s stem to prevent moisture buildup and potential rot at the crown.
6. Rotate Crops
- Avoid planting artichokes in the same spot year after year, especially if you have experienced root rot in the past.
- Crop rotation helps to break the life cycle of soil-borne pathogens.
7. Maintain Plant Health
- Provide adequate nutrients through balanced fertilization.
- Monitor for pests and diseases regularly and address any issues promptly. Healthy, vigorous plants are more resilient to root rot.
8. Sanitize Tools
- Clean all gardening tools, especially pruners and shovels, before and after use, particularly if working with potentially diseased plants.
- Disinfecting tools prevents the accidental transfer of fungal spores from one plant to another.
Conclusion: A Proactive Approach to Healthy Artichokes
Root rot is a formidable adversary for globe artichoke growers, but it is not an insurmountable one. By understanding the underlying causes, diligently observing for early symptoms, and implementing a robust prevention strategy, you can significantly increase your chances of a bountiful and healthy artichoke harvest. Prioritizing excellent drainage, mindful watering, and overall plant vitality are the cornerstones of success. With a little vigilance and the right approach, you can ensure your globe artichokes thrive and continue to grace your garden with their unique beauty and delicious bounty for seasons to come.


