Introduction: The Sweet Allure of Honeyberry Hedges
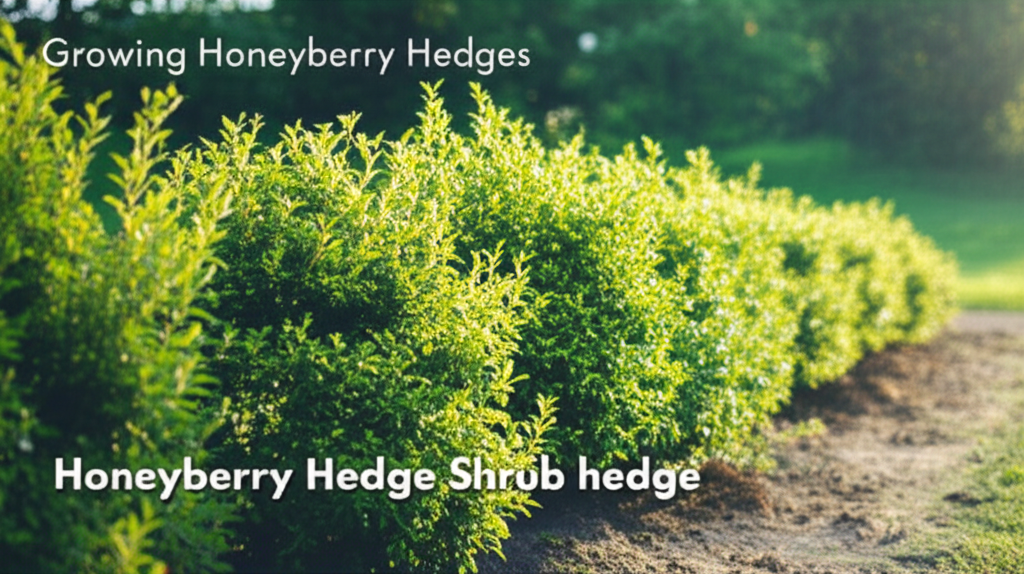
Imagine a living fence that not only provides privacy and defines your garden space but also rewards you with a bounty of delicious, antioxidant-rich berries. This is the promise of a honeyberry shrub hedge. Honeyberries, also known as Haskap or Blue Honeysuckle, are gaining popularity for their hardiness, early-blooming nature, and incredibly nutritious fruit. Unlike many fruiting shrubs that can be sprawling and unruly, honeyberries lend themselves beautifully to shaping into a tidy, productive hedge. This guide will walk you through every step of creating and maintaining a thriving honeyberry shrub hedge, transforming your garden into a source of both beauty and sustenance.
Why Choose Honeyberries for Your Hedge?
Before diving into the “how,” let’s explore the compelling reasons to select honeyberries for your next landscaping project:
- Exceptional Hardiness: Honeyberries are remarkably cold-hardy, often tolerating temperatures well below freezing. This makes them an excellent choice for climates with harsh winters.
- Early Bearers: They are among the first fruits to ripen in the season, typically appearing in late spring to early summer, offering a welcome early harvest.
- Nutritional Powerhouse: Honeyberry fruits are packed with antioxidants, vitamins (especially Vitamin C), and anthocyanins, which contribute to their deep blue color and health benefits.
- Adaptable Growth Habit: While naturally bushy, honeyberries respond well to pruning, allowing them to be shaped into a formal hedge.
- Pollination Partners: Most honeyberry varieties are self-incompatible, meaning you’ll need at least two different varieties planted close together to ensure good fruit production. This makes planting a hedge an ideal solution.
- Low Maintenance: Once established, honeyberry hedges require minimal care, making them a sustainable and rewarding choice.
- Attracts Beneficial Wildlife: The early flowers can attract pollinators, and the berries provide food for birds and other garden creatures.
Planning Your Honeyberry Hedge

Successful hedge creation begins with meticulous planning. This phase involves site selection, choosing the right varieties, and determining the optimal layout for your space.
Site Selection: Where to Plant
Honeyberries, like most fruiting plants, thrive in specific conditions. Careful site selection will significantly impact the health and productivity of your hedge.
- Sunlight: Honeyberries prefer full sun, meaning at least 6-8 hours of direct sunlight per day. While they can tolerate some partial shade, fruit production will be reduced.
- Soil: They are adaptable to a range of soil types, but they perform best in well-draining, slightly acidic to neutral soil (pH 5.5-7.0). Avoid waterlogged areas, as this can lead to root rot. If your soil is heavy clay, consider amending it with compost or raised beds.
- Space: Consider the mature size of the honeyberry varieties you choose. Allow adequate spacing between plants to ensure good air circulation and room for growth and pruning. For a hedge, a spacing of 2-3 feet between plants is generally recommended.
Choosing the Right Honeyberry Varieties
The key to a productive honeyberry hedge is selecting compatible varieties that will cross-pollinate effectively. Nursery catalogs and plant tags will usually indicate which varieties are good pollinators for each other.
Key Honeyberry Varieties for Hedging
Here’s a look at some popular and well-regarded honeyberry varieties, often recommended for their growth habit and fruit quality:
| Variety | Fruit Shape | Flavor Profile | Hardiness Zone | Mature Height (approx.) | Notes |
|---|---|---|---|---|---|
| ‘Aurora’ | Oblong | Sweet, slightly tart | Zone 2-7 | 4-5 ft | Good disease resistance, early ripening |
| ‘Borealis’ | Oblong | Sweet, less tart than some | Zone 2-7 | 3-4 ft | Good pollinator, high yield |
| ‘Honey Bee’ | Cylindrical | Sweet, complex flavor | Zone 2-7 | 4-5 ft | Excellent pollinator, large berries |
| ‘Indiga’ | Oblong | Tart, good for juice | Zone 2-7 | 4-5 ft | Later ripening than some |
| ‘Krasnik’ | Oblong | Sweet, mild | Zone 2-7 | 3-4 ft | Often used as a pollinator, good fruit quality |
| ‘Tundra’ | Oblong | Sweet, berry-like | Zone 2-7 | 4-5 ft | Early ripening, good for fresh eating |
Remember to purchase at least two different varieties to ensure cross-pollination. Consider planting them in a staggered pattern within your hedge line for optimal pollen distribution.
Layout and Spacing
The desired height and density of your hedge will influence the layout.
- Hedge Width: A typical honeyberry hedge can be maintained at a width of 2-3 feet.
- Plant Spacing: For a dense hedge, plant honeyberry shrubs about 2 to 3 feet apart. If you’re aiming for a more informal hedge or have wider spacing requirements, you can extend this to 4 feet.
- Planting Pattern: Consider a staggered or offset planting pattern rather than a straight line. This allows plants to fill in more effectively and creates a more robust hedge.
Planting Your Honeyberry Hedge
The planting process is crucial for establishing a healthy and vigorous honeyberry hedge. Follow these steps carefully.
When to Plant
The best times to plant honeyberry shrubs are in early spring as soon as the ground can be worked, or in the fall a few weeks before the first hard frost.
Planting Steps
Follow these detailed steps for successful planting:
Step-by-Step Planting Process
- Prepare the Planting Area: If planting in rows or a continuous line, dig a trench that is about 18-24 inches wide and 8-12 inches deep. If planting individual shrubs, dig a hole that is twice as wide and as deep as the root ball of the plant.
- Amend the Soil: Mix compost, aged manure, or other organic matter into the soil you’ve removed from the trench or hole. This will improve drainage and provide essential nutrients. Aim for a good mix of existing soil and amendments.
- Prepare the Honeyberry Shrubs: Gently remove the honeyberry plants from their nursery containers. If the roots are tightly wound (root-bound), gently loosen them with your fingers or a small trowel. You can also make a few vertical slits along the sides of the root ball to encourage outward growth.
- Position the Plants: Place the honeyberry shrubs in the prepared trench or hole. Ensure the top of the root ball is level with the surrounding soil surface. For a hedge, maintain your planned spacing (2-3 feet apart).
- Backfill the Hole: Fill the trench or hole with the amended soil, gently firming it around the roots to eliminate air pockets.
- Water Thoroughly: Water the newly planted shrubs deeply. This helps settle the soil and ensures good root-to-soil contact.
- Mulch: Apply a 2-3 inch layer of organic mulch (such as wood chips, shredded bark, or straw) around the base of each plant, keeping it a few inches away from the stem. Mulch helps retain moisture, suppress weeds, and regulate soil temperature.
Establishing and Maintaining Your Honeyberry Hedge
Once planted, your honeyberry hedge will require consistent care to thrive and become the productive barrier you envision.
Watering
- Initial Watering: Water generously after planting and for the first few weeks to help them establish.
- Established Plants: While honeyberries are relatively drought-tolerant once established, regular watering is crucial, especially during dry spells and fruit development. Aim for about 1 inch of water per week.
Fertilizing
Honeyberries are not heavy feeders, but a light application of balanced fertilizer in early spring can be beneficial.
- Early Spring: Apply a balanced, slow-release fertilizer around the base of the plants.
- Avoid Over-Fertilizing: Too much nitrogen can lead to lush foliage at the expense of fruit production.
Pruning for Hedge Form and Production
Pruning is essential for maintaining the shape of your hedge and encouraging abundant fruit. Honeyberries produce fruit on older wood, so a balance of new and old growth is ideal.
Pruning Schedule and Techniques
| Timing | Purpose | Technique |
|---|---|---|
| Late Winter/Early Spring (Dormant Season) | Shape the hedge, remove dead/diseased wood, improve air circulation, encourage new growth and fruiting wood. |
|
| After Fruiting (Summer) | Light shaping, removing suckers, controlling size. |
|
Weed Control
Weeds compete with your honeyberry plants for water and nutrients. Keep the area around your hedge free of weeds.
- Mulching: As mentioned, a good layer of mulch is your best defense against weeds.
- Manual Removal: Pull weeds by hand when they are small.
Pest and Disease Management
Honeyberries are generally resistant to most pests and diseases. However, keep an eye out for:
- Birds: Birds are attracted to the ripening berries. Bird netting can be used to protect your harvest.
- Aphids: Small infestations can usually be managed with a strong spray of water or insecticidal soap.
Harvesting Your Honeyberries
The reward for your efforts comes when your honeyberry hedge begins to produce fruit.
When to Harvest
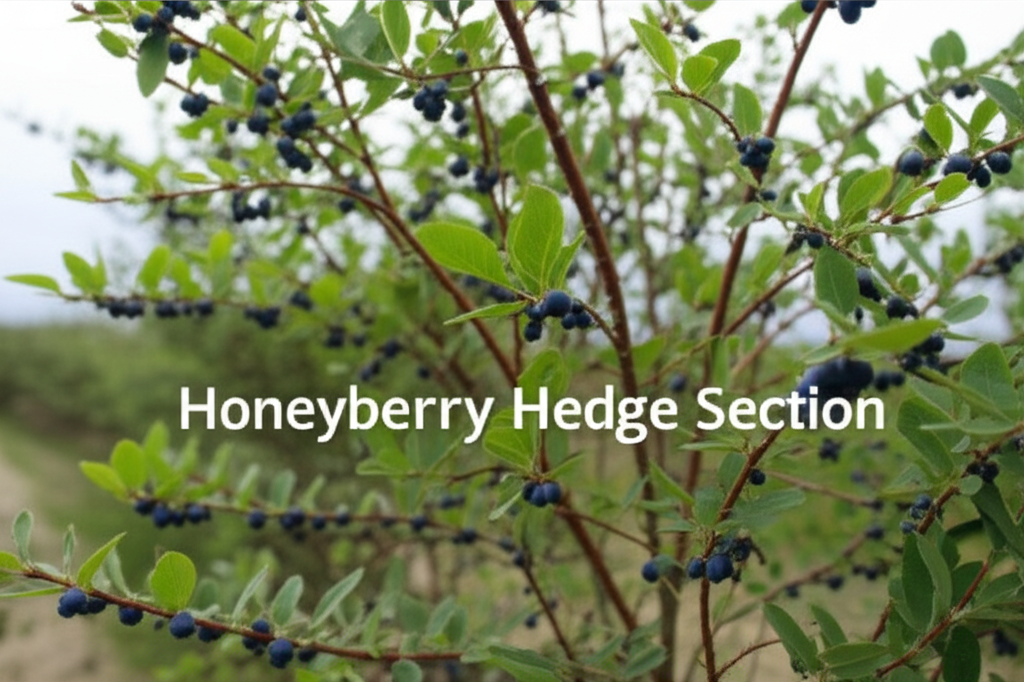
Honeyberries are typically ready to harvest in late May or June, depending on your climate and the specific varieties planted. The berries are ripe when they turn a deep blue color and are slightly soft to the touch.
How to Harvest
- Gentle Picking: Honeyberries can be gently pulled from the bush. They have a tendency to drop when ripe, so consider placing a sheet or tarp beneath the branches to catch any fallen fruit.
- Container: Use shallow containers to prevent the berries from being crushed.
Storage and Usage
Honeyberries are best consumed fresh or processed soon after harvesting.
- Fresh Eating: Enjoy them straight from the bush!
- Juices and Smoothies: Their tartness makes them excellent for juicing.
- Jams and Jellies: They create delicious preserves.
- Baking: Use them in pies, crumbles, and muffins.
- Freezing: Spread berries in a single layer on a baking sheet, freeze until solid, then transfer to freezer bags for long-term storage.
Pros and Cons of a Honeyberry Hedge
While the benefits are numerous, it’s always good to consider both sides.
Honeyberry Hedge: Benefits and Drawbacks
| Pros | Cons |
|---|---|
|
|
Conclusion: A Sweet Investment in Your Garden
Creating a honeyberry shrub hedge is a rewarding endeavor that offers a unique blend of aesthetic appeal, ecological benefit, and delicious, healthy fruit. By carefully planning your planting, selecting compatible varieties, and committing to consistent care, you can cultivate a living fence that provides privacy, beauty, and a generous harvest for years to come. Embrace the simplicity and bounty of honeyberries, and transform your garden into a productive paradise.


