
Absolutely! Let’s dive into creating a deeply engaging and SEO-optimized blog post about “Blue Star Juniper Crafts: Stunning & Effortless,” focusing on the keyword “blue star juniper pressed leaf crafts.”
—
Can You Make Crafts with Blue Star Juniper Pressed Leaves? Absolutely, and Here’s How!
Have you ever admired the captivating silvery-blue foliage of a Blue Star Juniper and wondered if its unique beauty could extend beyond the garden? If you’re a gardener who loves to repurpose nature’s bounty or a crafter seeking unique materials, you might be asking: Can you make crafts with Blue Star Juniper pressed leaves? The answer is a resounding yes! Harnessing the delicate, star-like needles of this hardy evergreen for crafts not only adds a touch of natural elegance to your creations but also offers a sustainable way to appreciate your garden’s bounty year-round. Understanding how to properly press and utilize these fragrant sprigs is key to unlocking their full crafting potential, allowing you to bring the serene beauty of your juniper into home decor, gifts, and personal accessories.
Quick Answer Box
Yes, you can absolutely make stunning and effortless crafts with Blue Star Juniper pressed leaves. The key is in proper pressing techniques to preserve their unique color and shape, transforming them into beautiful elements for a variety of decorative and personal projects.
—
What are Blue Star Juniper Pressed Leaves and Why They’re Important in Gardening Crafts
Blue Star Juniper pressed leaves refer to the needle-like foliage of the Juniperus squamata ‘Blue Star’ that has been carefully preserved through a pressing process. This hardy, slow-growing evergreen shrub is renowned for its dense, compact form and striking silvery-blue needles, resembling small stars. In the context of gardening and crafts, “pressed leaves” is a broad term that encompasses the preserved foliage of various plants, including the distinctive needles of the Blue Star Juniper.
The importance of using Blue Star Juniper pressed leaves in crafts lies in several key areas:
Aesthetic Appeal: The intense silvery-blue hue and unique star-like shape of Blue Star Juniper needles are visually captivating. When pressed, they retain much of their color and form, offering a sophisticated and natural element to crafts that cannot be replicated by artificial materials.
Fragrance: Juniper foliage is known for its distinct, pleasant, and slightly woody aroma. Even after pressing, a subtle fragrance often remains, adding a sensory dimension to your creations, from potpourri to scented sachets.
Durability: Compared to softer leaves, the needles of Blue Star Juniper are quite resilient. When pressed correctly, they become relatively flat and sturdy, making them easier to handle and incorporate into various craft projects without crumbling easily.
Sustainability and Repurposing: Utilizing fallen or pruned branches from your Blue Star Juniper is an excellent way to embrace eco-friendly crafting. It’s a sustainable practice that reduces waste and allows you to enjoy your garden’s beauty in new and creative ways.
Uniqueness: Unlike common pressed flowers or leaves, juniper needles offer a less conventional and more distinctive material, allowing crafters to create truly unique and eye-catching pieces.
—
Quick Recommendations or Key Insights about Blue Star Juniper Pressed Leaf Crafts
Here are some essential tips for working with Blue Star Juniper pressed leaves:
Harvest Wisely: Prune healthy, vibrant branches during their active growing season, but avoid taking too much from any single plant. Early spring or late fall are often good times.
Pressing is Key: Use heavy books or a dedicated flower press to flatten and dry the needles thoroughly. Change absorbent paper regularly to prevent mold.
Color Preservation: While blue hues are tricky to preserve perfectly, pressing in darkness can help maintain the silvery tones.
Fragrance Retention: For maximum scent, press the needles with minimal handling and consider sealing them in airtight containers with a desiccant if long-term fragrance is desired.
Adhesive Choice: Use a strong, clear craft glue, decoupage medium, or double-sided tape suitable for delicate materials.
Sealing for Longevity: Applying a clear sealant or varnish can protect your pressed juniper creations from moisture and damage, ensuring they last longer.
Experiment with Applications: Try them in resin art, handmade cards, bookmarks, framed art, jewelry, or even as unique additions to homemade soaps and candles.
—
Detailed Breakdown of Blue Star Juniper Pressed Leaf Crafts
What are Blue Star Juniper Pressed Leaves and Why They’re Important in Gardening Crafts (Scientific Perspective & Practical Application)
From a botanical standpoint, the Blue Star Juniper (Juniperus squamata ‘Blue Star’) is an evergreen conifer belonging to the Cypress family (Cupressaceae). Its characteristic “leaves” are actually acicular (needle-like) or scale-like leaves that are tightly arranged on the branches. These needles are typically 6-15 mm long, sharp, and possess a distinctive waxy coating that gives them their silvery-blue appearance. This waxy cuticle is a crucial adaptation for conifers, helping to reduce water loss in arid or cold conditions.
When we talk about pressing these needles, we are essentially dehydrating them under pressure. The goal is to remove moisture while maintaining the structure and color of the needles. This process works because:
Water Removal: Pressure helps to flatten the needles and draw out internal moisture. The absorbent paper used in pressing wicks away this moisture, preventing the needles from decaying or developing mold.
Cell Structure Preservation: The slow drying process under pressure minimizes cell damage and shrinkage, helping to retain the needle’s original shape.
Pigment Stabilization: While chlorophyll (green) degrades rapidly without light and moisture, the blue waxy coating on juniper needles is more stable. However, prolonged exposure to light during pressing can cause some fading. This is why pressing in dark conditions or using absorbent paper that blocks light can be beneficial for retaining the silvery-blue hue.
In practical gardening terms, Blue Star Juniper is prized for its ornamental value, requiring minimal maintenance once established. It thrives in full sun and well-drained soil, making it a popular choice for rock gardens, containers, and as a specimen plant. Pruning is generally minimal, often done to maintain shape or remove dead growth. This is where the opportunity for crafting arises – collecting pruned material or carefully snipping small, healthy sprigs provides the raw material for these unique pressed leaf crafts.
How to Press Blue Star Juniper Leaves for Crafts: A Step-by-Step Guide
The success of your Blue Star Juniper crafts hinges on the quality of your pressed needles. Here’s a detailed, step-by-step guide to achieve beautiful results:
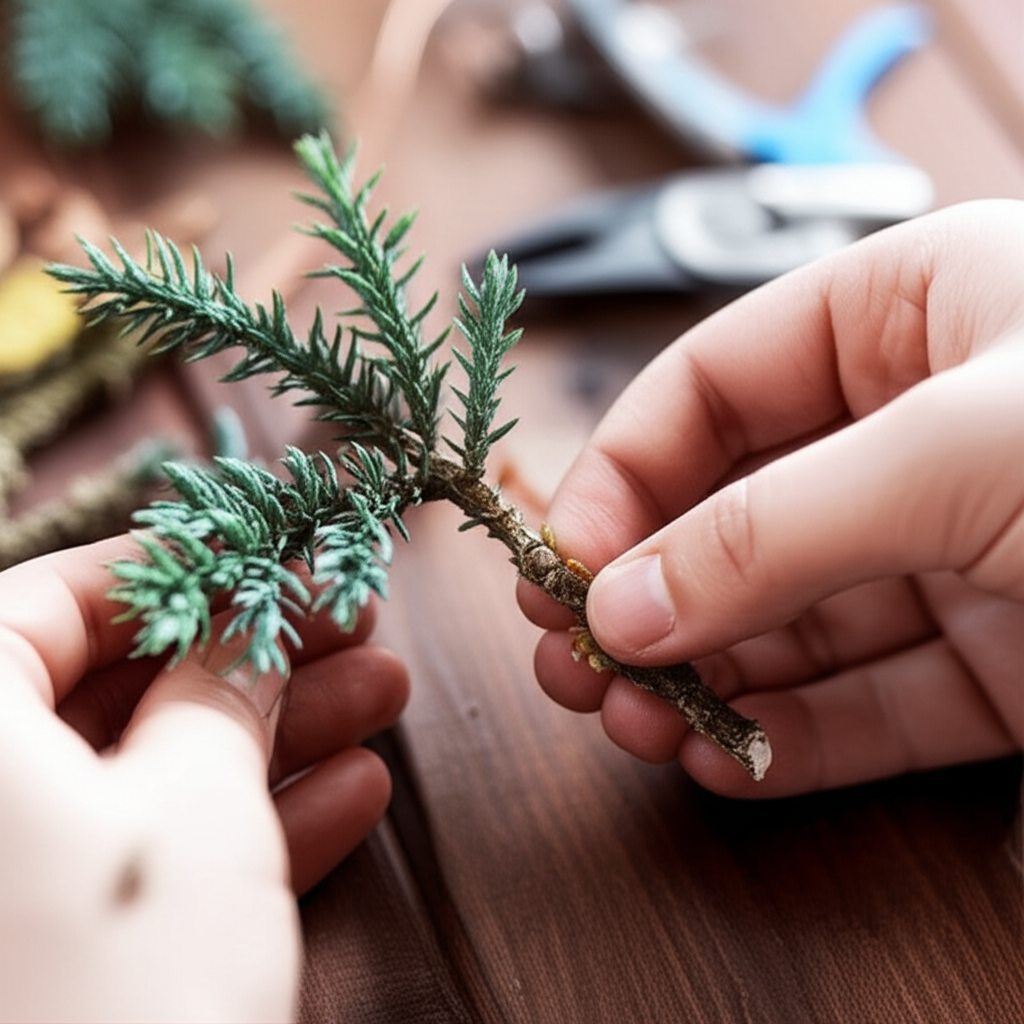
1. Select Your Material:
Choose Healthy Sprigs: Look for vibrant, healthy-looking branches. Avoid any with brown tips, signs of pests, or disease.
Consider Timing: The best time to collect is often during the plant’s active growing season (spring/early summer) when the color is most intense, or in late fall after growth has slowed. Pruned material is ideal as it’s already destined for removal.
Harvest Appropriately: If pruning specifically for crafts, snip small, manageable sprigs. Aim for branches that are not too thick or woody. Remove any loose or damaged needles.
2. Prepare for Pressing:
Gather Supplies: You’ll need absorbent paper (blotting paper, newspaper, or plain printer paper), heavy books, or a dedicated flower press. If using books, ensure the pages are clean and won’t transfer ink.
Arrange the Needles: Lay out your absorbent paper. Carefully place the juniper sprigs on the paper, ensuring they don’t overlap. For the best flatness, arrange them in a single layer. You can lay them flat, spread out, or gently curve them if desired for specific craft applications.
3. The Pressing Process:
Layering: Place another sheet of absorbent paper over the arranged needles. Then, place another piece of cardboard or thick paper on top to distribute weight evenly.
Applying Pressure:
Book Method: Place this layered stack inside a large, heavy book. Add more heavy books on top to create significant pressure.
Flower Press Method: Place the layered stack inside your flower press and tighten the screws firmly.
Maintain Absorbency: This is crucial for preventing mold and ensuring thorough drying.
Change the Paper: After the first 24-48 hours, carefully open the press and replace the absorbent paper that has absorbed the moisture. Reapply pressure.
Repeat: Continue changing the paper every 2-3 days for the first week, then perhaps once a week. The total pressing time can range from 2 to 4 weeks, depending on the humidity and the thickness of the sprigs. The needles are ready when they feel completely dry and brittle.
4. Handling and Storage:
Careful Removal: Once dry, gently remove the pressed needles from the paper. They will be delicate.
Storage: Store them flat in a cool, dry, dark place, ideally within an airtight container or between sheets of wax paper within a book, to protect them from moisture and light.
Practical Applications in the Garden and Home
Once you have your perfectly pressed Blue Star Juniper needles, the creative possibilities are endless:
Handmade Cards and Stationery: Glue pressed needles onto greeting cards, thank-you notes, or bookmarks for a touch of natural elegance. They pair beautifully with floral designs or can stand alone as minimalist accents.
Framed Art and Wall Decor: Create stunning botanical prints by arranging pressed juniper sprigs in a shadow box frame or a traditional picture frame. You can create intricate patterns or simple, impactful compositions.
Resin Crafts: Embed pressed juniper needles in clear resin to create unique pendants, coasters, keychains, or decorative paperweights. The silvery-blue color pops beautifully within the clear medium.
Scrapbooking and Journaling: Add texture and a natural element to your memory-keeping projects. They can be used to border photos or create thematic embellishments.
Candle and Soap Making: Incorporate dried needles into homemade candles (ensure they are safely embedded and don’t pose a fire hazard) or cold-process soaps for a subtle visual and aromatic element.
Potpourri and Sachets: While the fragrance diminishes, dried juniper needles can still contribute to fragrant mixes. Combine them with dried flowers, spices, and essential oils for a natural air freshener.
Holiday Decorations: Their evergreen nature and blue hue make them perfect for creating festive ornaments, wreaths, or embellishments for gift wrapping during the holiday season.
Common Mistakes to Avoid When Crafting with Blue Star Juniper
Even with a straightforward process, a few common pitfalls can hinder your Blue Star Juniper crafting success:
Using Wet or Damp Material: Never press needles that are still wet from rain or morning dew. This is the fastest route to mold and decay. Ensure branches are dry to the touch before collecting.
Insufficient Pressing: Not applying enough pressure or not changing the absorbent paper frequently enough can result in warped, curled, or moldy needles. Be patient and thorough with the pressing process.
Overlapping Needles: Pressing too many needles on one sheet or allowing them to overlap will prevent them from drying evenly and flattening properly.
Exposing Pressed Needles to Light: While some color loss is inevitable, storing your pressed needles in direct sunlight will accelerate fading, turning the beautiful blue to a duller green or brown. Keep them in a dark place.
Using the Wrong Adhesive: Some glues can bleed through or discolor delicate pressed materials. Test your adhesive on a scrap piece first.
Ignoring Fragility: Pressed needles are brittle. Handle them with care during the crafting process to avoid breakage.
Expert Tips or Pro Insights for Stunning Results
Seasoned crafters and horticulturists offer these advanced tips for elevating your Blue Star Juniper crafts:
“Quick Press” Method for Color: For a faster, though potentially less flat result, some crafters use a microwave flower press. This method uses heat to dry the material very quickly. However, it requires extreme caution to avoid burning and can sometimes lead to more color loss. Test small batches first.
Layering with Desiccants: For maximum color and shape preservation, especially for very thick sprigs, consider placing thin layers of silica gel or food-grade desiccant granules between the absorbent paper layers. This draws out moisture even more effectively.
Pre-Sealing for Resin: Before embedding pressed juniper in resin, you can lightly coat the needles with a thin layer of Mod Podge or a clear acrylic sealant. This helps to prevent air bubbles from forming and can seal in any remaining fragrance. Let it dry completely before casting.
Combining Textures: Mix pressed Blue Star Juniper needles with other pressed botanicals like small flowers, ferns, or even dried grass. This creates more dynamic and visually interesting compositions.
Experiment with Color Enhancement (Carefully): While natural is best, some artists experiment with very subtle sprays of iridescent or metallic paints after pressing to enhance the silvery effect. Use sparingly and test first.
The Art of Arrangement: Think about negative space in your designs. Sometimes, fewer well-placed needles are more impactful than a densely packed arrangement.
Seasonal or Climate Considerations
The success of collecting and pressing Blue Star Juniper needles can be influenced by your local climate and the season:
Humidity: In very humid climates, the pressing process will take longer, and the risk of mold is higher. Ensure you are changing the absorbent paper very frequently and consider using a dehumidifier in your pressing area if possible.
Winter vs. Summer Collection: Needles collected in summer might retain more vibrant color due to active growth. Winter-collected material might be slightly drier to begin with but could have less intense blue tones. Always prioritize healthy material regardless of the season.
Sunlight Exposure: Blue Star Juniper, like most conifers, benefits from full sun. However, prolonged, intense summer sun can stress the plant. Collecting pruned material after the hottest part of the day, or in the cooler morning hours, is advisable.
Plant Health: Ensure your Blue Star Juniper is healthy and well-established before taking any cuttings for crafts. Stressed plants may not yield the best quality material.
Buying Guide or Decision-Making Process: When to Buy Pressed Juniper vs. Pressing Your Own
While pressing your own Blue Star Juniper leaves is a rewarding and cost-effective option, there might be times when purchasing pressed botanicals is more convenient or yields specific results:
When to Press Your Own:
You have a Blue Star Juniper: This is the most obvious reason. Enjoying your garden’s bounty is a primary driver.
You enjoy the process: If you find satisfaction in the hands-on activity of collecting and preserving, pressing your own is ideal.
Cost-effectiveness: It’s significantly cheaper than buying pre-pressed materials.
Control over quality: You can select the exact sprigs you want, ensuring freshness and desired appearance.
When to Consider Buying Pressed Blue Star Juniper:
No access to the plant: If you don’t have a Blue Star Juniper or can’t access one, purchasing is your only option.
Time constraints: If you need pressed juniper needles quickly for a project and don’t have time to press them yourself.
Specific preservation quality: Reputable sellers often have professional pressing equipment and techniques that can achieve superior color and flatness, especially for delicate or rare botanicals.
Convenience: For crafters who prefer to focus solely on the creative assembly, buying ready-to-use materials saves time and effort.
What to Look For When Buying:
Color Retention: Look for sellers who emphasize vibrant, consistent blue hues.
Flatness and Integrity: The needles should be relatively flat and intact, not excessively curled or broken.
Purity: Ensure the product is purely pressed juniper needles without excessive filler or artificial additives.
Seller Reputation: Purchase from reputable craft suppliers or botanical specialists who have good reviews regarding the quality of their pressed materials.
* Packaging: The items should be well-packaged to protect them during shipping.
—
FAQ Section for Blue Star Juniper Pressed Leaf Crafts
Q1: How long does it take to press Blue Star Juniper needles?
A1: It typically takes 2 to 4 weeks to press Blue Star Juniper needles thoroughly, depending on the thickness of the sprigs, humidity, and how often you change the absorbent paper.
Q2: Will the blue color last after pressing?
A2: The silvery-blue hue is due to a waxy cuticle and is more stable than green chlorophyll. However, some fading may occur over time, especially if exposed to light. Pressing in darkness can help preserve the color.
Q3: Can I use fresh juniper needles for crafts without pressing them?
A3: While you can use fresh juniper sprigs for some temporary arrangements or as natural accents, they will eventually dry out, become brittle, and lose their color and fragrance. Pressing is essential for long-term preservation and craft applications.
Q4: How should I store my pressed Blue Star Juniper needles?
A4: Store them flat in a cool, dry, dark place, ideally in an airtight container between sheets of wax paper or in a photo album to protect them from moisture, light, and crushing.
Q5: Are Blue Star Juniper needles toxic?
A5: While generally considered non-toxic for casual handling, juniper berries and foliage can be mildly toxic if ingested in large quantities. It’s best to keep pressed juniper crafts out of reach of young children and pets who might be tempted to eat them.
—
Conclusion for Blue Star Juniper Pressed Leaf Crafts
So, to answer that burning question: Can you make crafts with Blue Star Juniper pressed leaves? Absolutely! The intricate, star-like needles of the Blue Star Juniper offer a truly unique and beautiful medium for a wide array of creative projects. By understanding the proper pressing techniques, you can transform simple sprigs from your garden into stunning elements for cards, artwork, resin creations, and so much more. Embrace this rewarding practice to add a touch of natural, silvery-blue elegance to your crafts, reduce waste, and connect with your garden in a whole new way. Now

